 FREE delivery over £500*
 Visit our showrooms
 Finance options available*
 Apply for a Trade Account
How to Get Rid of Mould in the Bathroom: A Complete Guide
10th Dec 2025
A mouldy bathroom is, unfortunately, something that affects thousands of UK homes, mostly due to higher humidity levels and the fact that many bathrooms lack windows. Removing bathroom mould is about far more than just the way it looks, although those black spots on your grout lines or shower curtain certainly don't do your bathroom any favours. Mould can pose serious health risks for you and your family if it's left to spread.
The good news is, removing mould is much simpler than you might think. We'll walk you through everything you need to know, from tackling small patches on your ceiling to stubborn growth in your sealant. Plus, we've gathered expert tips from Brian Toward, CEO here at Wholesale Domestic, to help you not only remove existing mould but also stop it coming back in the future.
Contents
- What causes bathroom mould?
- Is mould in the bathroom dangerous?
- Types of bathroom mould
- How to stop mould in the bathroom
- How to handle bathroom mould gently
- How to tackle severe mould infestations
- How to prevent mould in the bathroom
What causes bathroom mould?
Mould is one of the most common bathroom problems. Bathrooms are naturally humid, thanks to the steam created when you have a bath or shower, especially in the winter when the difference in air and water temperature generates even more steam. This is why having an extractor fan is so important; it helps pull that moisture out of the air before it can settle on surfaces as condensation. However, in some cases, an extractor fan can't remove all that moisture, which means your bathroom stays damp even if you don't realise it.
This dampness, combined with the warmth from bathing and the lack of natural sunlight in windowless bathrooms, creates the perfect conditions for mould spores to thrive. You'll often find them growing on surfaces that hold onto moisture, like tile grout, silicone sealant, fabric shower curtains, and even on walls and ceilings.
Is mould in the bathroom dangerous?
If you’re struggling with a mouldy bathroom, you’re not alone. It’s estimated that around 7 million homes across the UK are facing damp conditions where mould tends to thrive.
Having mould in your bathroom isn't just an aesthetic issue; it's also a health concern that costs the NHS upwards of £1.4 billion every year to treat. While a mouldy shower curtain or blackened grout can make your bathroom look dirty (even after you've just deep-cleaned it), the potential health risks are far more important to consider when deciding whether to ignore that suspicious black stain growing in the corner of your shower enclosure.
Mould releases spores into the air, which can irritate your lungs and throat, causing or making worse respiratory conditions, including asthma. Lots of people are also allergic to mould, meaning these spores can trigger symptoms like runny noses, wheezing, coughing, skin rashes, and more.
If you or someone you live with has a weakened immune system, a mouldy bathroom poses a much more serious risk and could even lead to hospitalisation. That's why it's vital to tackle any signs early, before they develop into a full-blown infestation.
Types of bathroom mould
There are several different types of mould that can make themselves at home in your bathroom. Here are the most common varieties you might encounter:
- Aspergillus – This can appear in multiple colours, including green, white, and black. It's usually found on damp walls and ceilings and can cause respiratory issues in people with pre-existing health conditions.
- Black mould – This is one of the more aggressive types and often has a darker, slimy appearance. It can trigger allergic reactions and serious respiratory problems, making removing it quickly more critical.
- Cladosporium – This mould is typically either olive-green or black in colour and commonly grows on wood, painted surfaces, and textiles like shower curtains.
- Penicillium – A blue-green mould that thrives on wallpaper, fabrics, and in damp areas. It can trigger asthma symptoms and other allergic reactions.
- Trichoderma – This fluffy, white or green mould grows in especially wet areas like shower trays and around window frames. It can lead to wood rot if left untreated.
While most mould treatment methods are effective on each type, the most effective approach depends on the severity of the infestation and whether you’re working with a porous surface. Bleach tends to be best for non-porous areas, while vinegar is great for targeting mould that has embedded itself into your grout. Specialised mould removal sprays can be used for either.
How to stop mould in the bathroom
Removing bathroom mould is a lot easier than you might expect. We've broken the process down into manageable steps to help you get your bathroom back to looking its best in no time.
What you’ll need
Before you start, you'll need the following materials:
- Your chosen cleaning solution
- Bicarbonate of soda
- White vinegar
- Bleach
- Mould removal spray
- Borax
- Washing-up liquid
- Sponge
- Empty spray bottle
- Old toothbrush or other soft-bristled brush
- Jug or cup
- Cleaning cloths
- Rubber gloves
- Face mask
Safety information
It's important to stay safe while removing bathroom mould. Using harsh chemicals can be harmful to your breathing and irritating to your skin, so always wear a face mask and rubber gloves to protect yourself. Ensure your bathroom is well-ventilated throughout the cleaning process, either by opening a window or running your extractor fan.
How to get rid of mould on the bathroom ceiling
Mould on your bathroom ceiling develops because warm, moist air rises and condenses on the cooler ceiling surface, creating the ideal conditions for mould growth. It typically appears as dark spots or patches which start small and spread over time.
The good news is, the easiest solution is something you likely already have at home. White vinegar is excellent for removing mould because its high acidity kills the spores while also acting as a natural disinfectant. Diluting with a bit of water helps to neutralise the vinegar smell slightly while still being strong enough to remove most mould species.
Here's how to remove it:
- Prepare your cleaning solution – For small patches of mould, mix equal parts white vinegar and water in a spray bottle. For more advanced growth, make a solution of one part bleach to one part water, or use a mould removal spray.
- Protect yourself – Put on your face mask and rubber gloves before you start. This helps you avoid inhaling mould spores or getting a cleaning solution on your skin.
- Apply your chosen solution – If using vinegar, spray the solution directly onto the mouldy area and leave it to sit for at least an hour. If using a bleach mixture or mould spray, apply it with a cloth to avoid drips caused by excessive spraying.
- Scrub the area – After the solution has had time to work, use a sponge or cloth to gently scrub away the mould. You may need to apply a bit more pressure for stubborn patches.
- Rinse and dry – Wipe the area clean with warm water and let it dry completely.
- Repeat if necessary – For more developed mould patches, you may need to repeat the process once or twice to remove it completely.
"When you're dealing with ceiling mould, always work carefully and make sure you're wearing proper protection," Brian advises. "Those spores become airborne really easily when you start scrubbing, so a decent face mask is essential. And if you're using bleach, make sure the room is well-ventilated. The last thing you want is to be breathing in bleach fumes in a confined space."
How to remove mould from bathroom sealant
Mouldy sealant often looks like black or dark green streaks along the edges of your bath, sink, or shower. It grows here because silicone stays wet longer than other bathroom surfaces, creating the perfect environment for mould spores to take hold.
"Removing mould from your sealant is important because the mould actually breaks down the silicone over time," Brian explains. "It creates tiny gaps that ruin the waterproof seal, meaning water can start seeping through into the walls or floor underneath. If you spot any gaps or cracks once the mould's gone, it's worth resealing properly to avoid water damage down the line. Sometimes, after you've cleaned away the mould, you might find that the sealant's been too badly damaged and needs to be removed and fully replaced."
"To remove mould from sealant, the best method is combining white vinegar with bicarbonate of soda. The vinegar’s acidity kills off the existing mould spores, while the bicarb is an alkali – meaning it creates an environment that makes it harder for mould to grow back. As they react, the natural fizzing action (caused by carbon dioxide being released) also helps lift the mould, making it easier to scrub away.”
Here's how to clean it:
- Make a cleaning paste – Mix white vinegar and bicarbonate of soda at roughly a 2:1 ratio, adding more bicarb as needed until you reach a thick, toothpaste-like consistency.
- Apply the paste – Wearing rubber gloves, take a damp cloth and scoop some of the paste onto it. Then, rub the paste thoroughly onto the affected sealant until any visible mould is well covered.
- Let it work – Leave the paste on the sealant for at least five minutes. This gives it time to soften the mould.
- Scrub thoroughly – Using an old, soft-bristled toothbrush, gently scrub the paste into the sealant to lift away the mould.
- Rinse and dry – Use cool water to rinse away all the residue, then wipe the area dry with a clean cloth.
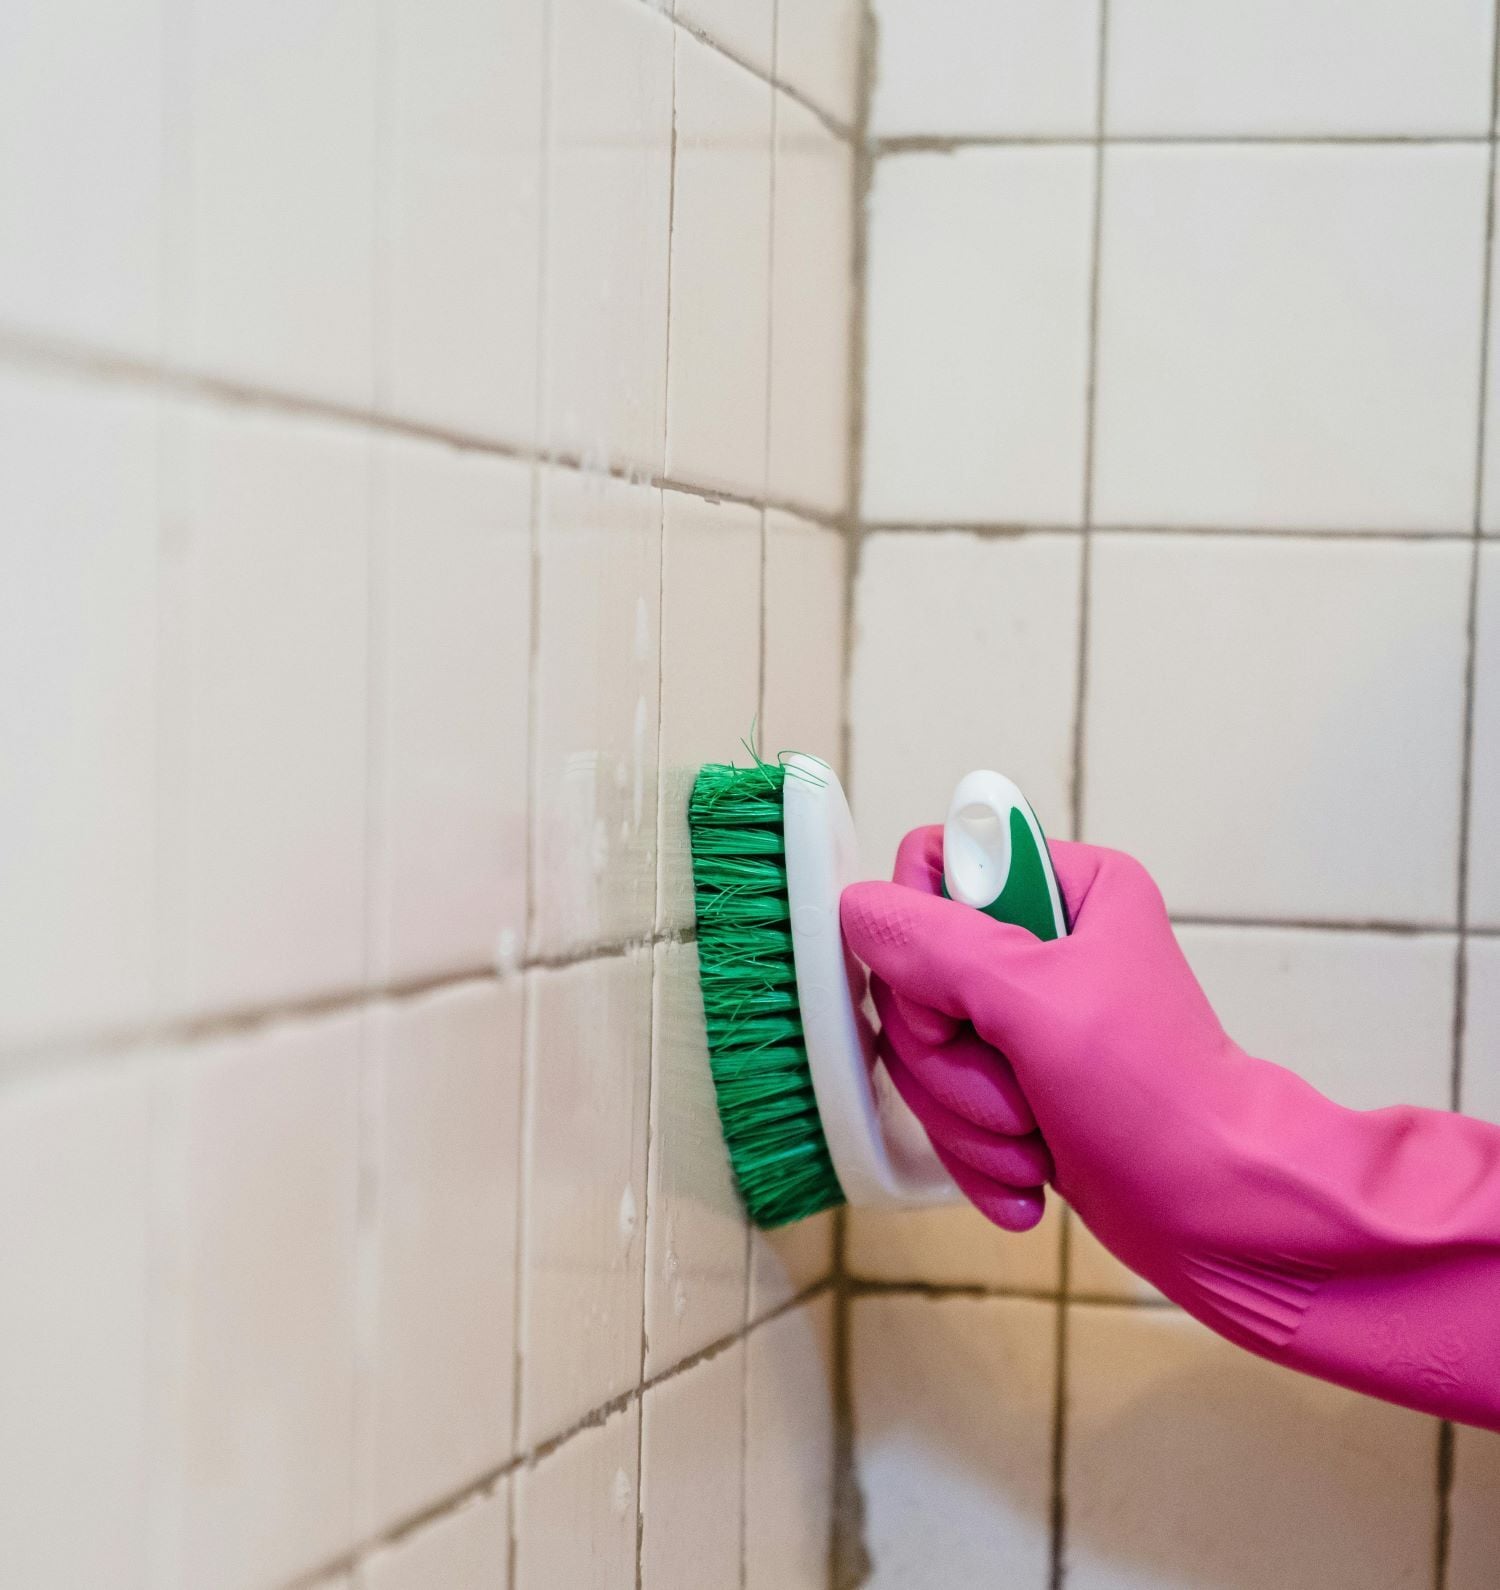
How to remove mould from bathroom tile grout
Mouldy grout usually shows up as dark lines, spots, or patches between your tiles, particularly in humid areas, like shower enclosures or around your bathtub and sink. Tile grout is porous, which makes it an ideal surface for mould spores to settle and grow, especially if your bathroom holds onto moisture due to a lack of ventilation.
"You need to be somewhat careful with the cleaning method you choose for grout," Brian warns. "Some of the really harsh mould removal sprays can damage the grout itself, which might cause your tiles to become loose or develop gaps where water can get in.”
“If you're dealing with stubborn mould, start with gentler options like vinegar or baking soda before resorting to stronger chemicals. When using chemicals, always test in an inconspicuous spot first, especially if you've got coloured grout that might fade."
Here's how to tackle it:
- Choose your cleaning agent – White vinegar, bicarbonate of soda, chlorine bleach, or hydrogen peroxide all work well on grout mould. However, bear in mind that bleach products can also fade coloured grout, so it's best to test in a hidden area first.
- Prepare yourself and the area – Put on rubber gloves, a face mask, and safety glasses if you're using bleach or hydrogen peroxide and ensure the bathroom's well-ventilated.
- Work in small sections – Rather than trying to clean all your grout at once, work on one small area at a time. This stops your cleaning solution from drying out before you can scrub it away properly.
- Apply and scrub – Apply your chosen cleaning agent to the grout and use a soft-bristled toothbrush to really work it into the surface. This helps you reach mould deep in the grout lines.
- Let it sit – Leave the cleaning agent to work for at least 30 minutes. This gives it time to break down the mould properly.
- Rinse, repeat, and dry – Rinse the area thoroughly with water. If any mould is left behind, repeat the process. Once you're happy that the grout's clean, leave it to dry fully.
How to get mould out of shower curtains
Shower curtains are prone to growing mould because they stay damp for long periods of time and usually don't get the chance to dry out completely between uses. You'll often notice dark spots or patches along the bottom edge of the curtain or deep in the folds.
Here are two effective methods for removing mould from shower curtains:
Method 1: Vinegar soak
This method uses products you likely already have at home. Here's how to use vinegar to remove shower curtain mould:
- Fill a sink or plastic bin – Add your shower curtain to a tub and pour in enough undiluted white vinegar to fully submerge it.
- Soak – Leave the curtain to soak for at least one hour. This lets the vinegar break down the mould.
- Wash – Remove the curtain from the vinegar and wash it using your washing machine on a gentle cycle or by hand using cold water and regular laundry detergent. If you're machine washing your curtains, add some similar-coloured towels to balance the load and reduce wrinkles.
- Air-dry – Hang the curtain to dry naturally. Never put a vinyl shower curtain in a tumble dryer, as the heat can melt it and pose a fire hazard.
- Treat stubborn stains – If stains remain, create a solution with cool water and a stain removal powder. Submerge the curtain and leave it to soak for at least four hours. Then, rinse thoroughly with clean water and hang it to dry.
Method 2: Borax treatment
Borax is a natural mineral that kills mould spores without needing any harsh chemicals. Here's how to use it to remove mould from your shower curtain:
- Create your solution – Mix one cup of Borax per gallon (around 4.5 litres) of cool water. Make enough solution to fully submerge the shower curtain. Ensure you're wearing rubber gloves while handling the shower curtain, as Borax can be toxic.
- Soak – Allow the curtain to soak for at least one hour.
- Wash as usual – Remove the curtain from the solution and wash it with your regular detergent using your machine or by hand.
- Air-dry – Hang to dry completely.
- Remove any remaining stains – If needed, treat with cool water and stain remover, rinse well, and hang to dry.
"Shower curtains are real magnets for mould, especially in bathrooms without windows where the air circulation isn't great," says Brian. "If you find yourself constantly cleaning or even throwing away shower curtains because of mould growth, it might be worth considering an upgrade. If you've got a shower enclosure , look at fitting a glass panel instead. Or, if you have a bath-shower combination, a shower screen could be a better long-term solution. They're much easier to keep clean than fabric curtains."
How to handle bathroom mould gently
Not every mould outbreak requires harsh chemicals, and not every bathroom can handle being regularly bleached if you have delicate fixtures or finishes. For lighter mould growth, these gentler methods can be just as effective:
- Soapy water – Mix warm water with a small amount of washing-up liquid. Use a sponge to scrub the affected area thoroughly, then rinse well with clean water. This works well for early-stage mould that hasn't taken hold yet.
- Vinegar solution – Combine equal parts white vinegar and water in a spray bottle. Spray the mouldy area generously and scrub gently with a soft brush. Leave the solution to sit for around 30 minutes before rinsing away.
- Bicarbonate of soda paste – Mix bicarbonate of soda with a small amount of water to form a thick paste. Apply this directly to the mould, leave it for a few minutes, then scrub with a brush and rinse thoroughly. The abrasive action helps lift mould without harsh chemicals.
How to tackle severe mould infestations
Sometimes a mould problem has progressed beyond anything gentle cleaning methods can handle, and you need a more intensive approach to deal with it properly. Here are some effective, tough-on-mould methods that can help:
- Bleach solution – Mix one part household bleach with four parts water in a spray bottle. Spray the solution generously onto the mouldy area and leave it to work for 15-30 minutes. Then scrub the area thoroughly with a brush and rinse well with clean water.
- Commercial mould removers – Specialised mould removers are formulated to tackle stubborn infestations. These products usually contain stronger active ingredients that are chosen specifically to kill mould spores hidden deep in the surfaces. Always follow the manufacturer's instructions carefully and use protective equipment.
How to prevent mould in the bathroom
The most effective way to keep your bathroom mould-free is to be proactive and prevent spores from settling in the first place. Here are five key strategies:
1. Keep your bathroom well-ventilated
Proper ventilation is your first line of defence against bathroom mould. Every time you have a bath or shower, make sure you're removing that moisture-filled air from the room as quickly as possible.
"Ventilation is the single most important thing when it comes to preventing bathroom mould," Brian explains. "If you've got a window, open it during and after bathing – even just a crack makes a difference.”
“If your bathroom has an extractor fan, run it for at least 15-20 minutes after you've finished in the bathroom to remove most of the humidity. A lot of people switch it off as soon as they leave, but that moisture is still sitting in the air. And don't forget to keep your extractor fan clean; if it's clogged with dust, it can't do its job properly, so wipe it down every month or so to keep it working well."
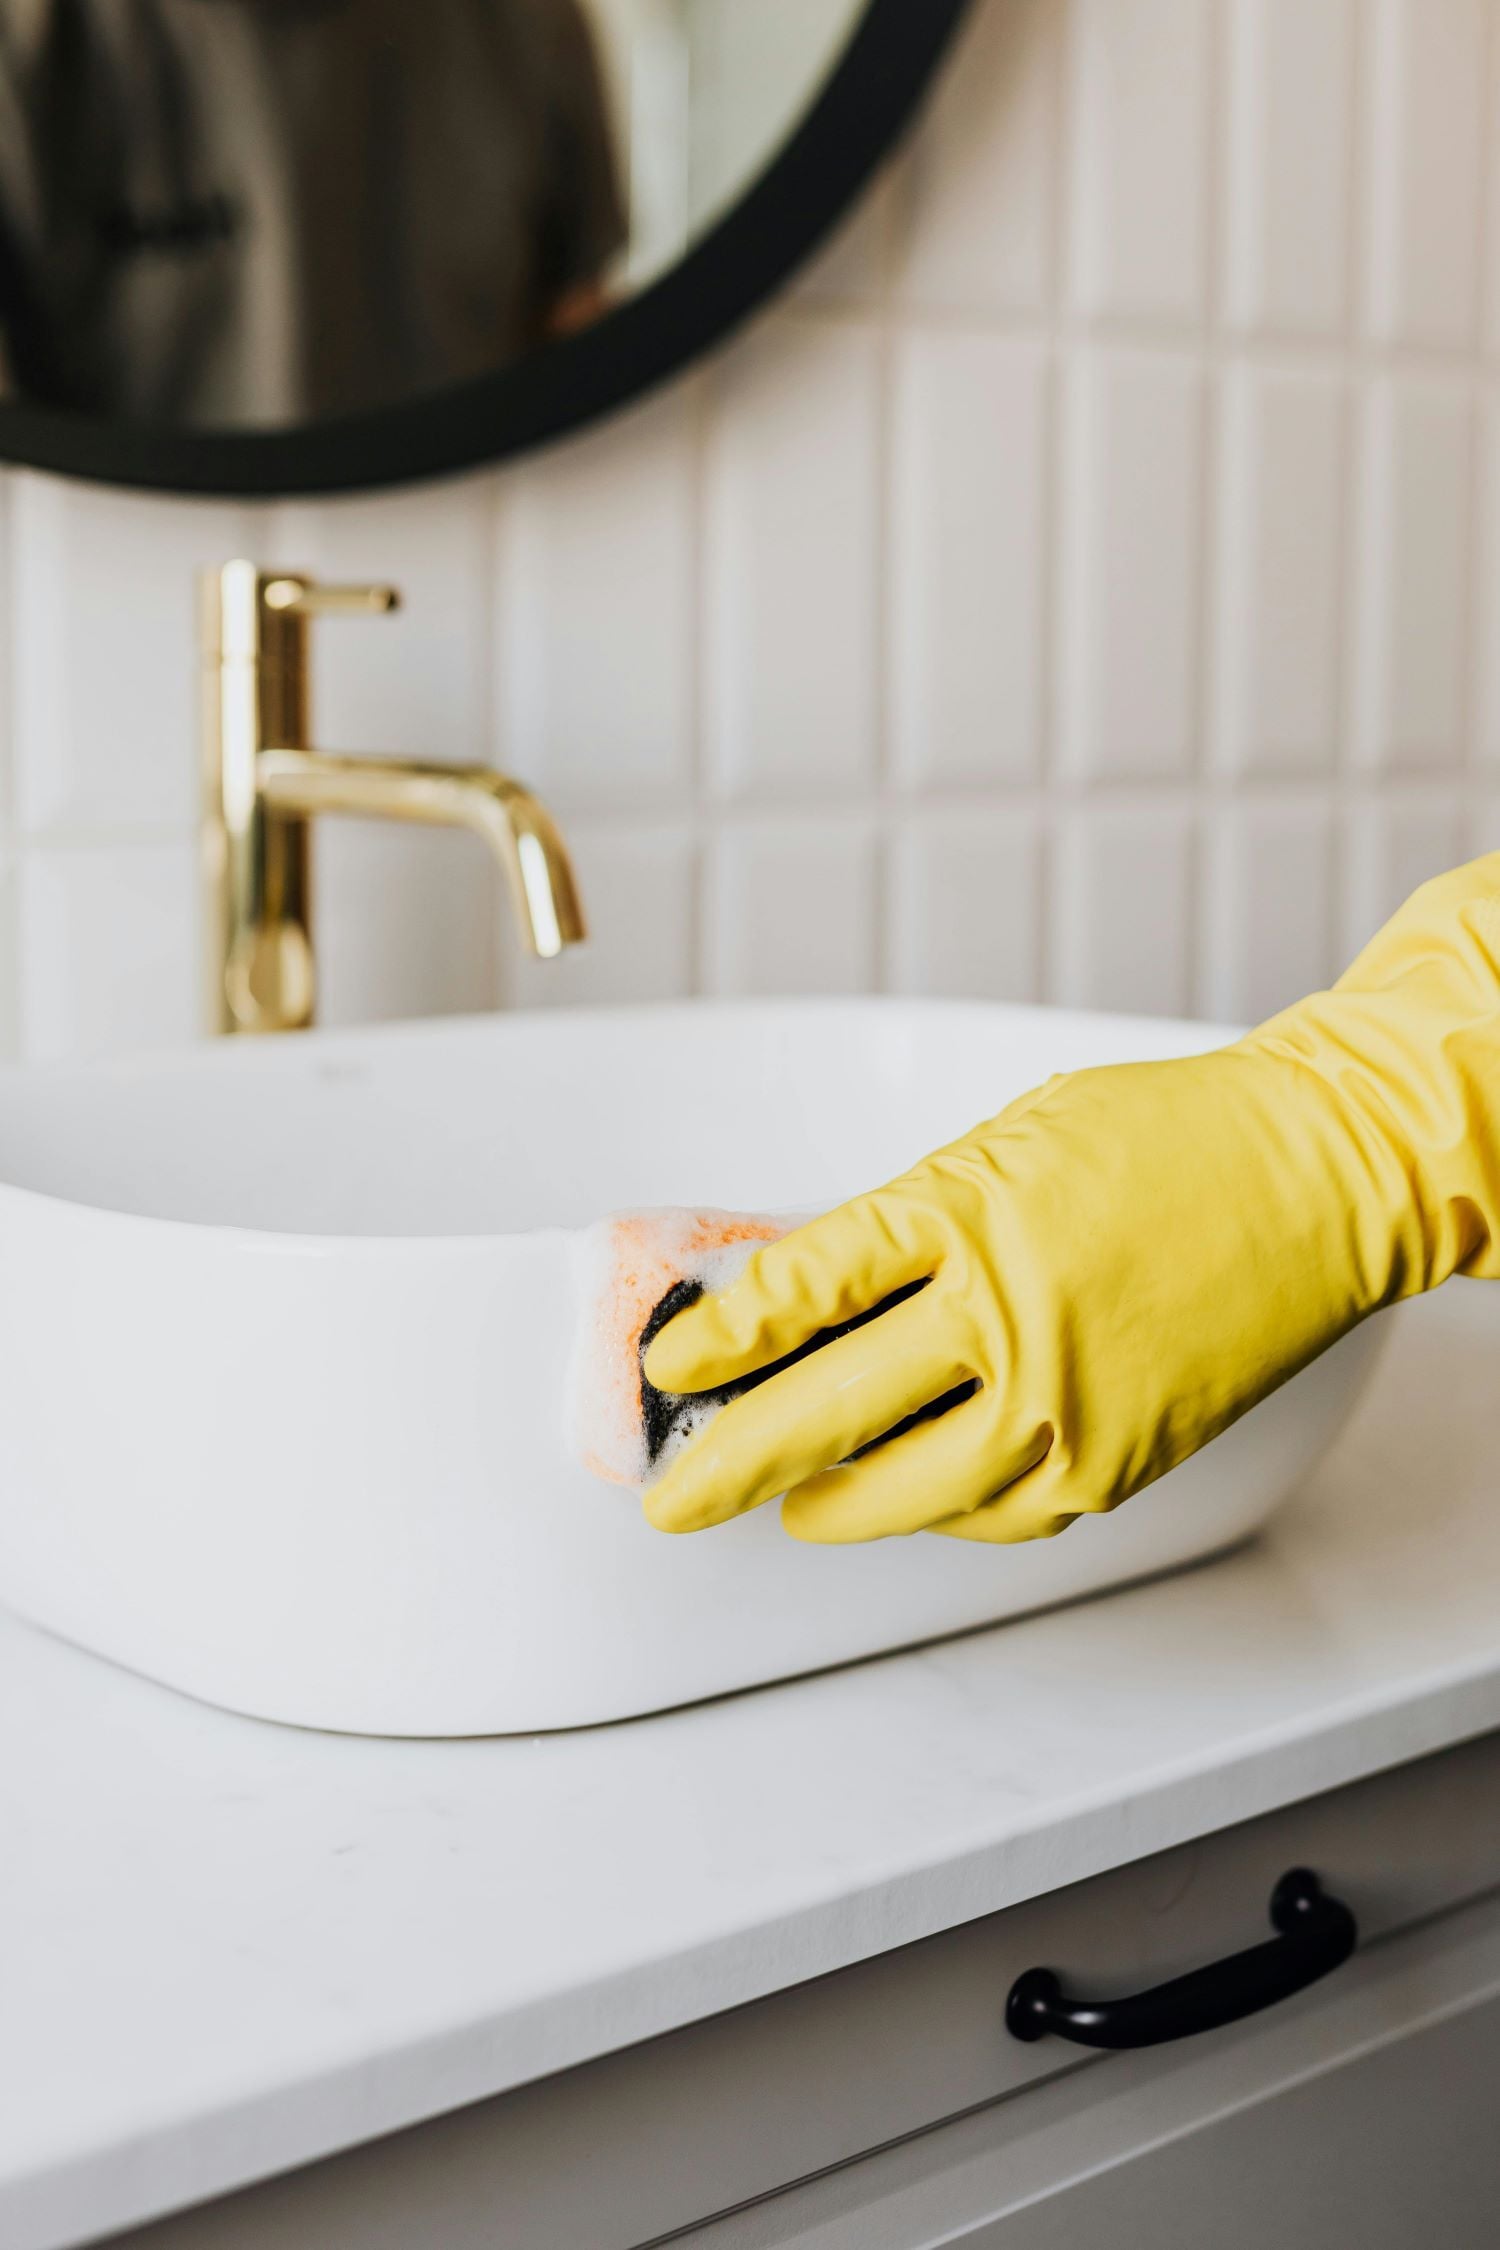
2. Clean bathroom surfaces regularly
Regular cleaning prevents mould spores from building up to the point where they become a visible problem. Pay attention to surfaces like the inside of your shower enclosure, bathroom cabinets, and mirrors.
Brian says: "Get into the habit of giving surfaces a quick wipe down after you use the bath or shower. Running a squeegee or cloth over your enclosure walls and doors can remove most of the water before it has a chance to sit there. Then, at least once a fortnight, give everything a proper clean with an antibacterial spray. This kills off any mould spores that might be lurking before they have a chance to take hold."
3. Keep an eye on excess moisture
Some areas of your bathroom are more prone to moisture buildup than others. The walls and floor around your bath or shower are prime spots, as are corners and cabinets where air circulation is poor, and light can't reach as easily.
"If you're noticing standing water or constant dampness in certain areas, that's a warning sign that mould could be on the way," says Brian. "A dehumidifier can be really helpful here, especially if you're working with a windowless bathroom or poor ventilation. You don't necessarily need an expensive electric one either – you can get single-use moisture traps that are affordable and work well in smaller spaces. Just remember to empty them regularly."
4. Don't use your bathroom for laundry
It might seem convenient to hang washing in the bathroom, but this adds extra moisture into the air, which can encourage mould and mildew growth.
"I know it's tempting to store washing in the bathroom, especially if you don't have a garden or a tumble dryer, but your bathroom really isn't the place to dry clothes," Brian advises. "All that moisture from damp laundry has nowhere to go, and it just creates perfect conditions for mould.”
“If you can, try using a drying rack in a room with better ventilation, or invest in a heated airer that dries things faster. Even drying clothes in your bedroom with the window open is better than doing it in the bathroom."
5. Use bathroom heating
Maintaining a consistent temperature in your bathroom helps reduce humidity levels and prevents the cold surfaces that encourage condensation and mould growth.
"Keeping your bathroom at around 21℃ can make a real difference to moisture levels," Brian explains. "Whether you've got a radiator or a heated towel rail, try running it for at least an hour every day, especially in the winter.”
“Cold bathrooms are damp bathrooms, and damp bathrooms are mouldy bathrooms. The warmth helps everything dry out properly and reduces the amount of condensation you see on tiles and mirrors. It might seem like you're using more energy, but preventing mould damage and protecting your health is worth the small extra cost."
Give your bathroom a fresh start with Wholesale Domestic
Now that you know how to remove and prevent bathroom mould, it's time to give your bathroom the refresh it deserves. Whether you need to replace damaged shower sealant or install new tiles to replace those knocked loose by mouldy grouting, we've got everything you need at Wholesale Domestic.
Browse our full range of bathroom furniture and accessories, or discover cleaning supplies to help transform your space into a clean, mould-free sanctuary. And for more bathroom inspiration and how-to guides, visit our blog.