 FREE delivery over £500*
 Price Match Promise
 Finance options available*
 Apply for a Trade Account
How to Tile a Bathroom: A Complete Beginner’s Guide
13th Aug 2025
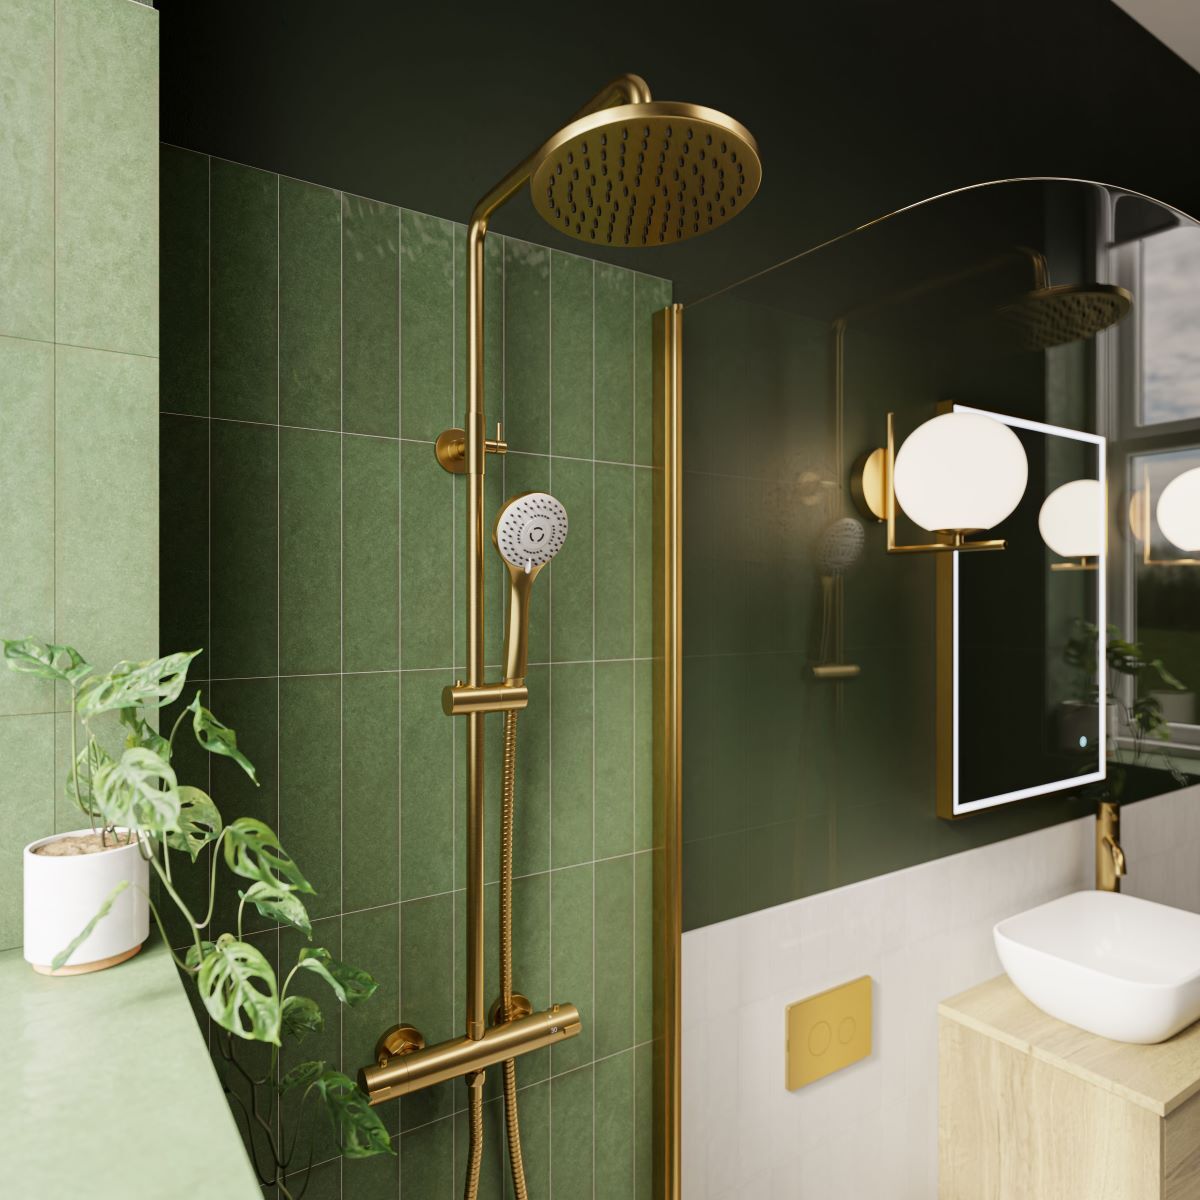
Tiling is a great way to protect your bathroom walls and floors from water damage while adding style and visual interest. Whether you're updating your entire bathroom or tackling a small renovation, knowing how to tile correctly is essential. After all, no one wants to spend time and money on tiles that end up cracked or uneven!
We'll walk you through tiling a bathroom, from choosing the right materials to finishing touches, with expert tips from Brian Toward – CEO here at Wholesale Domestic – to make the process as smooth as possible.
Contents:
- What do you need when tiling a bathroom?
- How to tile a bathroom in 7 simple steps
- Frequently asked questions
What do you need when tiling a bathroom?
Before you start tiling your walls or floors, you'll need the right tools. While fitting bathroom tiles might seem like a daunting task, having the right equipment will make the job much easier.
Here's a list of what you'll need to get started:
- Wall or floor tiles – Choose tiles that suit the space and style you're going for.
- Tape measure and chinagraph pencil – For measuring and marking where your tiles will go.
- Spirit level – To make sure everything's nice and straight.
- Bolter chisel, club hammer, and putty knife – These come in handy if you need to remove old tiles or smooth out surfaces.
- Tile cutter, scorer, nipper, and snapper – For cutting tiles to fit around edges or corners.
- Tile spacers – To keep the spacing between tiles even as you go.
- Bucket and mixing paddle – For mixing up your tile adhesive.
- Tile adhesive and grout – These are vital for securing the tiles and filling the gaps.
- Sandpaper and filler – To smooth any imperfections on the wall or floor before you start.
- Cloths and sponges – To clean up excess adhesive and grout as you work.
- Notched trowel – For spreading the adhesive evenly on the surface.
- Grout float – To get the grout between your tiles nice and even.
- Tile trims – To finish off edges and give your tiling a neat, professional look.
How to tile a bathroom in 7 simple steps
Whether you're unsure how to tile a bathroom floor or are upgrading your walls, tiling a bathroom can seem a little overwhelming at first. That's why we've broken it down into seven manageable steps to make the whole process much easier:
1. Make a plan
Before you start laying any tiles, it's crucial to plan ahead. This is the stage to think about what you want your bathroom to look like and pick out tiles that suit your space. If you're unsure where to start, our Tile Buying Guide is filled with helpful information.
Tiling is a job where preparation makes a difference, so take some time to figure out exactly what you're working with. Whether you're tiling the whole floor or just the splashback area around the bath or sink, having a clear plan will help you avoid any unwanted surprises down the line.
"Planning is key", Brian advises. "Think about where your tiles will go, how they'll be arranged, and whether you're mixing different sizes or styles. This is the time to make sure everything fits the way you imagined and looks balanced.”
“If you're tiling the floor, check out the layout too. Some areas might need smaller tiles around the edges to fill in awkwardly-sized gaps, while the rest can be larger. This might seem like a minor step, but it makes a huge difference to the final look!"
If you’re uncomfortable tiling the bathroom yourself or you’re facing a particularly large project, it might be worth hiring or consulting with a professional to ensure the work is done safely.
2. Remove your old tiles (if needed)
Before you start tiling, you might need to remove any old tiles. This step is essential to make sure that your new tiles stick to the surface properly.
Brian explains, "Removing old tiles can seem like a big job, but it’s definitely doable. First, you’ll want to make sure you’re wearing safety goggles and gloves to protect yourself from sharp edges. You'll also need to wear long sleeves and sturdy shoes, as some of the tiles can break and create debris."
"To start, use a putty knife or a bolter chisel to gently pry up the edges of the tiles. Start from one corner and work your way across, making sure not to damage the surface underneath. If the tiles are stubborn, use a hammer to gently tap the chisel and loosen them. Once the tiles are off, you might also need to remove any leftover adhesive with a scraper."
Once everything is removed, wipe down the surface and give it a deep clean before you fit your new tiles.
3. Prepare the wall for tiling
Before you can begin tiling, the surface needs to be prepped properly. Whether it's a wall or floor, you need a clean, dry, and smooth surface for the tiles to stick to. The last thing you want is for the tiles to come loose or uneven after all your hard work.
Brian says, "Take a close look at the wall or floor where you'll fit your new tiles. For walls, make sure they're dry and smooth, as you don't want any bumps or cracks that could mess with the tiles' alignment and create pockets for moisture to seep in.”
“If there are holes or uneven spots, fill them in with a polyfiller putty and let them dry thoroughly before moving on. And for floors, check for any loose or damaged parts, and make sure the surface is firm and level."
Finish up by running some sandpaper over the surface to create a seamless finish.
4. Install the tile backing board
For bathrooms with high humidity, a tile backing board is a good idea. These boards, typically made from cement, provide a stable surface for your tiles, protecting them from moisture that could cause the adhesive to lose its grip over time.
"Tile backing boards are a lifesaver in damp areas like bathrooms," says Brian. "They help make sure the tiles stay put and the surface remains solid for years to come.”
“If you're tiling around the bath or in the shower, you'll definitely want to use a cement backer board – it's waterproof and perfect for these high-humidity environments. To attach the boards to the wall, you’ll need to screw metal studs into place and then mount the boards. Most backing boards come with the necessary studs and specific instructions on how to fix them in place properly.”
“For floors, Building Standards in the UK mean you'll also need to fit tile backer boards if your flooring is made of plywood. It'll protect the subfloor from moisture and keep everything secure. To do this, add a layer of tile adhesive to the floor using a notched trowel, then push the board firmly in place, before finishing up by screwing the boards into the floor. You might also want to use a joint tape to cover the seams between boards for a fully flush surface."
5. Mark your spacing
Before you start sticking tiles to the wall or floor, you'll need to mark out where they'll go. This makes sure that the layout is even and neat. A good starting point is always to figure out where your first tile will sit.
Brian explains, "Marking out your spacing before tiling is key to a neat finish. For wall tiles, you'll want to measure the height of the tiles, then mark a datum line – that's the reference point for the rest of the tiles. It'll help you keep things level as you go along.”
“For floor tiles, it's useful to 'dry lay' your tiles first – this just means laying them out on the floor without using any adhesive to get a feel for how they'll fit."
6. Cut your tiles to size
At this point, you should have your layout mostly sorted, but you'll probably need to cut some tiles to fit the edges and corners of your space. This is where measuring and cutting your tiles is handy to create a clean, professional-looking finish.
Brian explains, "Cutting tiles is one of the trickiest parts of tiling a bathroom. Start by measuring the gap between the last tile to sit flush and the wall or edge you’ll be tiling up to, and then mark this measurement on the tile you’re planning to cut. Use a chinagraph pencil to make your marking, so you have a clean, visible line no matter what material you're working with."
"Then, use a tile cutter or a manual snap cutter to trim your tiles to size so that they’ll fit in this gap. Wear gloves and goggles, as tile edges can be sharp and shards can fly off towards your face while you're cutting. The last thing you want is any accidents."
He adds, "If you're cutting tiles for the edges, use a tape measure to check how much of the tile you need and mark your tiles before cutting. You might need to cut them a few times, so take your time and always measure twice before cutting to avoid mistakes."
7. Install the tiles
"Start by mixing your tile adhesive according to the instructions on the packaging. Use your notched trowel to spread a thin layer of paste onto the surface you're tiling, but while it can be tempting to cover the entire surface, don't go too big – only apply adhesive to a small section at a time. This stops it drying out before you've had a chance to place the tiles," says Brian. "Make sure the adhesive is spread evenly, and use the notched side of the trowel to create ridges, which will help the tiles grip onto the surface for a more secure hold."
"Once you've applied the adhesive, start placing the tiles, working outwards from the center or your designated starting point. Press each tile firmly into place, making sure they're aligned with your layout, and use spacers to create and maintain even gaps between the tiles," Brian continues.
"It's important to check the tiles are still level as you go, especially with floor tiles, so keep your spirit level handy and occasionally hold it up to the surface to help everything stay straight and even."
8. Apply the grout
Once your tiles are securely in place and the adhesive has dried (usually after around 24 hours), it's time to add the grout. This is an essential step, filling in gaps and making the whole surface waterproof.
"Start by mixing your grout according to the package instructions. Once you have the right consistency – think peanut butter – load up your grout float and begin applying it between the tiles," says Brian. "Use a 45-degree angle to spread the grout, pushing it firmly into the gaps. Make sure to fill each one to avoid any air pockets, which could affect the durability of your tiles."
"As you go, don't worry if grout gets onto the surface of the tiles. You can wipe away the excess with a damp sponge – but be gentle, you don't want to pull the grout out of the joints. Wipe off any remaining grout haze once it's dried, and allow the grout to cure for 24 hours before cleaning the tiles one final time."
Frequently asked questions
How much does it cost to tile a bathroom?
"The cost of tiling a bathroom can vary drastically, depending on whether you're doing the job yourself or hiring a professional. Prices typically start anywhere between £300 for a smaller job, like tiling around a bath, and £1,200 for larger bathroom installations as a DIY project – though this also depends on tile choice and bathroom size," says Brian.
"If hiring a professional, you can expect to pay around £1,500 to £2,500. And don't forget to include additional materials like backer board and trims in your budget."
How long does it take to tile a bathroom?
"On average, tiling a bathroom can take 1-2 days for smaller areas and up to a week for larger projects. Make sure to account for drying time for adhesives and grout, during which time you won't be able to use the bathroom for baths or showers," Brian explains.
How long does tile adhesive take to dry?
"Tile adhesive usually takes somewhere between 24 hours to fully dry, but this can vary depending on the type of adhesive and the conditions in your bathroom," says Brian. "It's important to give it enough time to set properly before you start grouting, as rushing the process could cause the tiles to shift or the grout not to adhere as well. Always check the manufacturer's instructions for specific drying times."
How many tiles do I need for my wall/floor?
"There's no set number of tiles for every bathroom; this will largely depend on the tile size, and how much surface area you're looking to cover,” says Brian. Measure the height and width of the area to find the square footage. Then, divide by the tile size and add 10% extra for cuts and mistakes. It's a good idea to buy more for potential future repairs and filling gaps."
Where do I start tiling a bathroom wall?
"As a rule of thumb, it's generally recommended to start tiling from the centre of the wall to ensure even spacing," says Brian. "Mark a level line 20mm above the floor for a guide, and work upwards from the bottom row, ensuring your tiles stay aligned."
Discover tiles for every bathroom at Wholesale Domestic
Tiling your bathroom may seem like a big task, but with the right tools and patience, you can achieve a beautiful and durable result.
At Wholesale Domestic, we offer a wide range of tiles for every bathroom style. From wall tiles to durable floor tiles, you'll find a selection of porcelain, ceramic, and vinyl options in a variety of colours, patterns, and designs to suit your space perfectly. Plus, you'll find everything you need for a smooth installation – from spacers to backer boards and more. For help finding the right tiles for your bathroom, see our Tile Buying Guide.
Not sure where to start? Contact our friendly team for advice. Or, for more bathroom inspiration, read our blog.