Spring Cleaning Hacks: A Step-By-Step Guide on How to Deep Clean Your Bathrooom
22nd Apr 2025
Spring is the perfect time to refresh and declutter every corner of your home – and your bathroom is no exception. Deep cleaning your bathroom may seem daunting, but getting it right the first time can make your regular spot-cleaning much easier in the long run.
Whether you're wondering how to clean your bathroom tiles or looking to tidy up those hard-to-reach spots, our step-by-step guide has you covered. We'll walk you through everything you need to get your bathroom sparkling again, featuring expert tips from Brian Toward, CEO here at Wholesale Domestic.
Contents
- How often should you clean your bathroom?
- What equipment do I need?
- How to deep clean your bathroom step-by-step
- How to clean a bathroom faster
- The most forgotten areas to clean in your bathroom
How often should you clean your bathroom?
Keeping your bathroom looking fresh is the key to making the space feel comfortable to use, but how often you clean it depends on a few things. While a quick wipe-down can keep things looking good on a daily basis, you'll need a more thorough clean now and then to tackle grime, soap scum, and those annoying watermarks.
Brian says: "To keep your bathroom looking fresh, you'll want to wipe down surfaces, bleach the toilet, and give the floors a quick mop every week or so. These weekly cleans should be enough if you're flying solo or living with just a couple of people. But, if you've got a busy household or regular guests, you'll need to clean more often to keep everything in check."
"When it comes to deep cleaning, aim for a proper scrub every few weeks. Giving your cabinets a clean-out, removing any built-up grime, and tackling those hard-to-reach spots will help you stay on top of things and make future cleaning easier."
What equipment do I need?
Having the right cleaning supplies can make a world of difference when you're getting down to business with your bathroom cleaning.
Here's a list of tools to help you clean quicker and more effectively, leaving your space sparkling clean:
- Spray cleaner – A good anti-bacterial bathroom cleaner is perfect for keeping surfaces germ-free.
- Bleach – When it comes to stubborn stains and disinfecting the toilet bowl, bleach is your go-to.
- Grout cleaner – If your tiles have started to look a bit worse for wear, a specialist grout cleaner will lift away dirt and grime without too much effort.
- Scrubbing tools – Whether it’s a trusty scrub brush or a sponge, these will help with those tough spots on your surfaces and in corners.
- Rubber gloves – Fantastic for wiping down surfaces and leaving them streak-free.
- Microfibre cloths – Fantastic for wiping down surfaces and leaving them streak-free.
- Toilet brush – For keeping your toilet clean and fresh.
- Mop or floor cleaner – To keep your floors spotless and shiny.
- Cleaning cloths – Stock up on these for wiping down surfaces. They're a must-have!
- Zip-lock bag – If you need to descale your showerhead, a zip-lock bag is ideal.
- Lemon juice – A natural cleaner that can help break down soap scum and remove stains.
- White distilled vinegar – A cleaning powerhouse that tackles everything from limescale to soap scum.
- Bicarbonate of soda – For scrubbing stubborn grime and stains away, it works wonders in combination with other cleaners.
How to deep clean your bathroom step-by-step
Now that you've got your cleaning supplies in order, it's time to get to work. While it might seem daunting, with the right approach, you'll have it looking fresh in no time.
Before you dive into cleaning, remember Brian's top tip: "When cleaning the bathroom, it's best to leave the toilet until last. This area tends to harbour the most germs, so starting there can spread them to other surfaces. Work towards the toilet, and toss your cloths straight into the wash when you're finished."
Here's a step-by-step guide for tackling each part of your bathroom, from top to bottom:
1. Refresh your shower curtains, towels and bathmats
Start by removing your bathroom's shower curtains, towels, and bath mats. This initial step is easy to forget but helps set the stage for a thorough, deep clean that will leave your bathroom looking and feeling brand new.
Pop your towels and bath mats into the wash, checking the care labels to keep them in top condition and avoid any shrinkage. While it might be tempting to give them a scent boost, avoid using fabric softener – as this can coat the fibres and reduce the absorbency.
If you're looking for something more hygienic, Brian suggests: "While fabric bath mats are great for comfort, they can hold onto a lot of dust and moisture, making them prone to mould build-up over time. A more hygienic alternative is switching to bamboo bath mats, which are naturally resistant to moisture and mildew."
Brian says: "If you have a plastic shower curtain, you can put it in the washing machine, but it may need some extra attention. Bathrooms create the perfect warm, damp environment for mould, mildew, and soap scum to thrive, so make sure to clean your shower curtain regularly."
Hand washing usually does a better job of removing any stains and removing mould.
To do this:
- "Add a sprinkle of laundry detergent, around five tablespoons of bicarbonate of soda, and the same amount of distilled white vinegar to your bath or a large sink.
- Fill it with warm water, enough to fully submerge your curtain. The bicarb and vinegar will create a fizzy reaction that loosens tough stains.
- Let it soak for five minutes, then gently scrub any remaining stains with a soft toothbrush.
- Rinse thoroughly, then hang it outside or use a clean towel to dry it."
For those who don't have a bath or large sink, you can clean your curtain outdoors on a patio. Mix equal parts of white vinegar and bicarb, apply it to the curtain, scrub gently, rinse with a jug of water, and hang to dry.
2. Declutter your surfaces
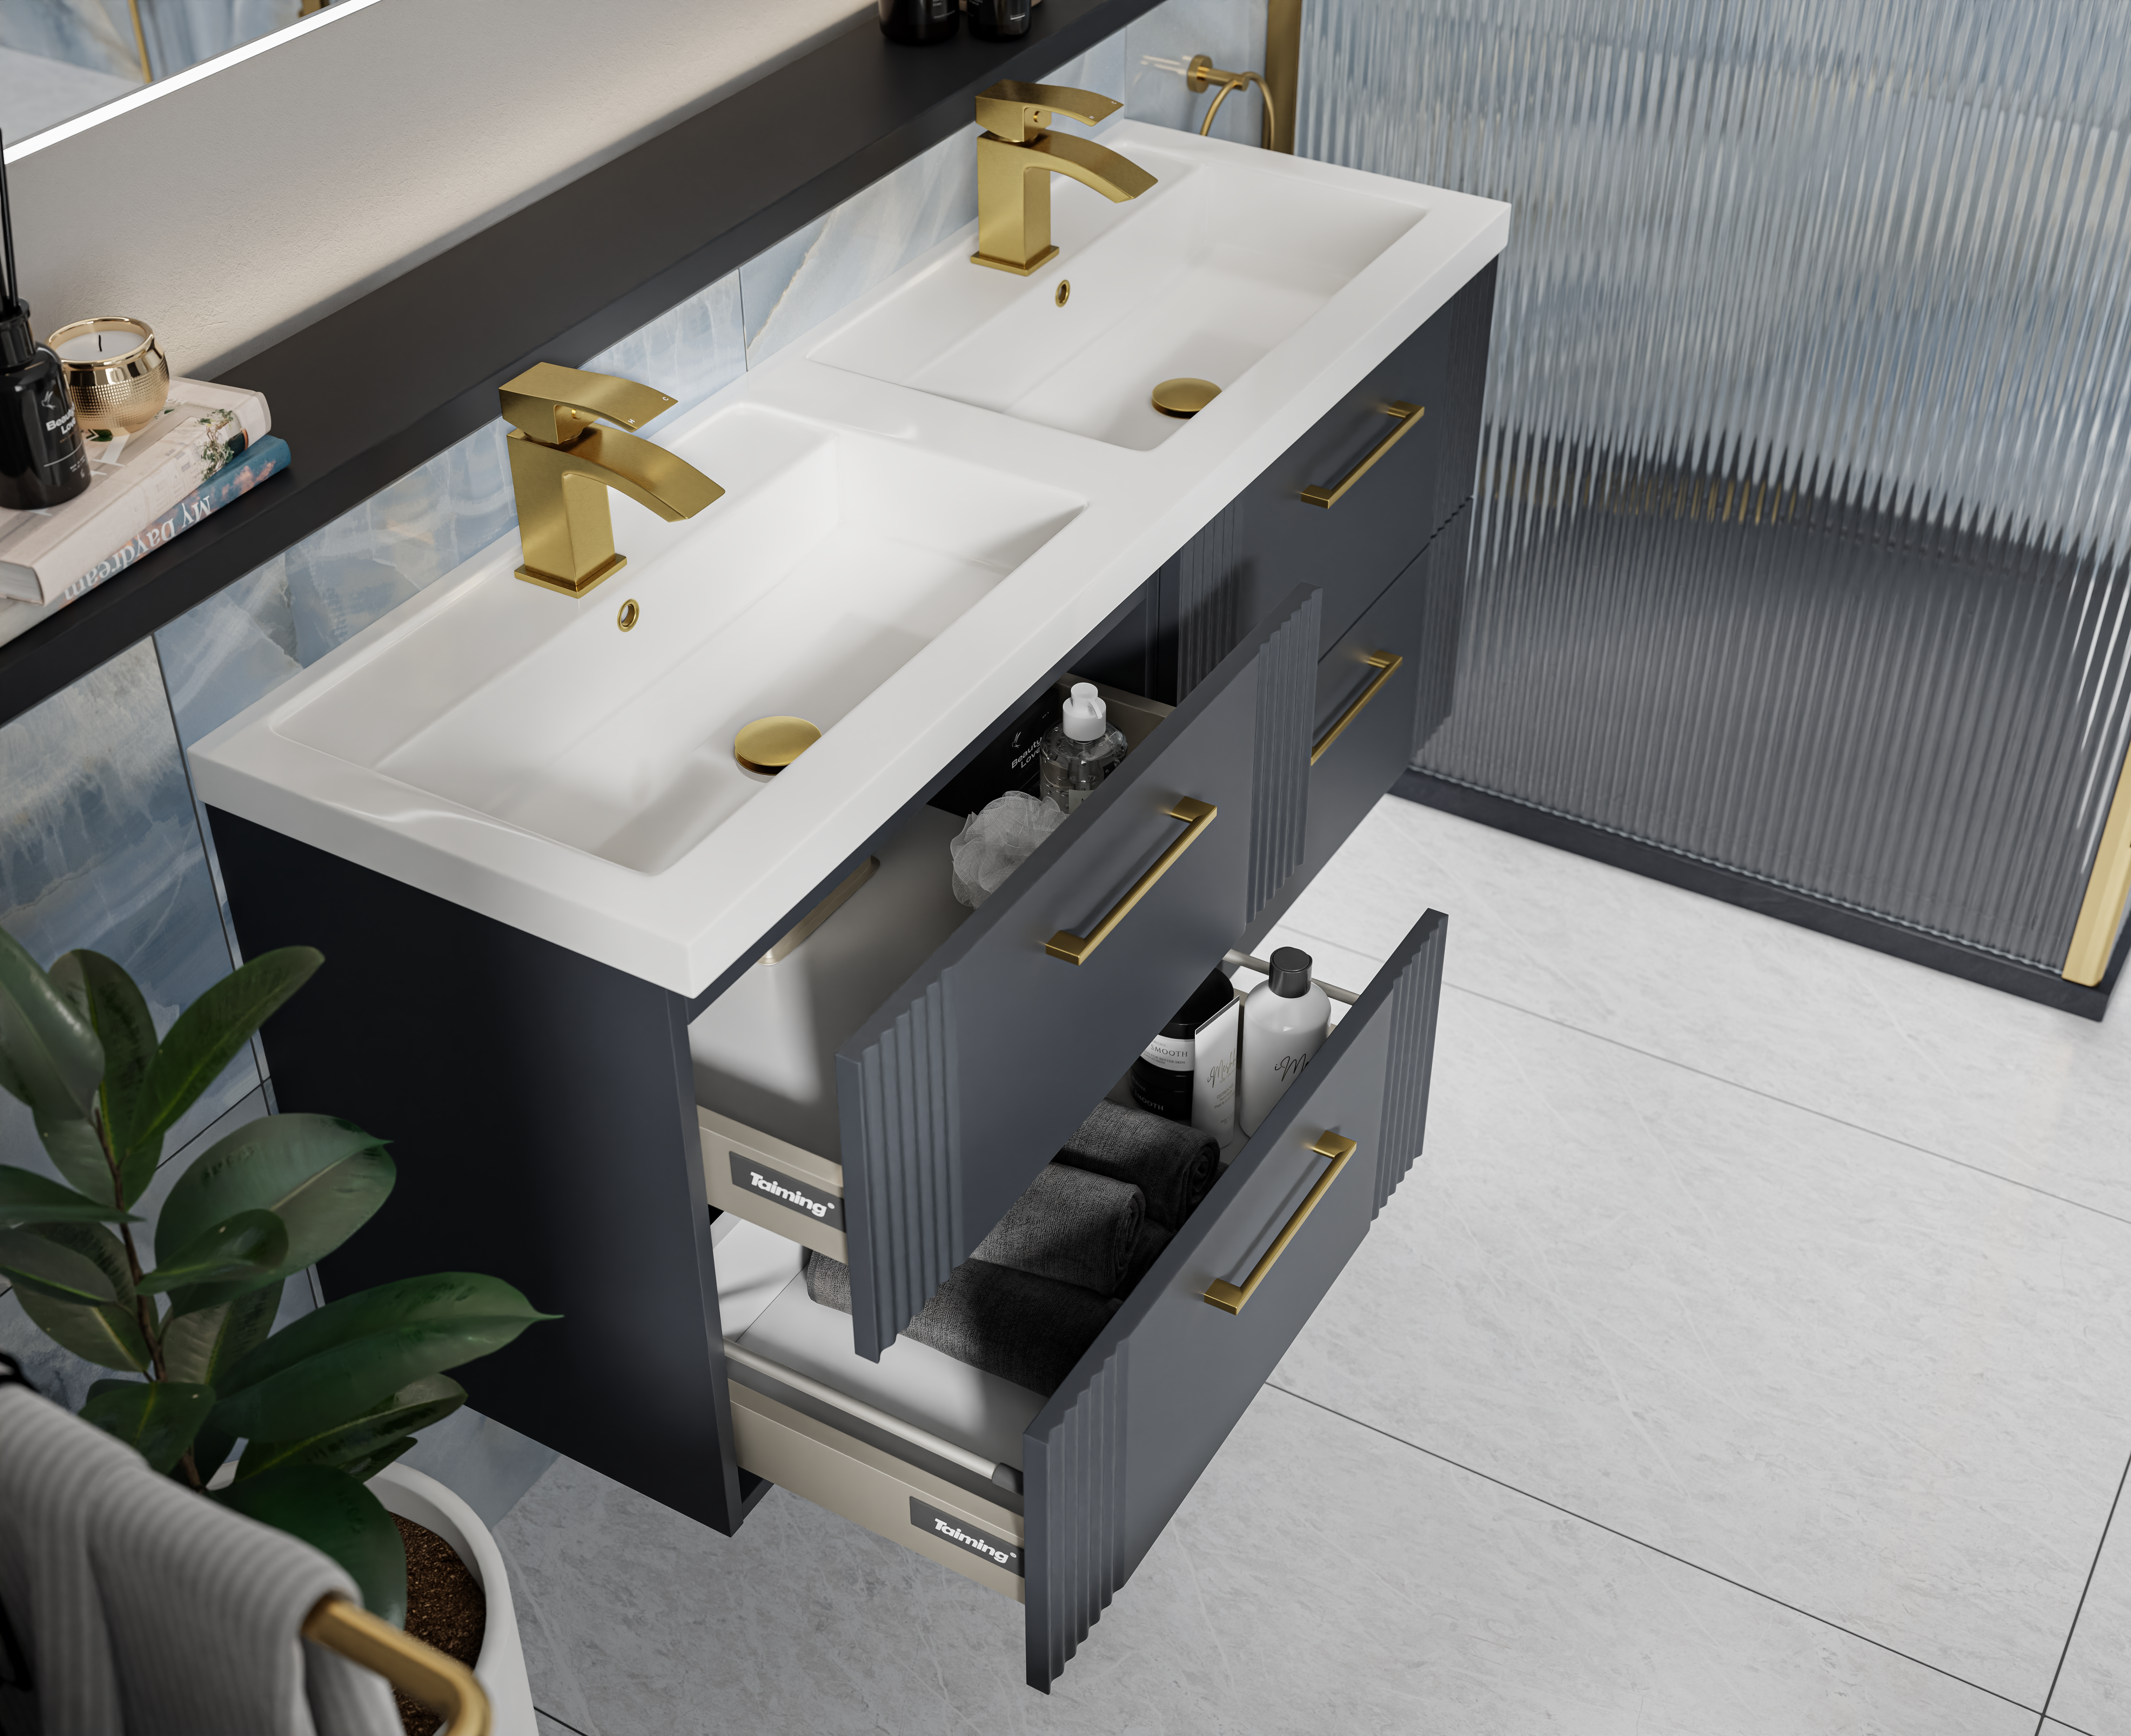
It's time to bid farewell to those empty shampoo bottles lingering in the shower and products at the back of your bathroom cabinets that you no longer use. Having fewer items on your bathroom surfaces makes it easier to clean and helps your space feel more organised and spacious.
Brian recommends: "Take everything out and organise it into three piles: items to keep, bin, and give away. You might find it helpful to set up a temporary sorting station on your kitchen table or the floor outside your bathroom."
"This is the perfect time to decide what you really use in your bathroom. If there are any products you haven't touched in a while, it may be time to toss them or pass them on to someone who will get more use out of them.
"Clearing away the clutter first gives you space to give your bathroom a good clean. Plus, when it's time to put everything back, you'll have the opportunity to organise your products, making it much easier to find what you need."
Pro tip: Think about which products take up the most space in your bathroom. Consider storing items you don't use very often in cabinets or drawers to keep your surfaces clean and tidy. This also means they won't collect dust or bacteria as quickly.
To learn more, read our guide on organising your bathroom in 5 simple steps.
3. Dust and hoover
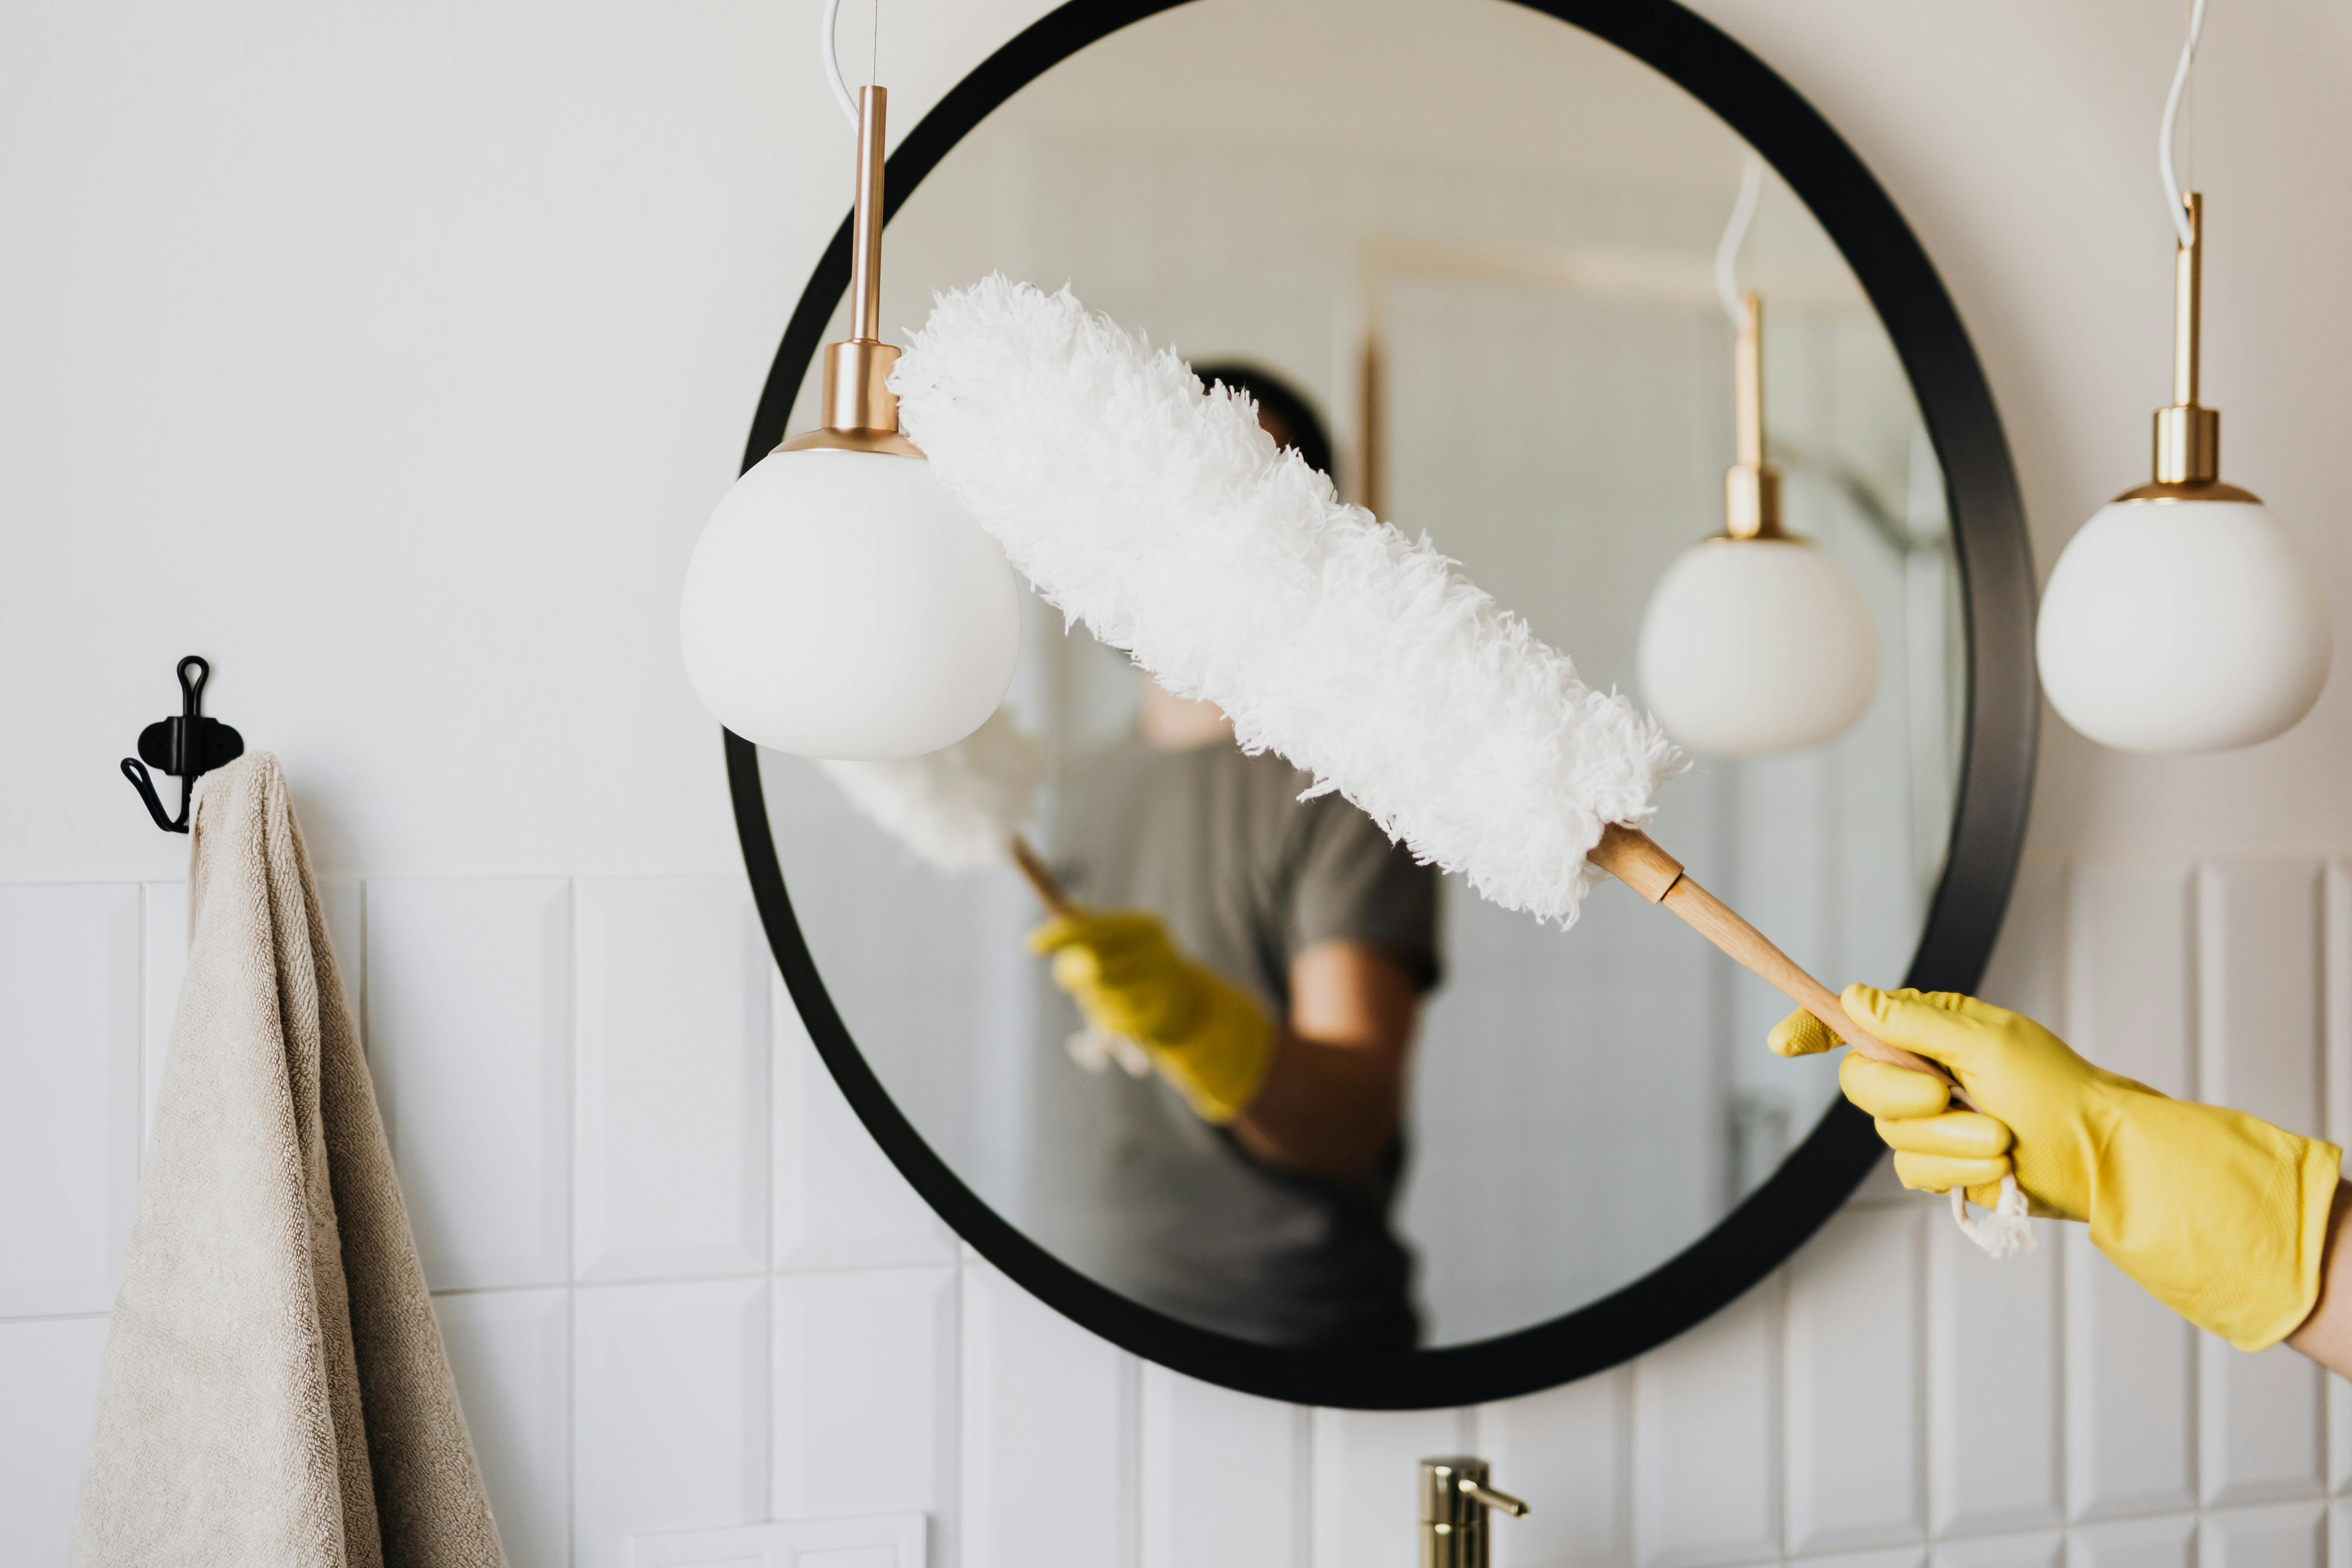
Before grabbing your cleaning cloth or spray cleaner, Brian recommends: "Resist the urge to go straight in with a damp cloth. That will just spread dust and hair around, making cleaning harder in the long run."
"Instead, start by dusting, working from top to bottom so any dust or debris that falls downward gets cleaned up later. When you're dusting flat surfaces, try using a dry microfibre cloth rather than a traditional feather duster; they're great at trapping dust and lifting it away from the surface."
Using a duster with an extendable handle is a great way to reach the areas that often get forgotten about – like light fixtures, door frames, and the tops of cabinets where dust builds up but isn't always visible. Don't forget the corners of the bathroom and areas behind your bathroom fixtures where dust tends to hide.
"After dusting, go ahead and hoover up any debris from the floor to make sure you're not just spreading it around. It's easier than dealing with dust bunnies later on," Brian advises.
Use a vacuum with a brush attachment or a handheld vacuum for more precise cleaning for those harder-to-reach areas.
4. Start scrubbing
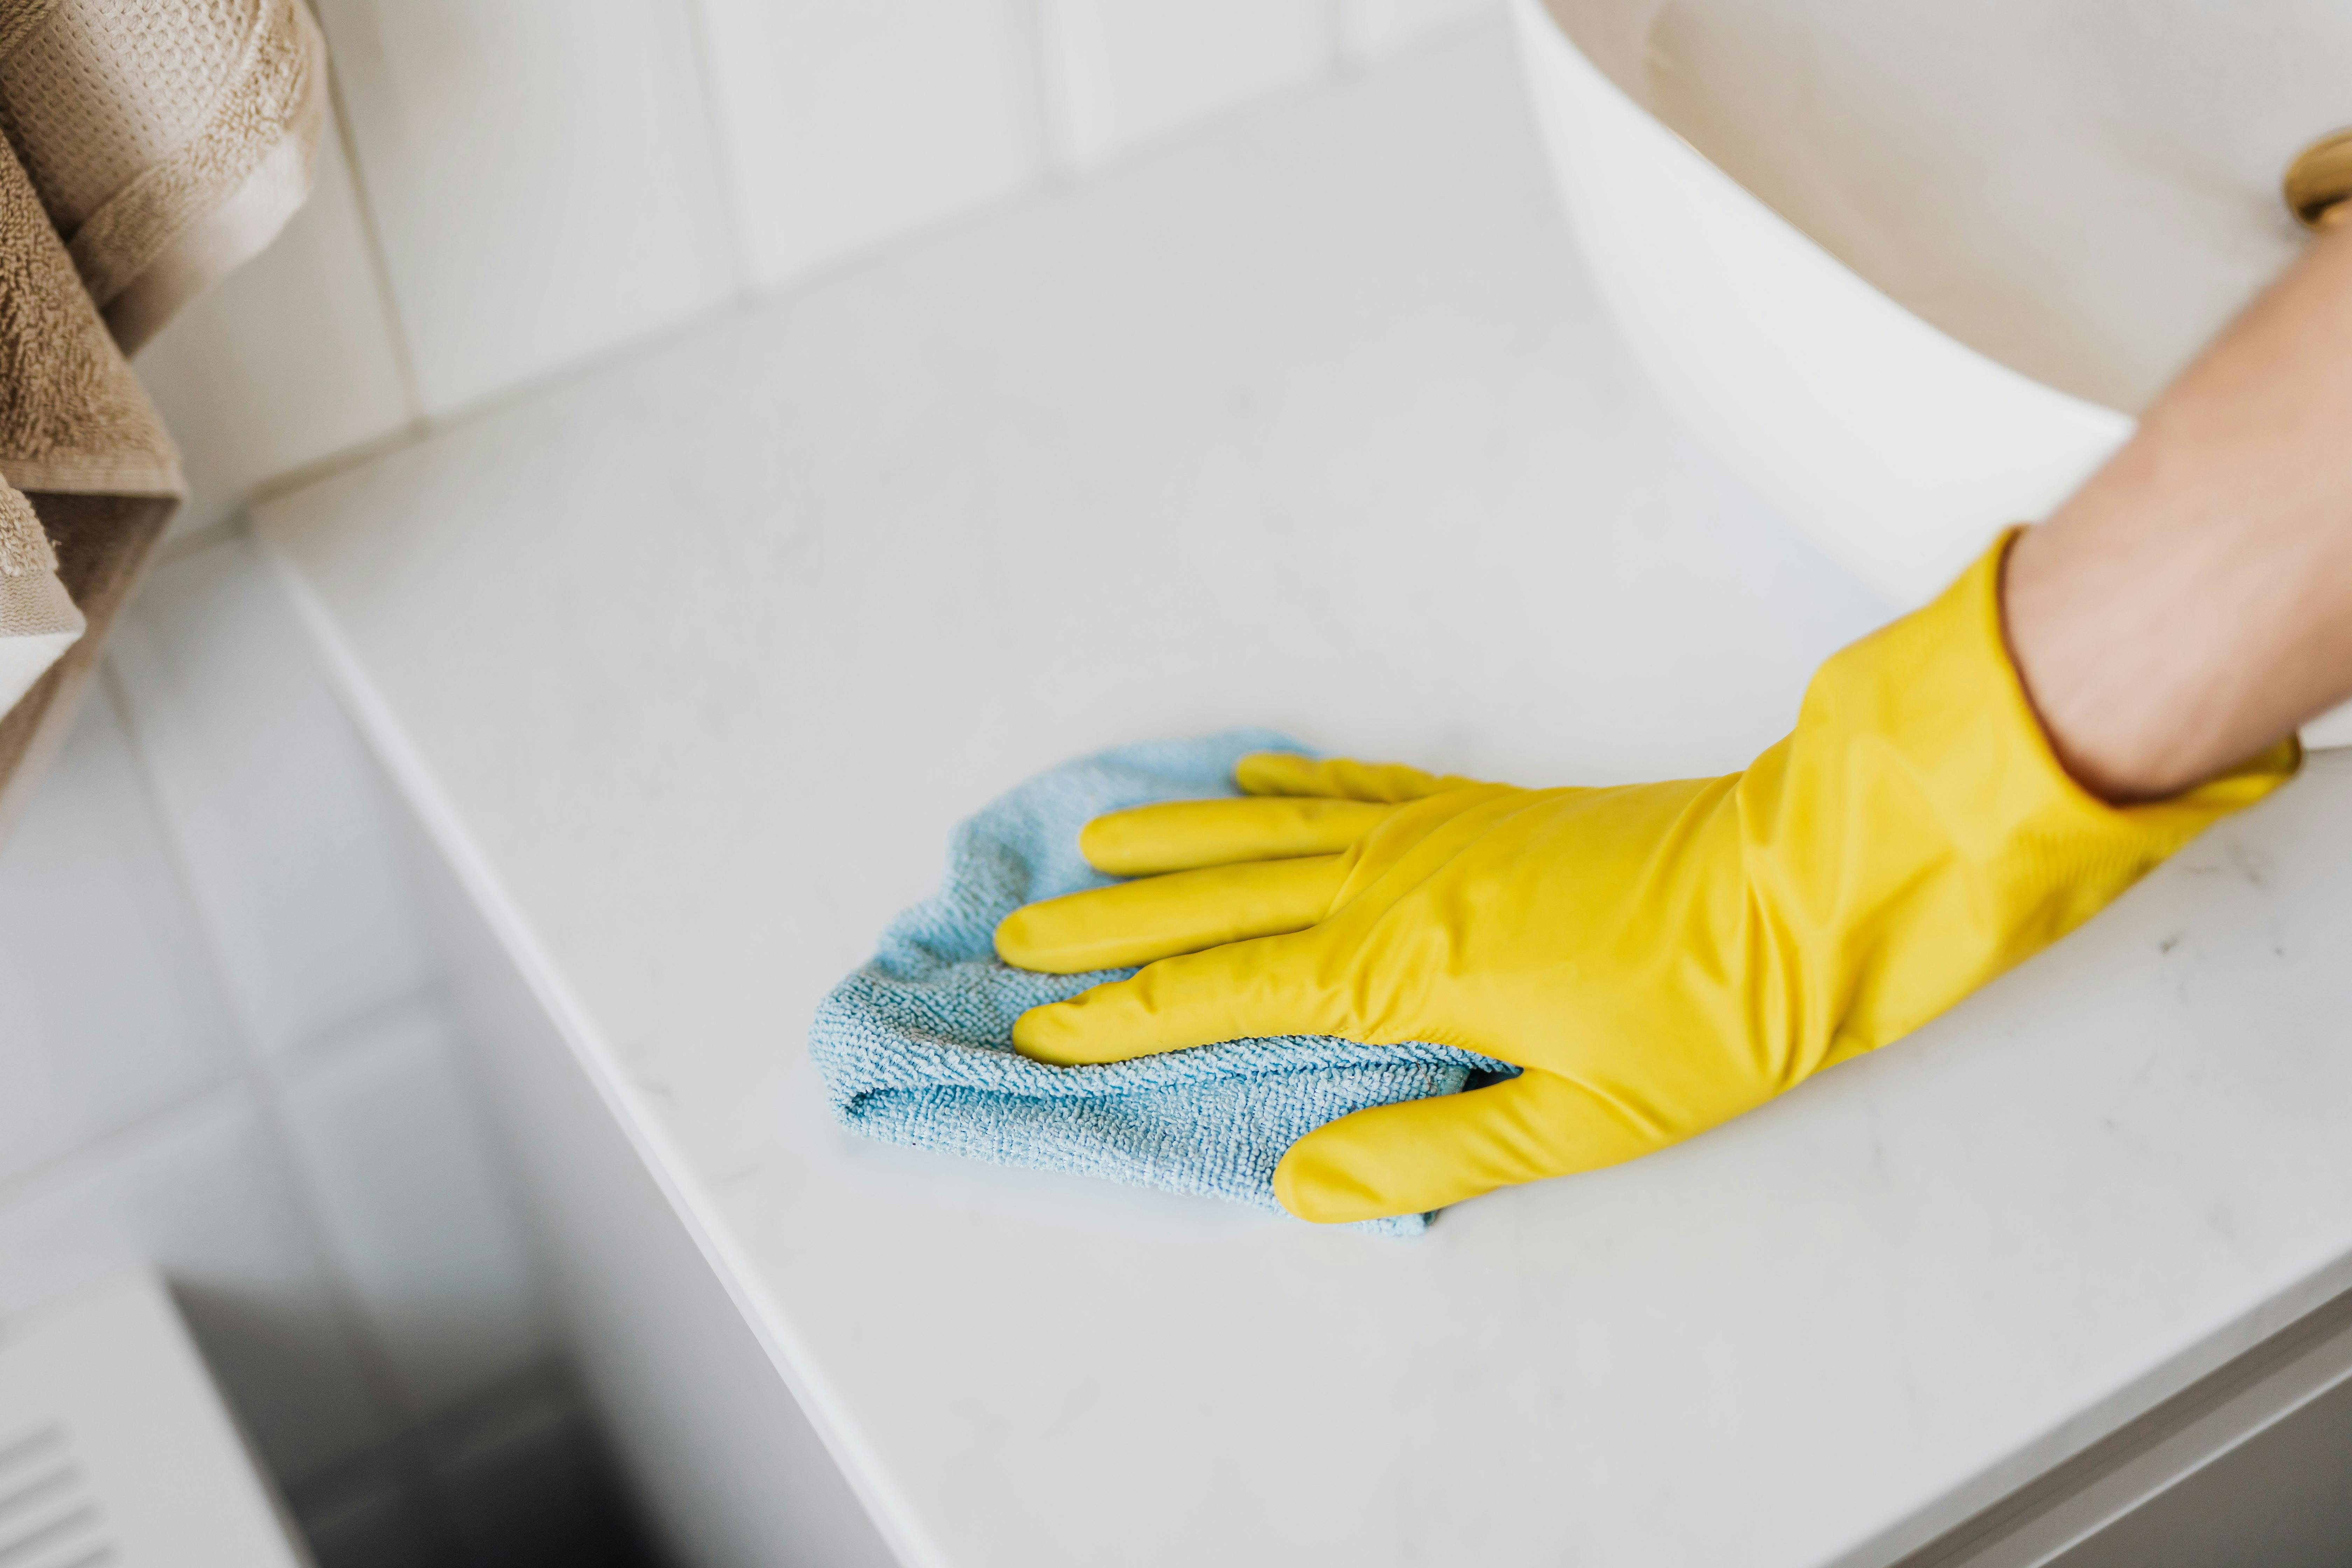
Now that the dust is out of the way, it's time to get scrubbing. Start by spraying your favourite antibacterial cleaner on all surfaces, including the inside of your cabinets, and let it sit for a few minutes to break down any dirt or grime.
"Use an old cloth or a microfibre cloth to wipe down the surfaces after spraying," Brian says. "When you're working with stubborn grime or soap scum, especially around the bath or sink, using a specialised bathroom cleaner with a little extra strength makes all the difference."
"If you want a natural alternative to your usual cleaner, white vinegar or lemon juice can be a great option for routine cleaning. They disinfect, remove grease, and leave the bathroom smelling fresh," Brian explains. "Just be cautious with these natural cleaners on granite or marble surfaces, as the acidity can damage them over time."
After spraying, use a damp cloth or sponge to wipe everything down, paying attention to any watermarks, soap residue, or streaks left behind. Once done, dry the surfaces with an old towel or a microfibre cloth to ensure they remain streak-free.
5. Unclog your drains
Cleaning the shower drain isn't the most glamorous job, but it's essential to avoid bigger issues down the line. A clogged drain can lead to unpleasant smells, slower drainage, and water backing up in the shower.
Brian explains how to clear the blockage:
- “Firstly, put your gloves on and use your fingers to remove any initial debris physically blocking the drain, like hair.
- Then, if needed, use a drain snake — a flexible tool designed to reach deep into drains and dislodge clogs. Insert it into the drain and gently twist it as you push it down.
- Tug upwards slowly to start pulling blockages out, and put it straight into the bin. Repeat until you’ve cleared everything out.
- Blast any remaining dirt by putting around five tablespoons of bicarb down the drain, followed swiftly with the same amount of distilled white vinegar. The combination will create a fizzing action that will work away any grime.
- Leave for at least 20 minutes, then pour your favourite scented concentrated disinfectant alongside boiling water to flush the mixture away.”
If your drain is still a little sluggish, you can try something surprising that most of us have at home to clear the blockage.
"Pour a bit of cola down the drain and let it sit for an hour or so. The phosphoric acid in cola can help break down grease and grime, making the drain flow smoother. Follow up with some freshly-boiled water to clear away any residue. While this method isn't a long-term solution, it's a handy way to clear things up quickly."
6. Clean the bath and shower
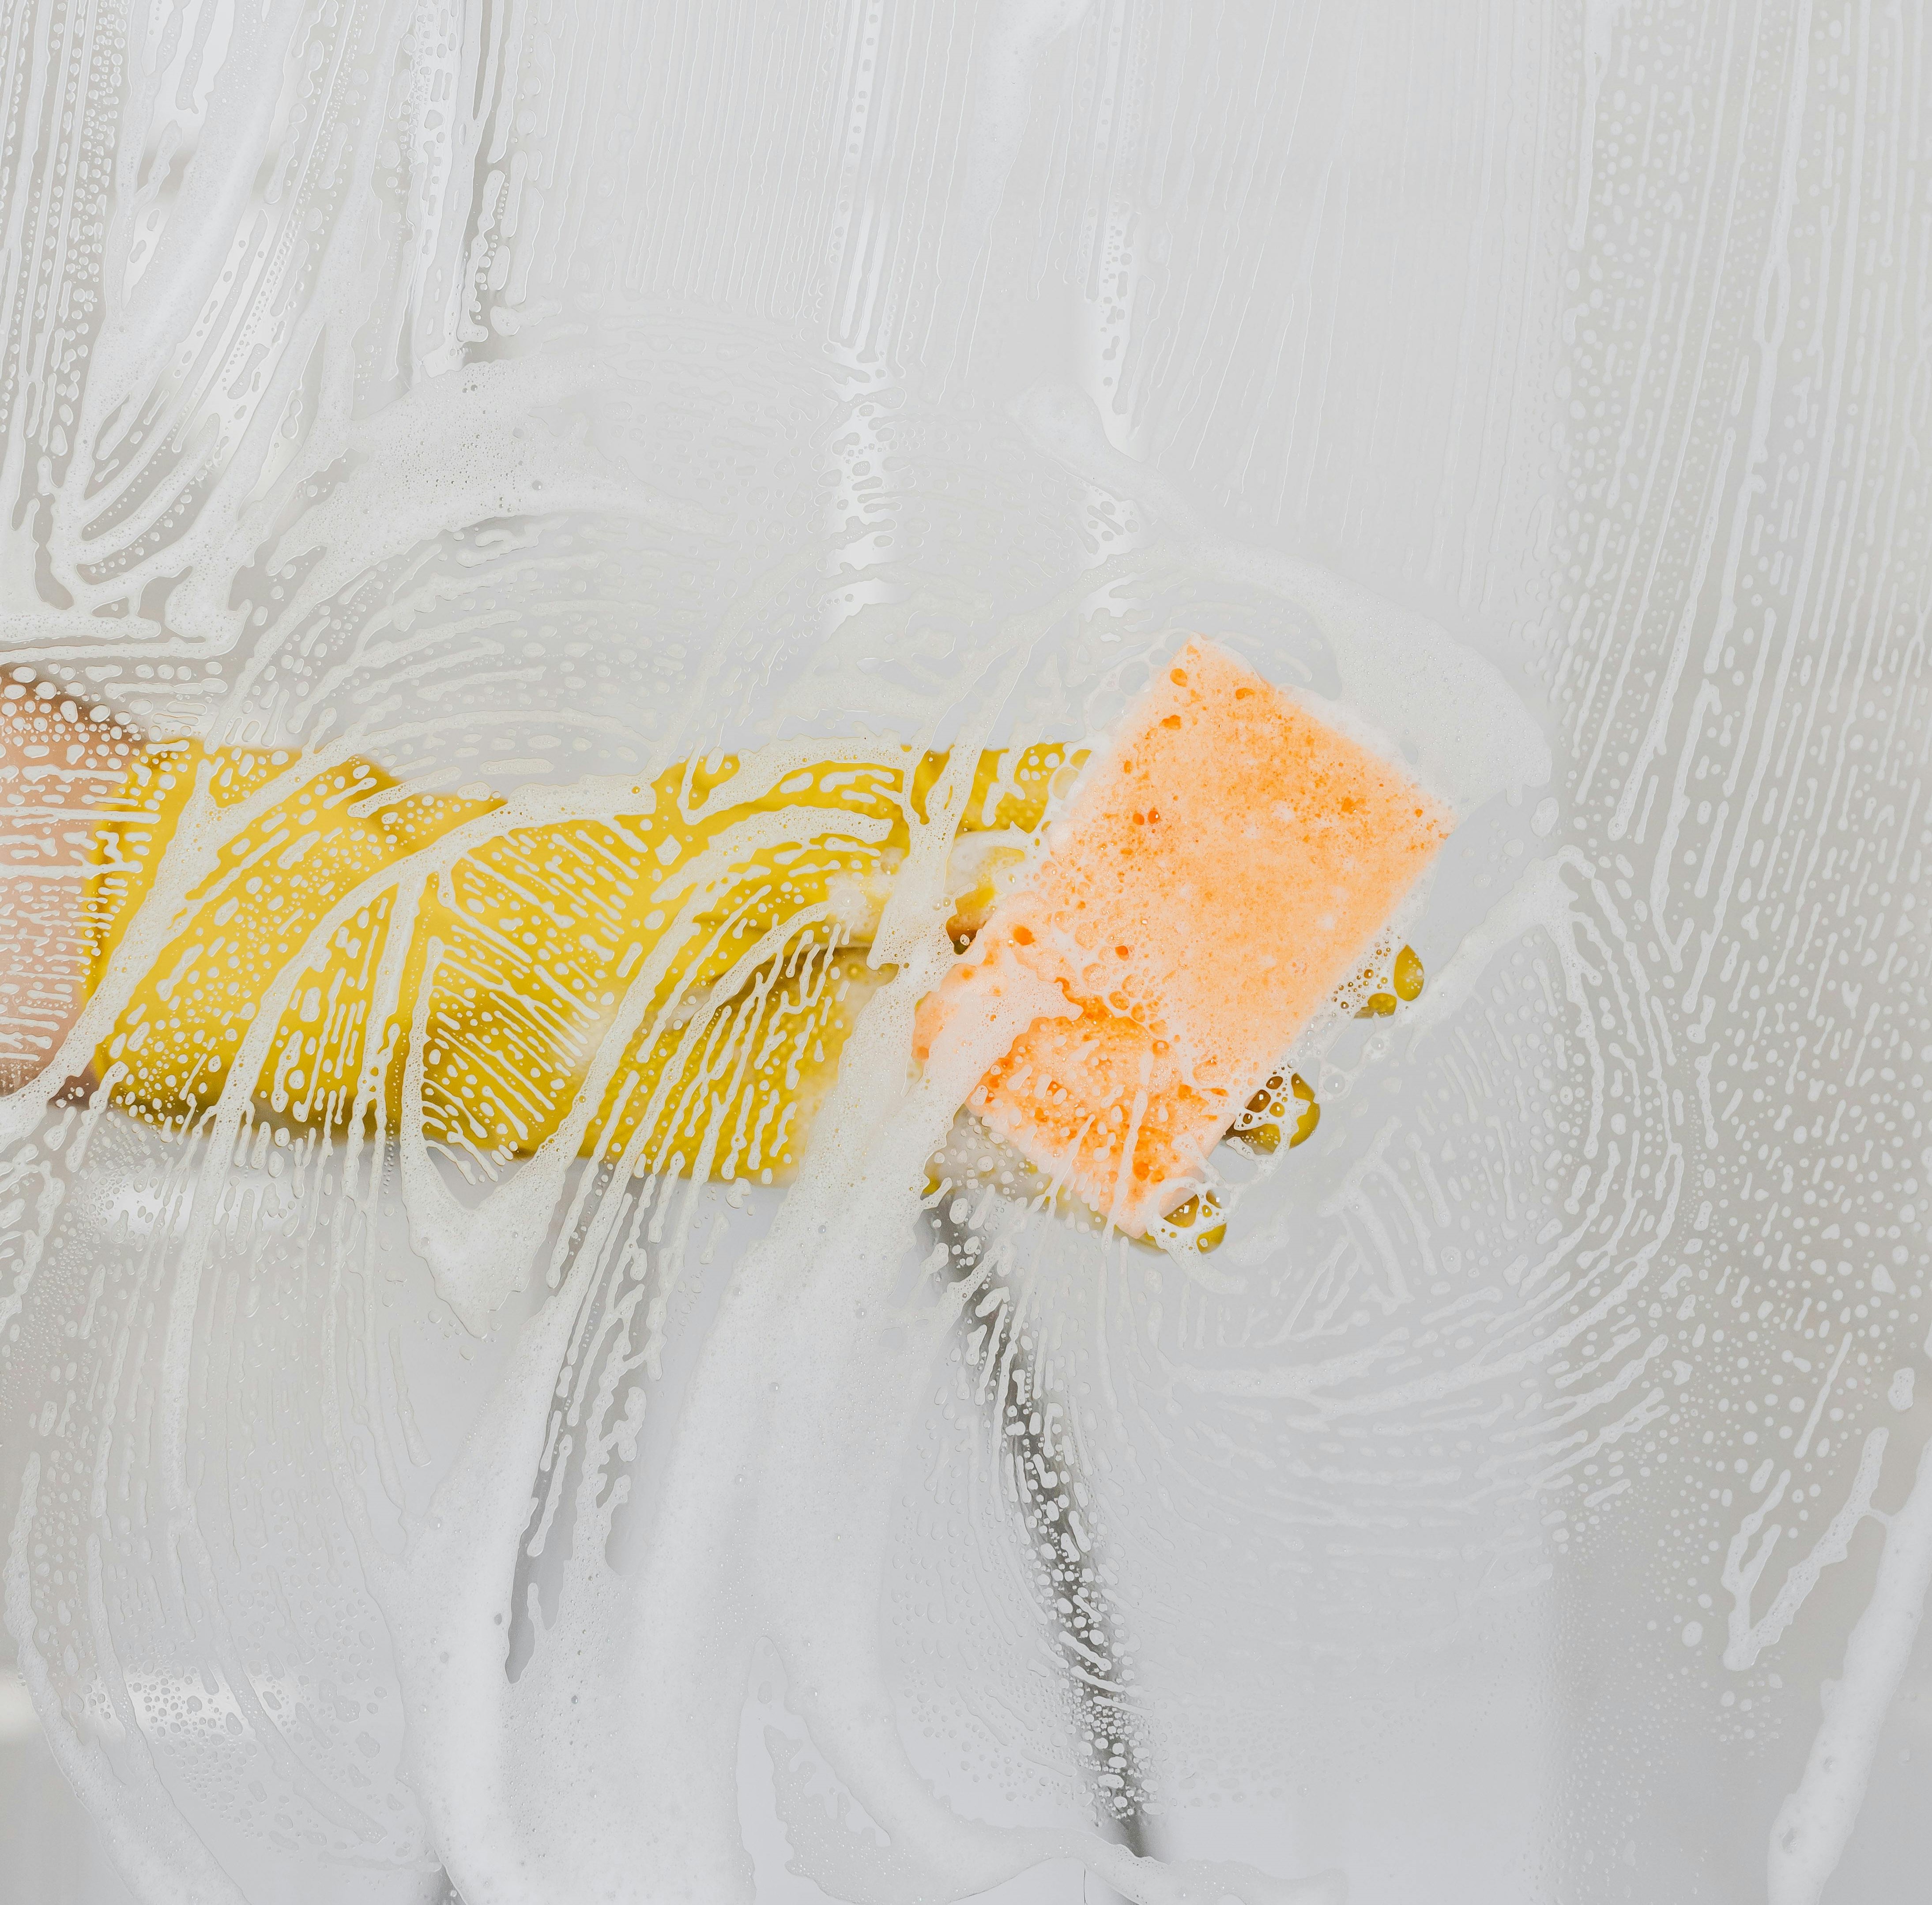
Now that the drains are clear, it's time to tackle your bath and shower. These areas can accumulate soap scum, a thin film of oils from shampoo and soap, along the inside of the tub, with limescale and grime developing around the taps and plughole over time. This can make them look dirty, even when you've cleaned everything else. But don't worry – getting them sparkling clean again is easy.
"Start by spraying your bath and shower with a good bathroom cleaner," Brian says. "Let it sit for a few minutes to break down any soap scum and grime, then use a non-abrasive brush or sponge to scrub the surfaces without damaging the coating."
He adds: "If your shower door is glass and you're usually left with streaks after using it, try applying equal parts white vinegar and water in a spray bottle. The acidic nature of white vinegar means it helps break down mineral deposits, soap scum, and other residues that can cause streaks and cloudiness on the glass surface."
"Spray the glass generously, leave for 15 minutes and wipe away with a microfibre cloth for a streak-free finish."
Once you've scrubbed, you'll need to rinse the bath thoroughly. If you have a handset, rinse the cleaner off with it. If not, you can also pour water from a jug over the surfaces to wash it away.
Changing your habits can make this job much easier in the future. Brian explains: "A quick once-over with a squeegee or microfibre cloth after using the bath or shower will go a long way in reducing the amount of grime that builds back up again."
Removing stubborn stains and limescale
For those stubborn stains, a bicarbonate of soda and white vinegar solution is your best friend.
"Mix equal parts of both in a bowl, then apply it to the problem areas and leave it for about 30 minutes. After that, scrub it off, and you'll see the difference," Brian recommends.
"For limescale and hard water stains, warm up some white vinegar in a saucepan before applying it to your bath or shower surfaces," Brian suggests. "The heat enhances its ability to break down mineral deposits, making stain removal much easier."
When you're done, dry the surfaces with a microfibre cloth to avoid water spots. "A dry cloth will also help you avoid streaks on glass surfaces, leaving your bath or shower gleaming."
"Don't forget your chrome taps and shower valves, as these can be affected by limescale and be very noticeable. Soak some kitchen roll in lemon juice, wrap it around the taps, and leave it for about an hour. Then scrub gently and rinse. For an extra shiny finish, polish the taps using a bit of baby oil on a microfibre cloth."
Keep the grime away for good with our guide on removing bathroom limescale, and learn more about deep-cleaning your shower enclosure.
7. Descale your showerhead
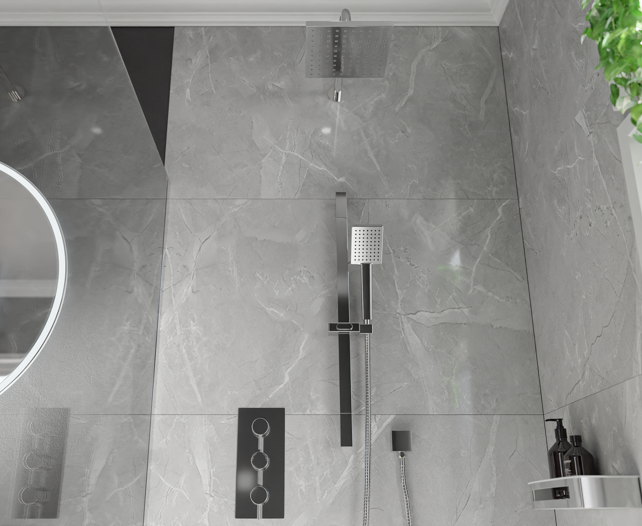
We all know how frustrating it can be when your showerhead isn't performing at its best. If you've noticed weaker water flow or water jets spraying in all the wrong directions, it's probably time to deal with some limescale build-up. The good news? Descaling your showerhead is easier than you might think!
Brian shares his thoughts: "If you're seeing reduced water pressure or uneven water flow, limescale is likely the culprit. Thankfully, it's a quick fix with a little vinegar or lemon juice."
Here's how to get your showerhead back to peak performance:
- "Pour some white vinegar into a sandwich bag and place the showerhead in it. Make sure it's fully submerged in the vinegar.
- Tie the bag around the showerhead with a rubber band or string to keep it in place.
- Let it soak for at least an hour, and let the vinegar's acidity work magic.
- After soaking, remove the bag and rinse the showerhead under hot water.”
"If you're in a rush and don't have any white vinegar, cola can work as a quick fix," Brian adds. "Just hang a zip-lock bag filled with cola around your showerhead and leave it to soak for 30 minutes to an hour, then rinse it well to remove any sticky residue. The acidity in the cola helps break down the limescale just as effectively."
8. Deep-clean your bathroom tiles
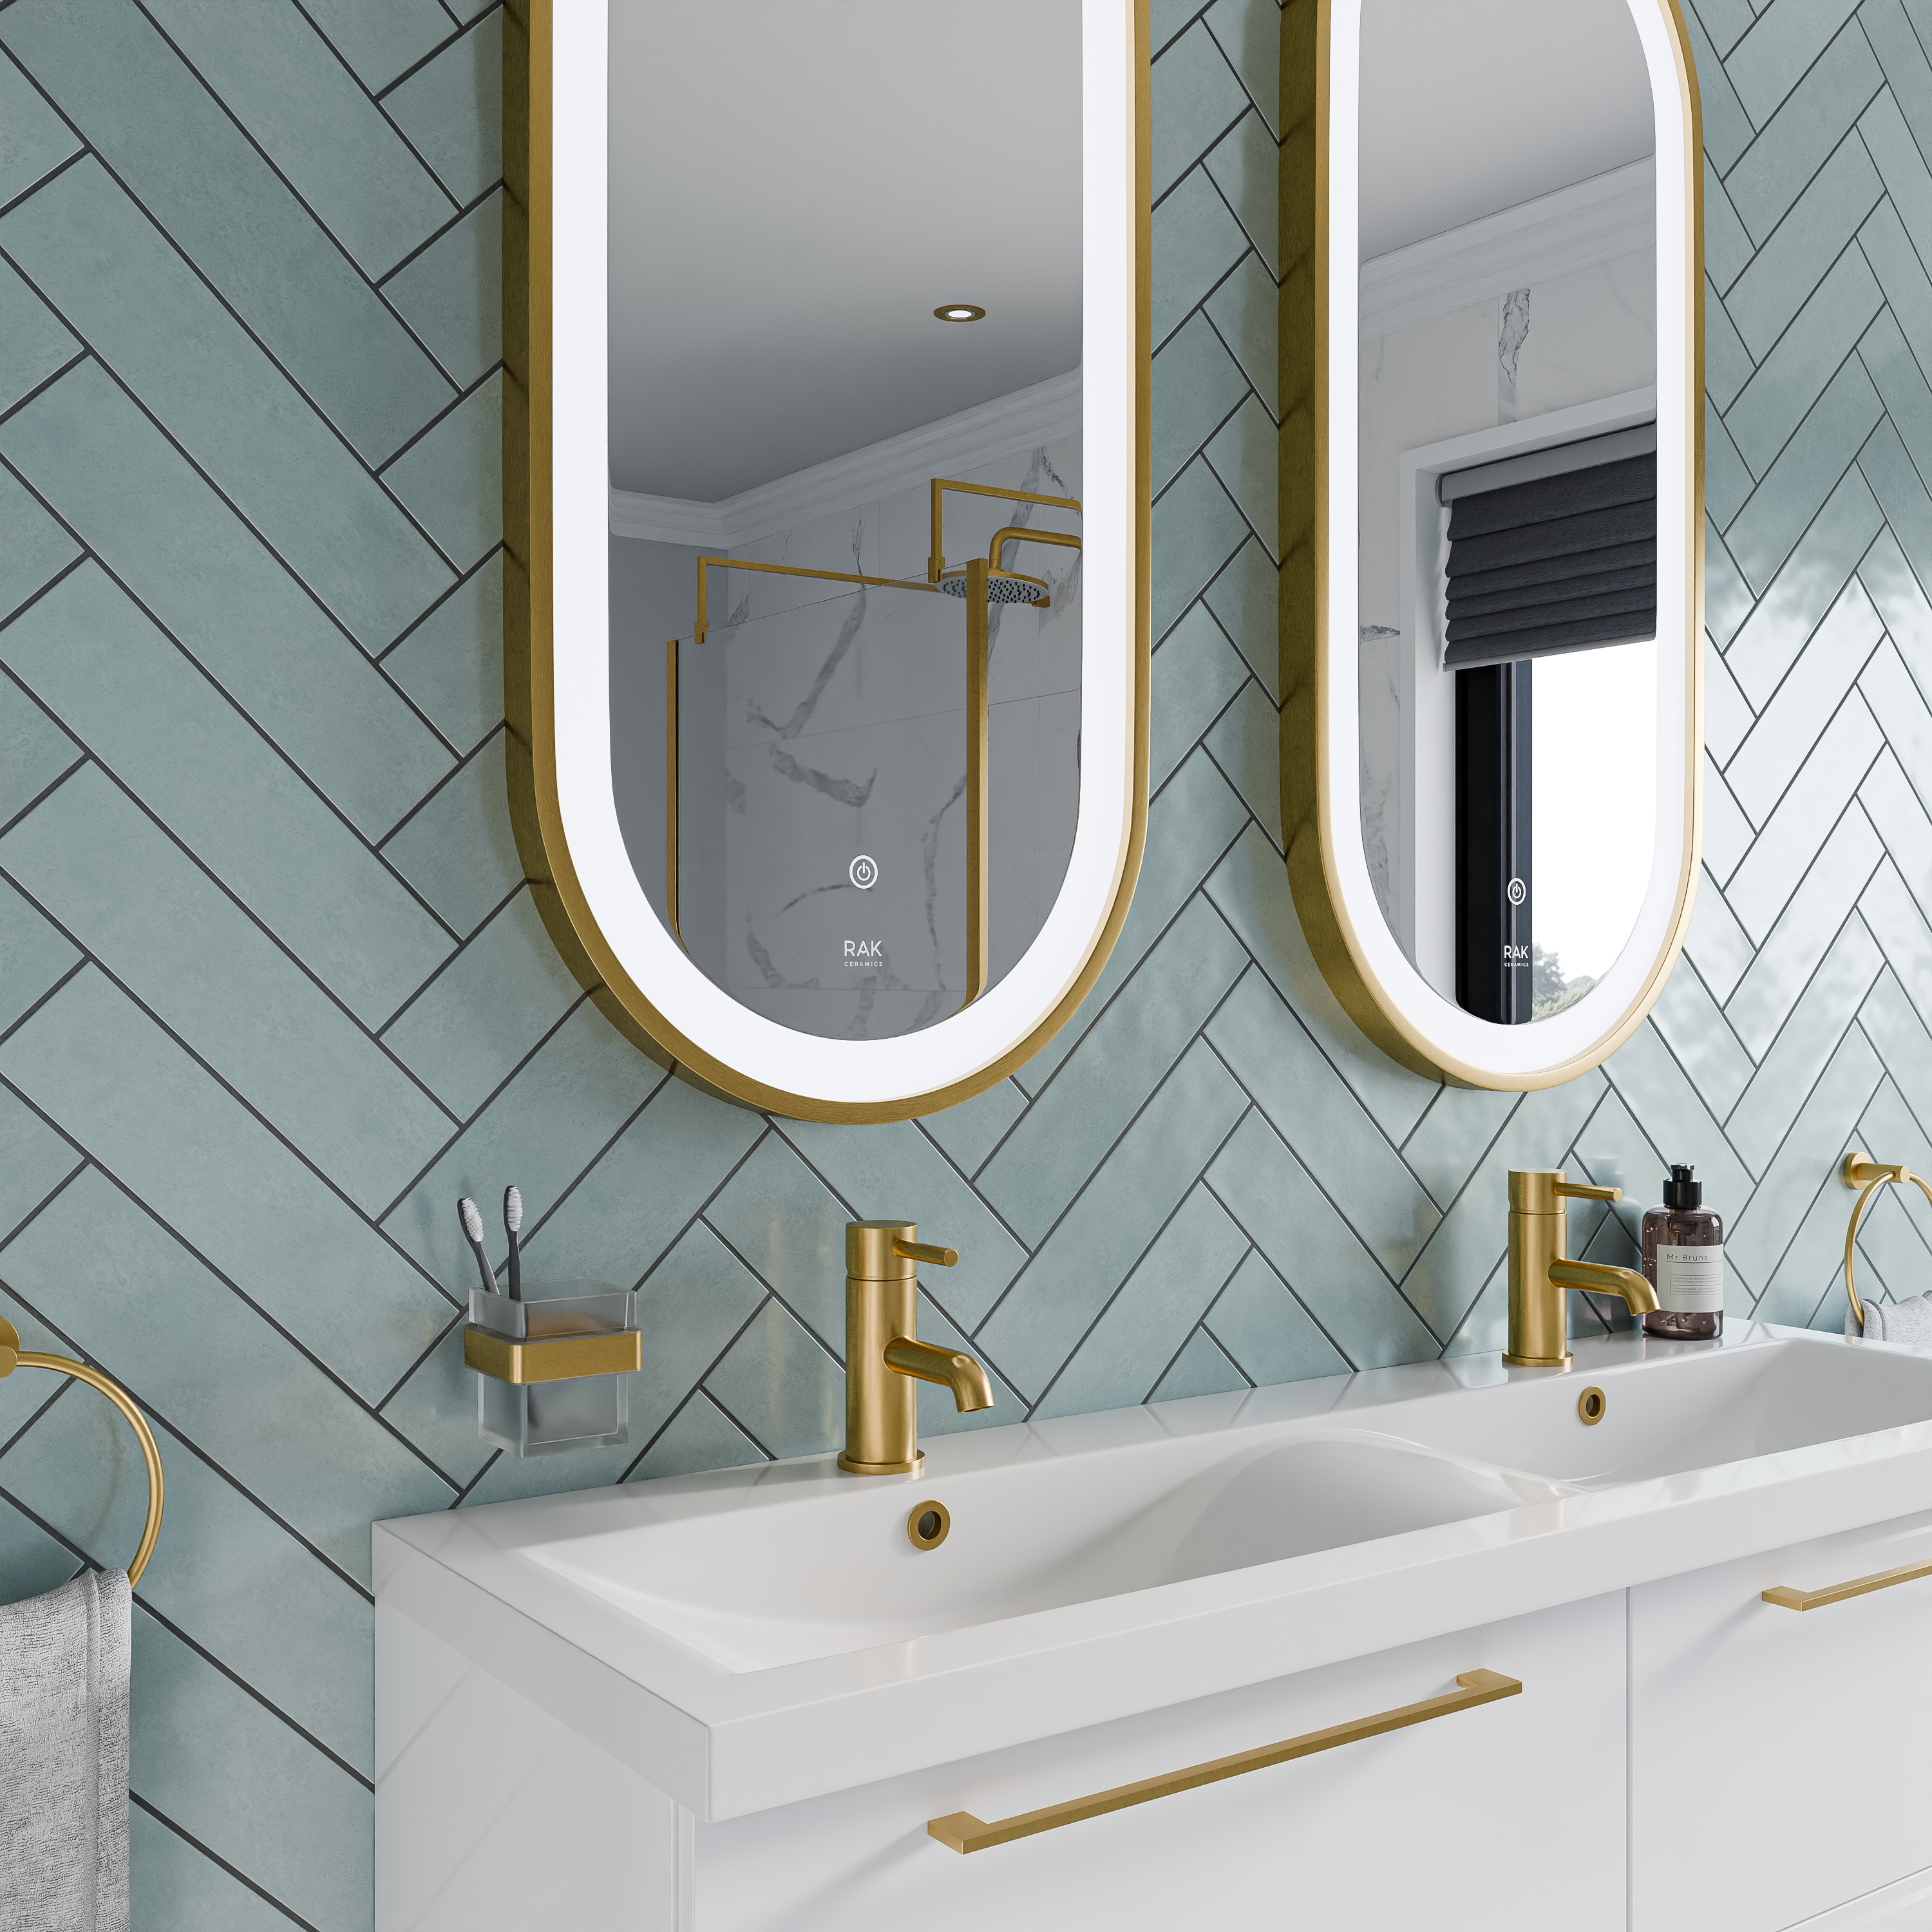
Bathroom tiles are great for making your space look clean and stylish but also a magnet for grime and water build-up. Over time, grout can collect dirt and even black mould, especially if your bathroom has high humidity or hard water. Giving your tiles a deep clean now and then is a must to keep everything looking fresh.
Brian says: "When tackling your tiles, it's all about the grout. Its rough texture means it can easily trap dirt, soap scum, and mould, so that's where you want to focus your efforts."
Here's how to clean your tiles and grout like a pro:
- “Tackle the grout first by mixing five tablespoons of bicarbonate of soda with a little warm water to create a paste.
- Dip an old toothbrush into the paste and gently scrub it into the grout lines. Let it sit for about 30 minutes.
- After it's had time to work, wipe it off with a damp cloth."
For stubborn grime, you can also use a black mould remover spray; follow the instructions on the bottle and be sure to wear gloves to protect your skin.
And remember Brian's top tip: "Don't use harsh chemicals like bleach when you're cleaning coloured grout, as these can damage the finish. Stick to gentler alternatives like bicarbonate of soda."
Once the grout is spotless, move on to the tiles themselves:
- Soak a clean cloth in hot water and wring out the excess.
- Add a few sprays of your cleaner (but not too much, or you'll get streaks).
- Start at the top and wipe down the tiles, working around the room.
- Wipe away any watermarks and soap residue, especially in the shower area.
Brian adds: "If you're dealing with stubborn soap scum or hard water stains, a mixture of white vinegar and baking soda works wonders. The vinegar helps break down the residue, and the baking soda gives you a gentle scrub. Spray the tiles down, leave them to soak for a few minutes, and gently wipe them down with a cloth. Finally, use a clean, damp cloth to remove any residue."
9. Polish glass surfaces and mirrors
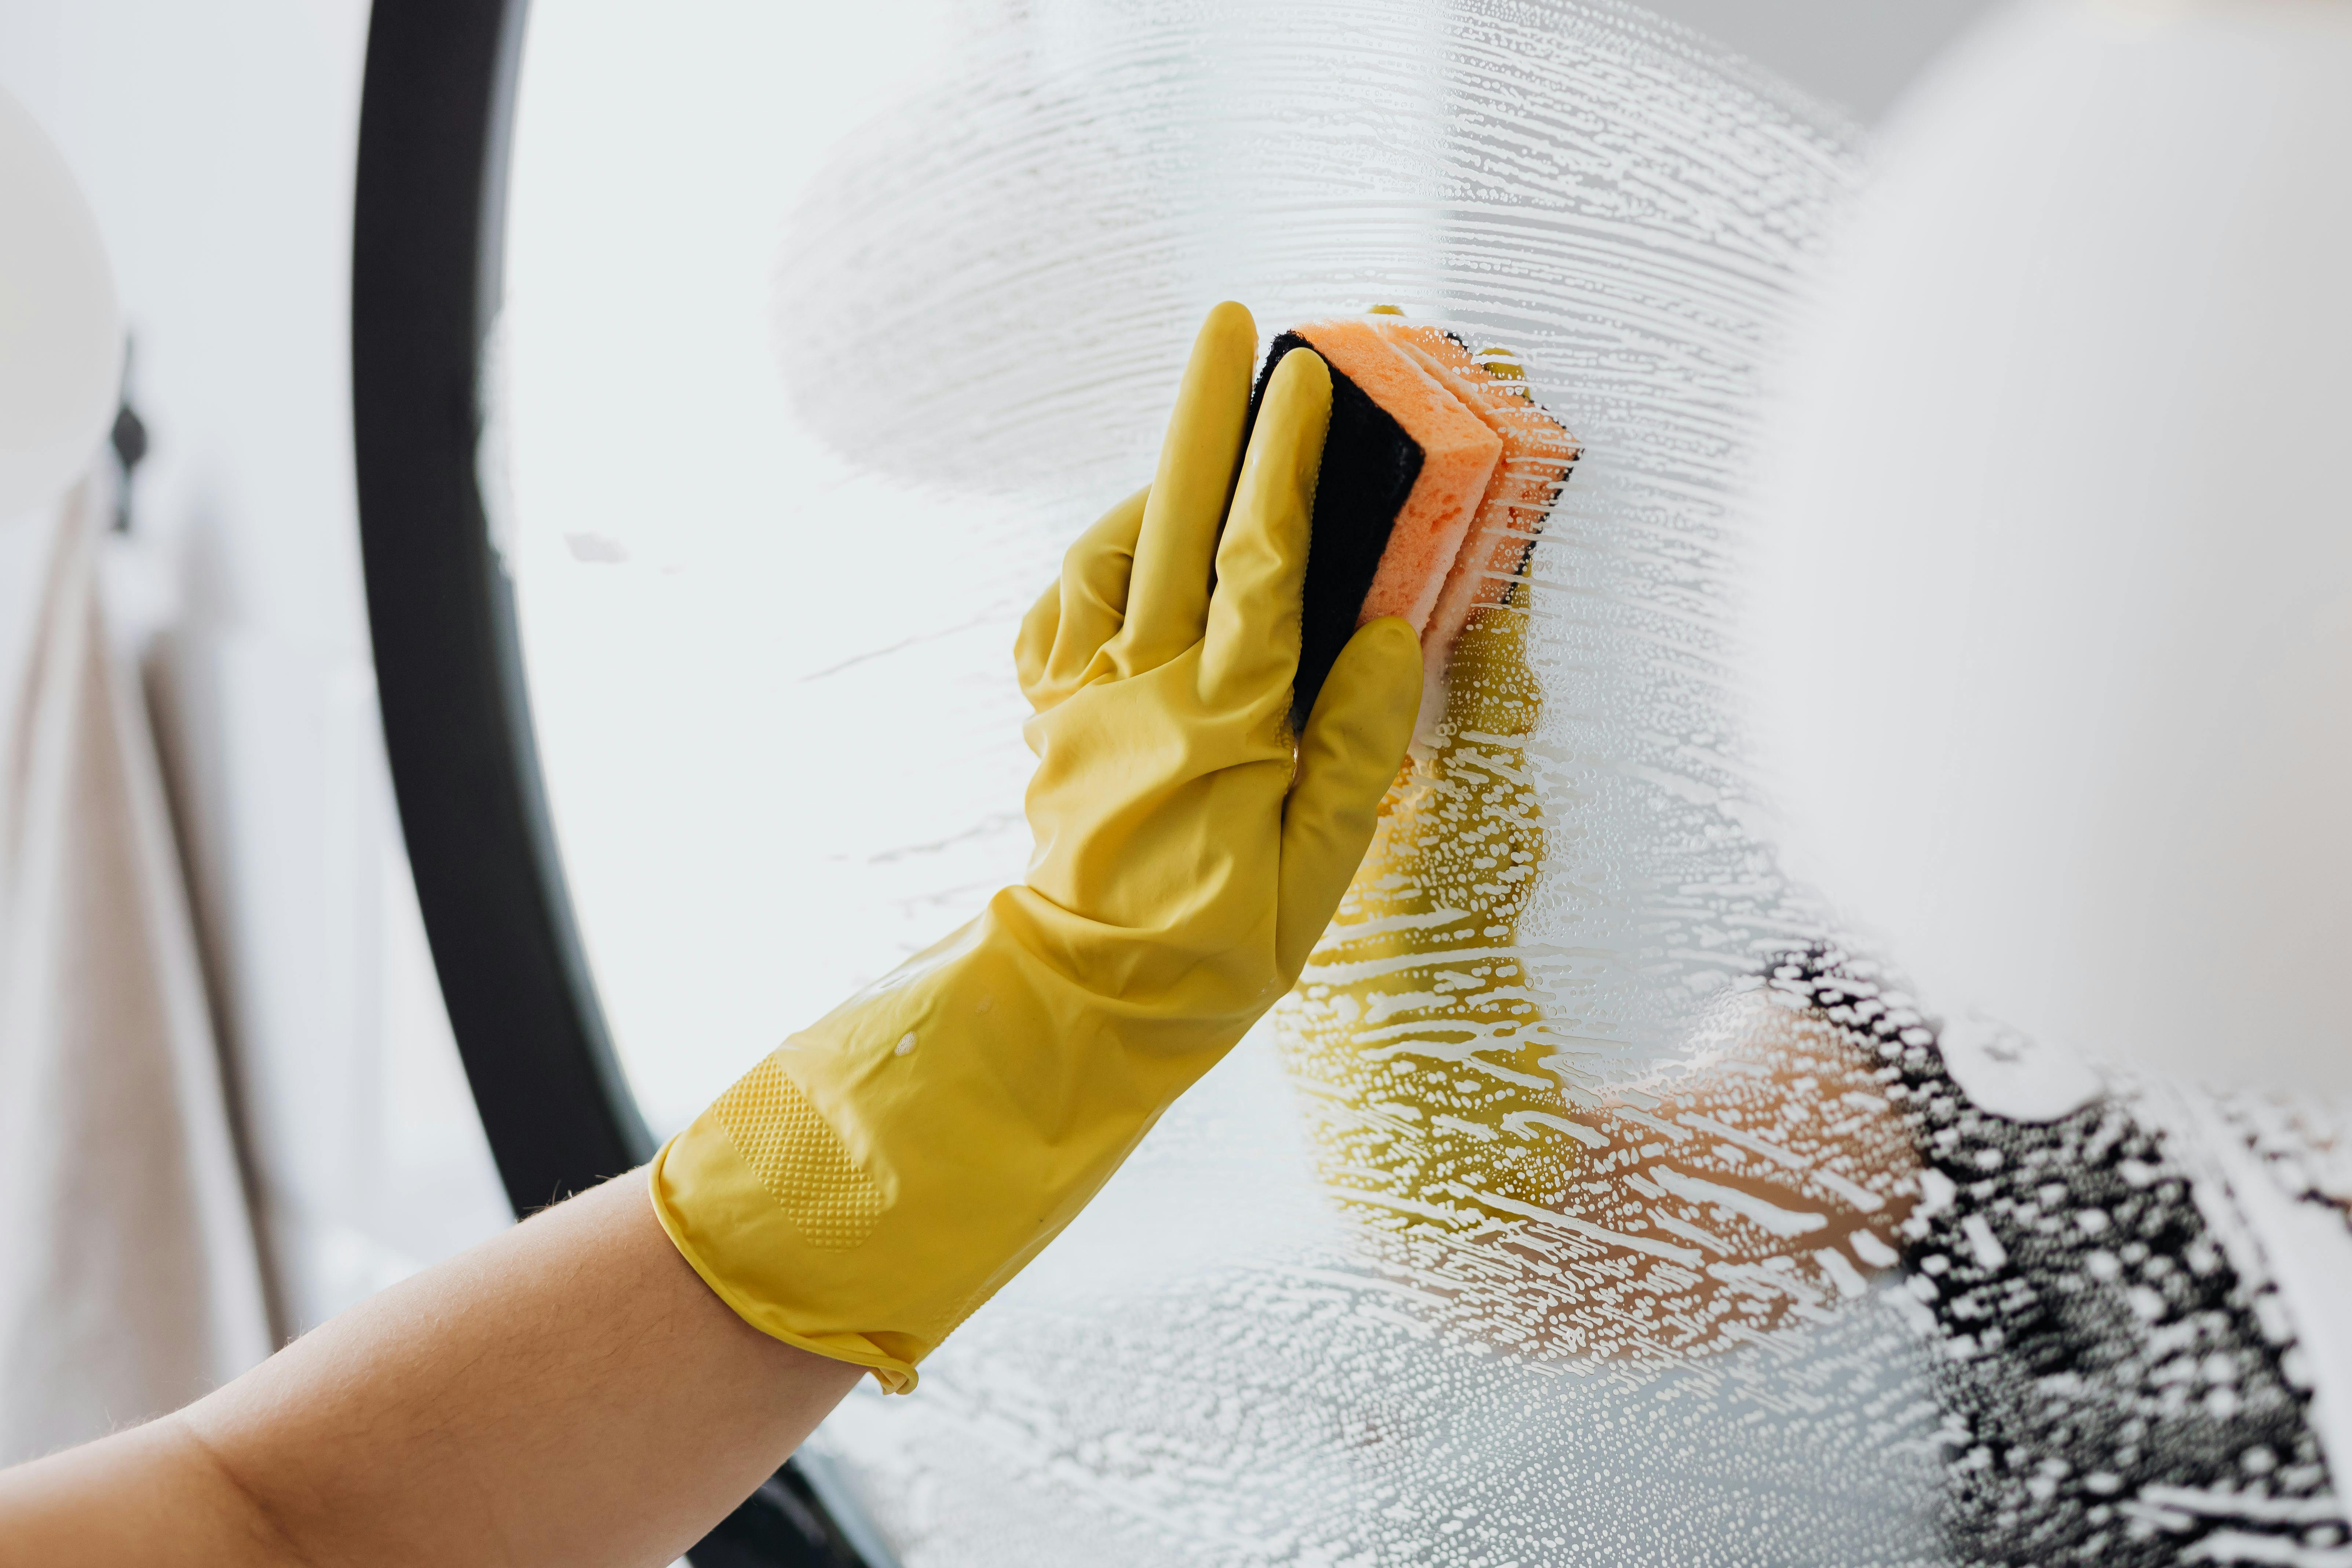
Glass surfaces, while great for creating a modern look in your bathroom, can also be prone to streaks and watermarks. Whether it's your bathroom mirror or shower door, those pesky marks can make your space feel unclean, even when you've just spent hours wiping every surface down!
Thankfully, with the right cleaning methods, you can keep your glass surfaces crystal clear.
Brian recommends starting with a good glass cleaner or making your own homemade solution with equal parts water and vinegar. "The key to streak-free glass is to use a gentle approach," says Brian. "Spray your cleaner and wipe in circular motions until the surface is shiny and clear."
And here's a little trick you might not have thought of: newspaper!
Brian adds: "Surprisingly, newspaper is an excellent tool for cleaning glass. Unlike a regular cloth, it doesn't leave behind any lint fibres, and the ink also acts like a mild soap, helping break down dirt and grime. Just give your mirror or glass surfaces a wipe with newspaper for a streak-free finish."
If you're dealing with heavy water stains or soap scum, you can mix a solution of white vinegar and water in a spray bottle, then generously apply it to your glass surfaces. Let it sit for about 15 minutes to break down the grime before wiping it away with a microfibre cloth for that perfect shine.
Brian also suggests: "For stubborn streaks, take your time and buff the surface thoroughly. Don't rush through the job – the cleaner and the right cloth make all the difference."
10. Clean the toilet
Now that you've tackled the rest of the bathroom, it's time for the most important – and often most dreaded – job: cleaning the toilet. While it's far from glamorous, keeping your toilet clean is crucial for maintaining a fresh bathroom.
Brian says: "Start by dusting off the toilet seat, lid, and exterior surfaces with a dry microfibre cloth to remove any dust or debris before you get your hands dirty with any liquids. After that, spray down the entire toilet with an antibacterial spray to disinfect it."
When it comes to cleaning the inside of the bowl, Brian has a surprising trick: lemon juice!
"Lemon juice is a fantastic natural cleaner. Its antibacterial properties make it perfect for cleaning the toilet bowl, plus the fresh scent is definitely a bonus! Pour around 100ml of lemon juice into the toilet bowl and scrub with your toilet brush, making sure to reach every nook and cranny, including around the rim and below the water line."
If you're trying to get rid of stains that won't budge, try this: sprinkle bicarbonate of soda into the bowl, followed by more lemon juice. The combination of these two will create a fizzing reaction that tackles grime and stains. Leave it to sit for a few minutes, then scrub away.
For that final touch, Brian recommends polishing your flush button: "If your toilet has a metal flush plate, give it a quick polish with a dry microfibre cloth to make it shine. It's the little details like this that make a bathroom feel well-maintained."
11. Mop your floors
You're nearly there! Now that your bathroom is sparkling clean, it's finally time to tackle the floor. A clean floor can pull everything together to make your bathroom feel refreshed, plus it helps to avoid any leftover dust re-accumulating elsewhere.
Start by filling a bucket with warm water and your preferred cleaner, making sure it's suitable for your floor type. Here are some tips for different flooring types:
- Hardwood – "For hardwood floors, use a hardwood-specific floor cleaner with a neutral pH of around 7," says Brian. "Anything higher could cause discolouration, so dry it immediately with a cloth to avoid water damage."
- Tiles – "Ceramic or porcelain tiles are pretty durable, so you can use almost any cleaner, but a multipurpose spray will do the job well. Remember to dry them with a microfibre cloth afterwards to keep them streak-free."
- Laminate – "When it comes to laminate floors, a damp mop and multipurpose cleaner is your best bet," says Brian. "Be careful not to use too much water, though, as it can cause warping over time."
- Vinyl – "For vinyl floors, a mild cleanser mixed with warm water is all you need," says Brian. "But if you notice any residue, mix a splash of white vinegar with the water to remove it without damaging the vinyl. Again, avoid excessive water to prevent damage to the seams."
Once your cleaning solution is ready, mop the floor, starting with the farthest corner and working toward the door. This way, you won't accidentally step on the freshly cleaned floor while it's still wet.
Brian adds: "Pay extra attention to the corners as they gather more dirt and grime. If you're cleaning a high-traffic area, you might need to put in a little more elbow grease to get it thoroughly cleaned."
12. Put everything back in its place
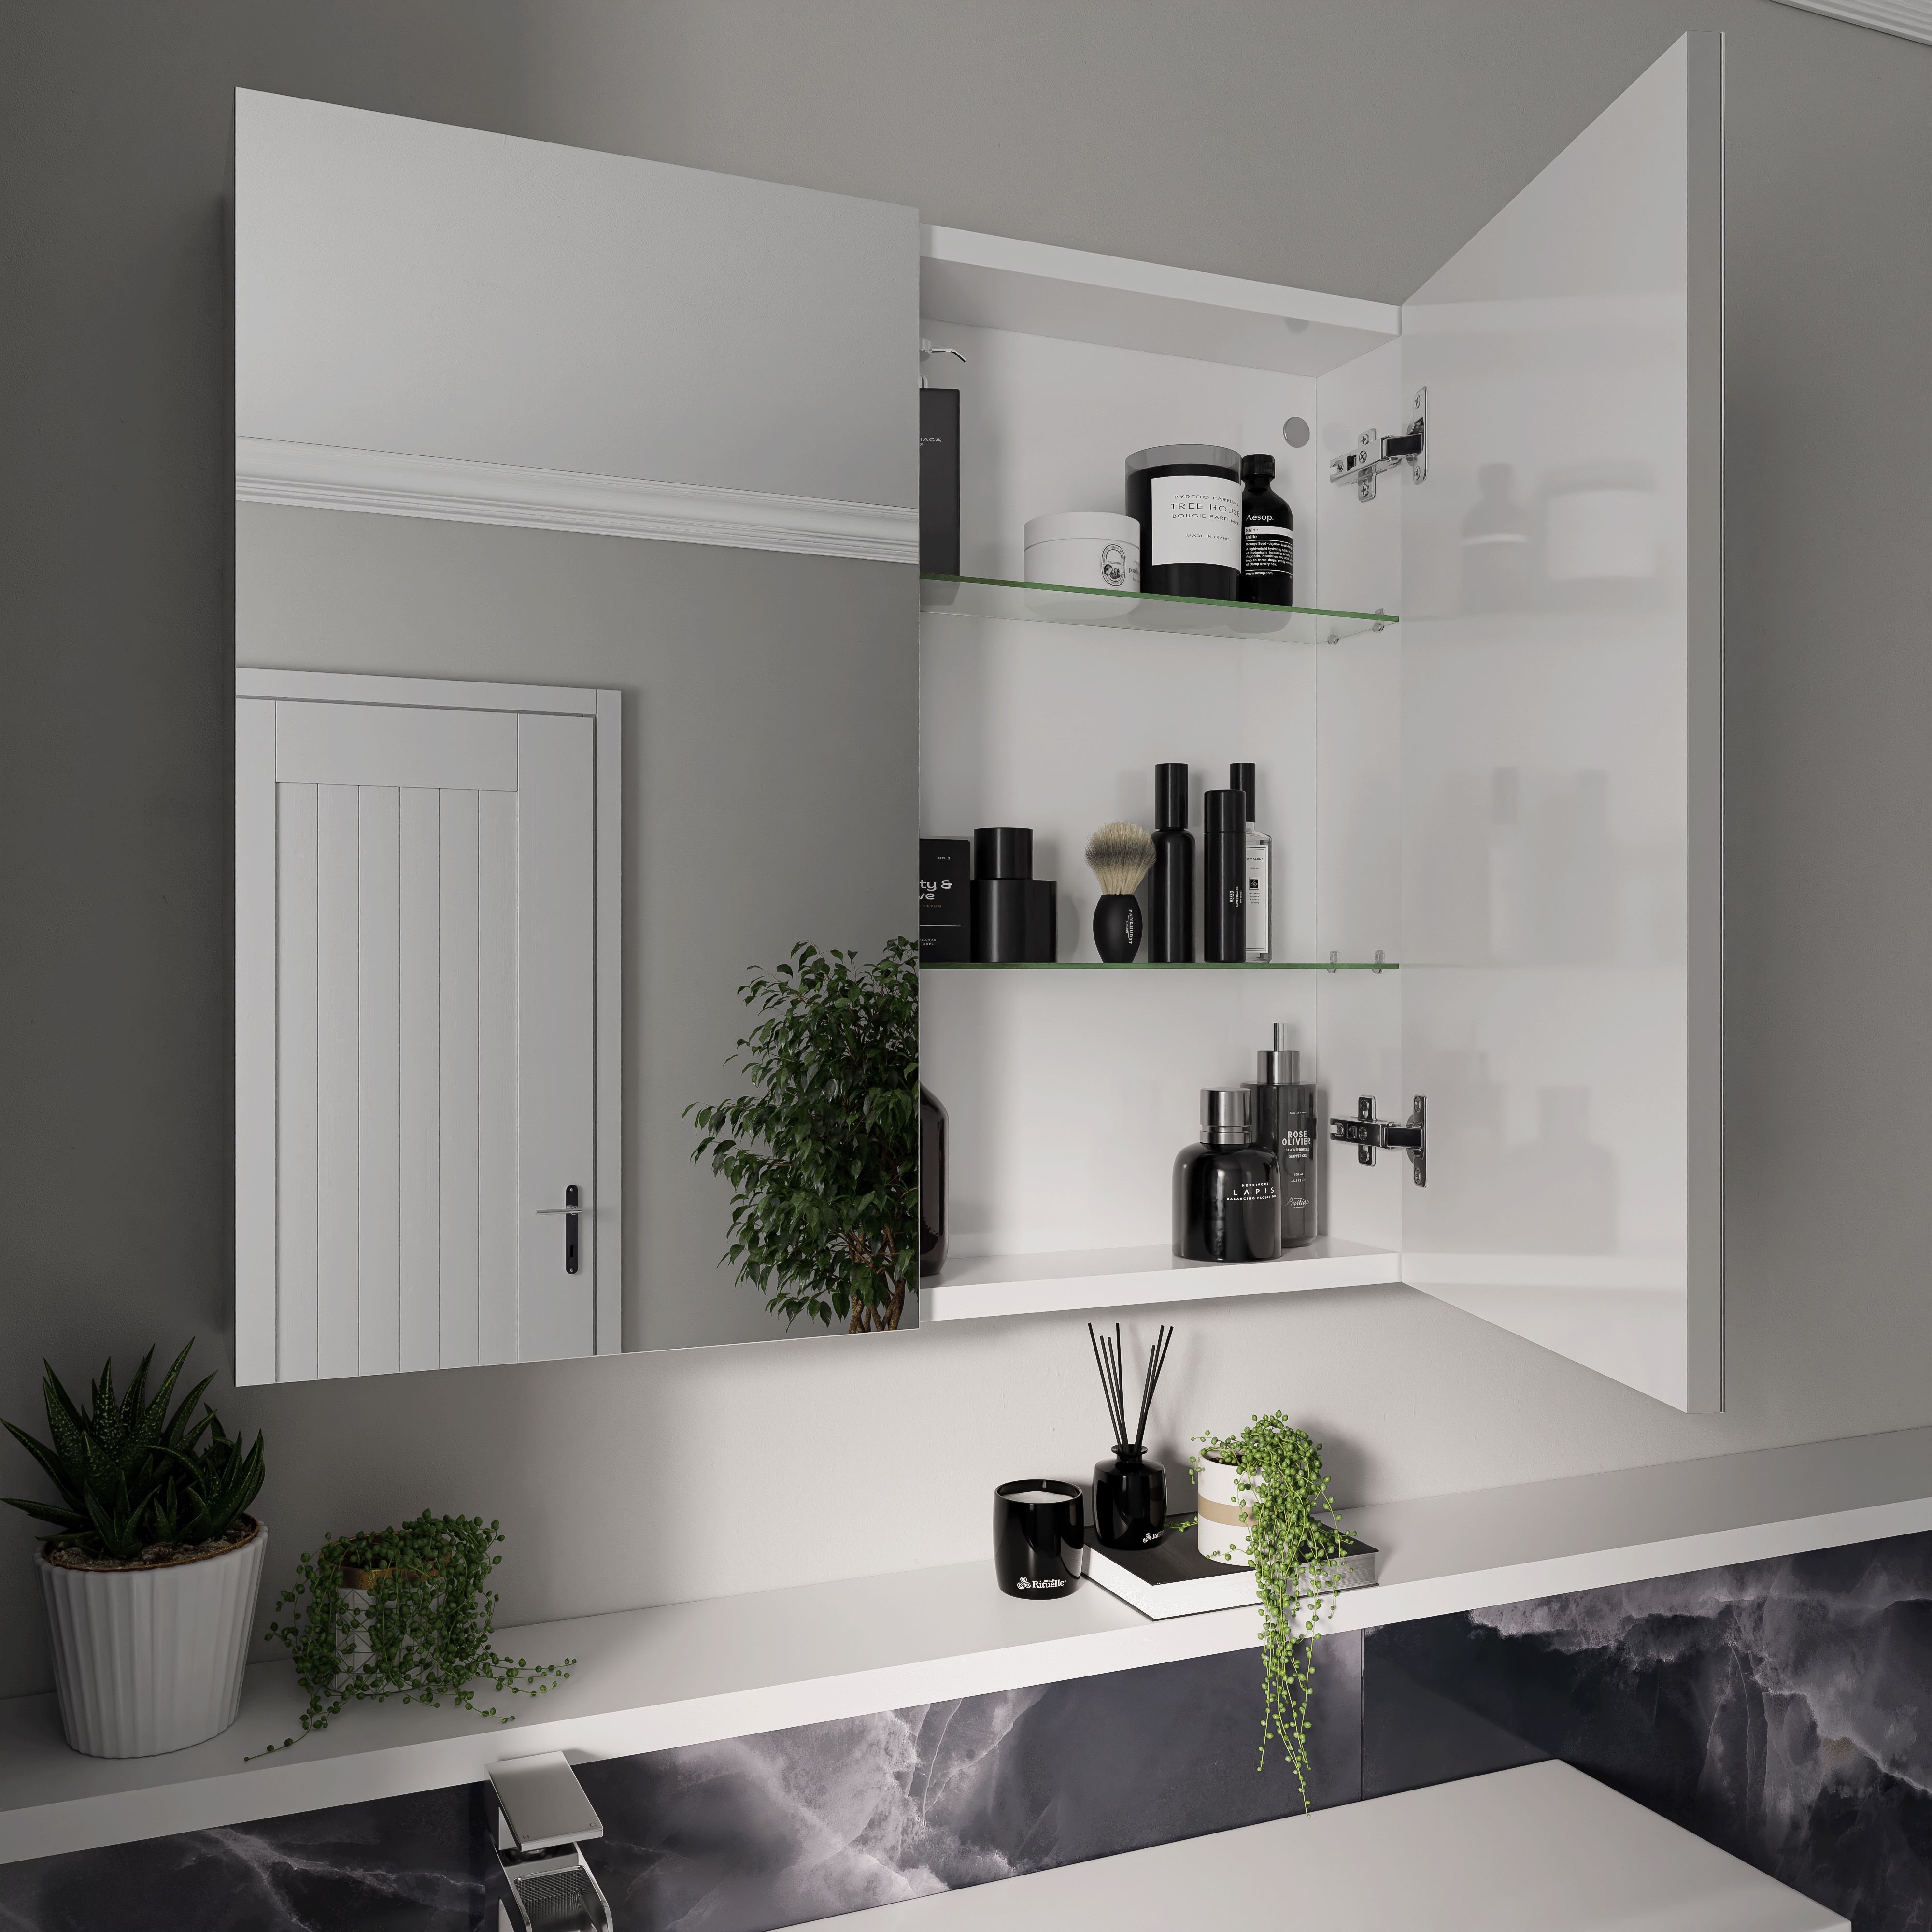
After all your hard work, the last step is to put everything back where it belongs.
Brian says: "Start with the essentials: return your freshly washed towels, bath mats, and shower curtains to their spots. This gives your bathroom that 'finished' look."
While you're at it, take this opportunity to organise your toiletries and bathroom essentials.
"It's a great time to declutter. Group similar items together – skincare, haircare, cleaning products – and place them in dedicated areas, so everything has its home," says Brian.
Once everything's back in place, consider adding a small finishing touch.
Brian advises: "A little bit of decor goes a long way. Whether it's a nice plant, some potpourri, or even a decorative soap dish, these simple items instantly elevate the look and feel of your bathroom."
How to clean a bathroom faster
A thorough clean every couple of weeks makes keeping a tidy bathroom a breeze. However, it's easy for the day-to-day upkeep to slip through the cracks, especially when you're short on time. The good news is, with a few clever shortcuts, you can keep your bathroom looking fresh and sparkling without spending hours on it.
Brian's top tip: "Have all your cleaning products and tools ready before you start. It'll save you time searching for that missing cloth or cleaner midway through. And knowing the order in which to tackle tasks is key, starting with dusting means you won't spread dust around with a wet cloth later."
To speed up the process, you can skip tasks like decluttering, cleaning the insides of cabinets, and soaking the showerhead. "These are jobs you only need to do during your deep clean. Instead, focus on quick tasks like dusting, vacuuming, and wiping surfaces down," Brian suggests.
If you're really pressed for time, you can even simplify things further: "Give your toilet a quick bleach, spray your surfaces with an all-purpose cleaner, and focus on the areas that need the most attention," Brian says. "You should be able to get it done in no more than 10 minutes, depending on the size of your bathroom."
The most forgotten areas to clean in your bathroom
While it's easy to focus on obvious spots like your sink, toilet, and shower, there are plenty of other places in your bathroom that often get overlooked during a deep clean.
Brian's tip: "Light fixtures and extractor fans often get neglected, but they can hold onto more dust than you think. A quick once-over with a microfibre cloth or duster can make a huge difference, and it's best to start with these areas to avoid spreading dust around the rest of your bathroom."
It's also easy to forget about the walls. "While we don't usually think about cleaning them, walls can quickly accumulate dust, grime, and even mould spores – especially in high-humidity areas like the shower. Give them a quick wipe with a damp cloth to keep everything looking fresh."
Other commonly missed areas include:
- Toilet brush holders – "They're right by the toilet and house your toilet brush, so they often get splashed with water. Wipe the toilet brush holder with a clean cloth and some antibacterial spray to keep it looking good."
- Basin storage – "Your toothbrush holder and soap dispenser often get covered in soap splashes, watermarks, and dust, which can make your bathroom look dirtier than it is," Brian says. "It's easy to clean them: just rinse, wipe with a cloth, and leave to dry."
- Storage drawers – "While wiping down the outside of your vanity unit or mirrored cabinet is a given, the inside of your bathroom cabinets can also build up dust and spilt products. Empty them out, wipe them down with a cloth, and use a cleaning spray to keep everything in order."
By cleaning these forgotten areas, you'll make sure your entire bathroom is spotless, not just the places that are obvious to see.
Upgrade your bathroom with Wholesale Domestic
If your bathroom is sparkling clean but still not looking its best, it might be time for an upgrade.
At Wholesale Domestic, we’ve got everything you need to revamp your bathroom, from showers, baths, and toilets to accessories like mirrors, toothbrush holders, and extractor fans. Shop our full range of products today!
For more bathroom inspiration, check out our blog.

 FREE delivery over £500*
 Visit our showrooms
 Finance options available*
 Apply for a Trade Account