How to Seal a Bath
28th Mar 2018
For some of you, this is a task best left to your plumber. But for the majority who don’t want to pay a professional every time their bath needs resealed (usually every year) then this is for you! Follow steps 1 to 5 for the perfect, functional seal every time….

What you need before you start:
• Tube of silicone
• Caulking gun
• Masking tape
• Ice cubes
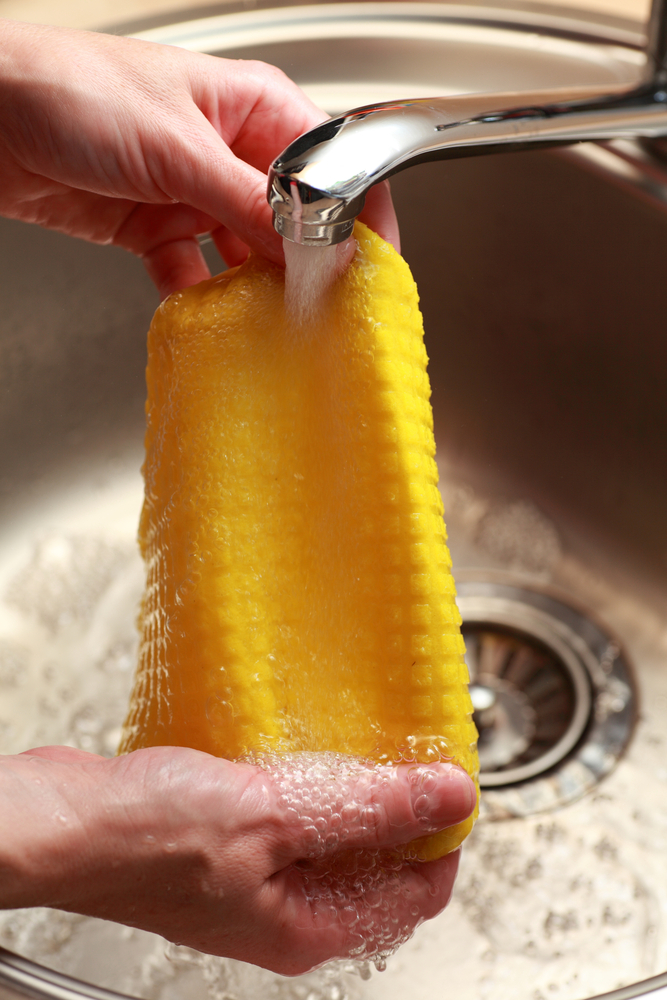
• Damp cloth

1. If your bath isn’t brand new, you’ll need to remove all the old silicone, clean the area and allow it to dry fully before you begin.
2. Fill your bath with water before you start. Then carefully apply masking tape around the joins you want to seal. Be sure to leave a 3mm gap between the join and the tape to ensure there’s enough space to apply the silicone correctly.
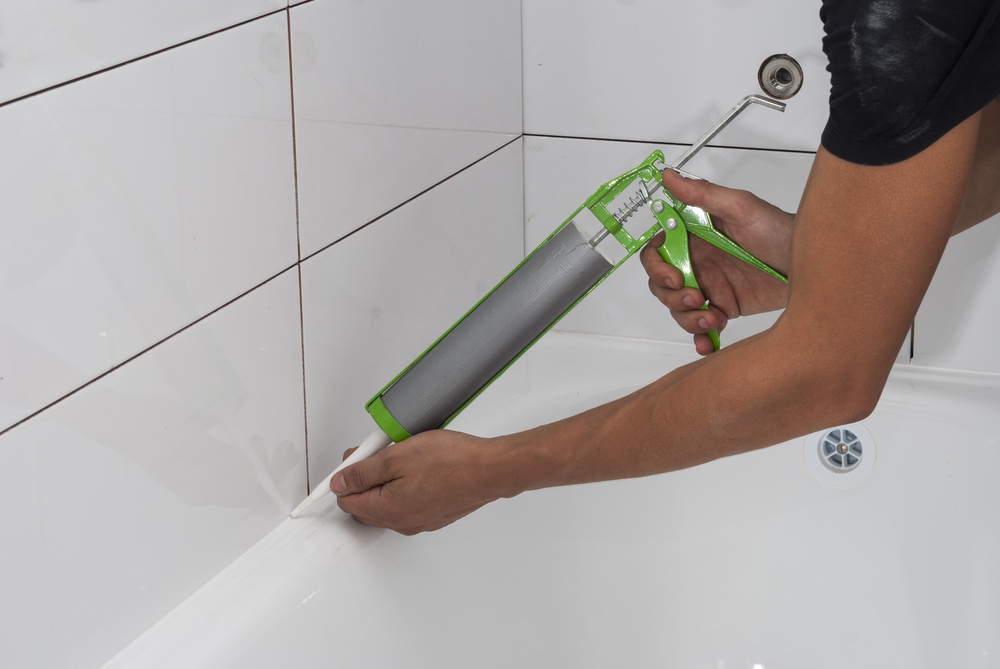
3. Take your silicone tube and remove the nozzle, place the tube inside the caulking gun, replace the nozzle and cut it at a 45-degree angle. Start in a corner and work your way forward, running a bead along each join. Silicone dries quickly, so it’s a good idea to layer a few beads on top of each other to give you enough time to complete the finish.
4. Use the corner of an ice cube and run it along the bead of silicone. This helps to push the silicone right into the corner, which will create a professional and functional finish and will remove excess easily too (you might need more than one ice cube to complete the entire seal).
5. Before the silicone dries, carefully and slowly remove the tape and neaten any edges with a damp cloth if needed. Once your silicone has time to cure, your bath can be emptied and will be ready to use.

There you have it, it’s pretty easy to complete and will save you (on average) £50 a year! Have you tried this yourself? We’d love to hear how you got on, please leave any comments and feedback below. Thanks for tuning in and we’ll catch you all next week!

 FREE delivery over £500*
 Visit our showrooms
 Finance options available*
 Apply for a Trade Account