 FREE delivery over £500*
 Price Match Promise
 Finance options available*
 Apply for a Trade Account
Bathroom Splashback Ideas: 10 Ways to Make a Splash in Your Bathroom
19th Feb 2026
When you’re designing a bathroom, it's easy to focus on the big-ticket items, like the bathtub or vanity unit. But the area behind your sink is just as important if you want to keep your new space free from mould. This is where a splashback comes in, giving you a way to protect your walls while bringing some personality into your bathroom.
We'll take you through some of the most creative splashback ideas to transform any bathroom. Plus, we've also enlisted the help of Brian Toward, CEO here at Wholesale Domestic, to share his tips on choosing the right style for your home.
Contents
- What is a bathroom splashback?
- What types of tiles are best for creating a splashback?
- 10 stylish splashback ideas to suit every bathroom
- Top tips for creating a bathroom splashback
What is a bathroom splashback?
A bathroom splashback is exactly what it sounds like: a protective barrier designed to catch splashes. Its main job is to shield the walls behind your sink, bathtub, or shower enclosure from water damage.
Without one, water droplets, soap scum, and toothpaste can easily seep into painted walls or plaster, leading to stains and potentially even mould growth. By installing a splashback, you create a waterproof surface that protects the structural integrity of your walls while making the area easier to clean and maintain.
What types of tiles are best for creating a splashback?
While splashbacks are usually made using tiles, not all of them are up to the task. These tiles need to be durable and fully waterproof, as this area sees a lot of action on a daily basis.
Because the splashback area behind a basin is usually quite small compared to a whole wall or floor, it's a great place to invest in more decorative or high-end options that might be too expensive to use across a whole room.
Here are some of the best tile types for the job:
- Ceramic and porcelain tiles – These are the most reliable options for any bathroom. Both are durable and water-resistant, making them excellent if you want something that will last for years.
- Mosaic wall tiles – If you want to add intricate details or more texture, mosaics are ideal. They usually come pre-assembled, which makes them surprisingly easy to fit.
- Subway and brick tiles – A versatile option that works in any setting. Whether you prefer a traditional look or a more industrial edge, these tiles can be laid in various patterns – like herringbone or vertical strips – for a unique splashback.
- Marble and onyx effect tiles – Real stones can be expensive, but these tiles give you style without the price tag. They mimic the veining of real marble or onyx but are non-porous and easy to clean, perfect for a splash zone.
- Metallic tiles – For a dramatic touch, metallic tiles reflect light beautifully. They work well in smaller or darker bathrooms, acting almost like a mirror to brighten up the vanity area.
- Patterned tiles – These are perfect for creating a feature "zone" behind your basin. A bold, patterned tile can turn a functional splashback into a piece of art that complements your bathroom design.
- Wood and stone effect tiles – If you love the look of natural wood or stone but need a waterproof surface, these tiles are the answer. Wood-effect tiles bring warmth and texture, while stone-effect tiles offer a rustic, spa-like feel.
- Concrete effect and rustic tiles – For a modern, industrial vibe, concrete-effect and rustic tiles add raw texture and depth to your wall. They're great for adding character to more minimalist spaces.
If you're unsure where to start, our guide to choosing bathroom tiles gives a comprehensive overview of the various materials available.
10 stylish splashback ideas to suit every bathroom
Whether you're looking for bold bathroom sink splashback ideas or something subtle and sophisticated, there's a style to suit every home.
Here are 10 of our favourite ways to protect your walls in style:
1. Add mosaic feature strips
If you don't want to tile a large section of the wall, you can use mosaic tiles to create a vertical or horizontal "zoning" strip directly behind the basin. This draws the eye to the vanity area and creates a focal point.
"Mosaics are brilliant for adding a pop of colour without it feeling too much," says Brian. "Because they come pre-made, they're really easy to install, even if you're tackling a DIY project for the first time. Adding a vertical strip behind a wall-hung basin gives the room a modern look and helps elongate the room."
2. Use subway tiles for a modern finish
Metro or subway tiles are a bathroom classic for a reason, but you don't have to stick to the brick-bond layout. To give this look an update, try stacking them vertically or laying them in a herringbone or chevron pattern.
"Vertical stacking is really trendy right now; it gives a cleaner, more contemporary feel compared to traditional horizontal tiles and draws the eye upward – perfect if you're working with low ceilings," Brian says.
"If you want to really make the tiles pop, try using a contrasting grout, like dark grey grout with white tiles or light-coloured grout with black tiles. This helps to highlight the pattern and adds a bit of edge to the design."
For more advice on tiling a bathroom wall, see our dedicated guide.
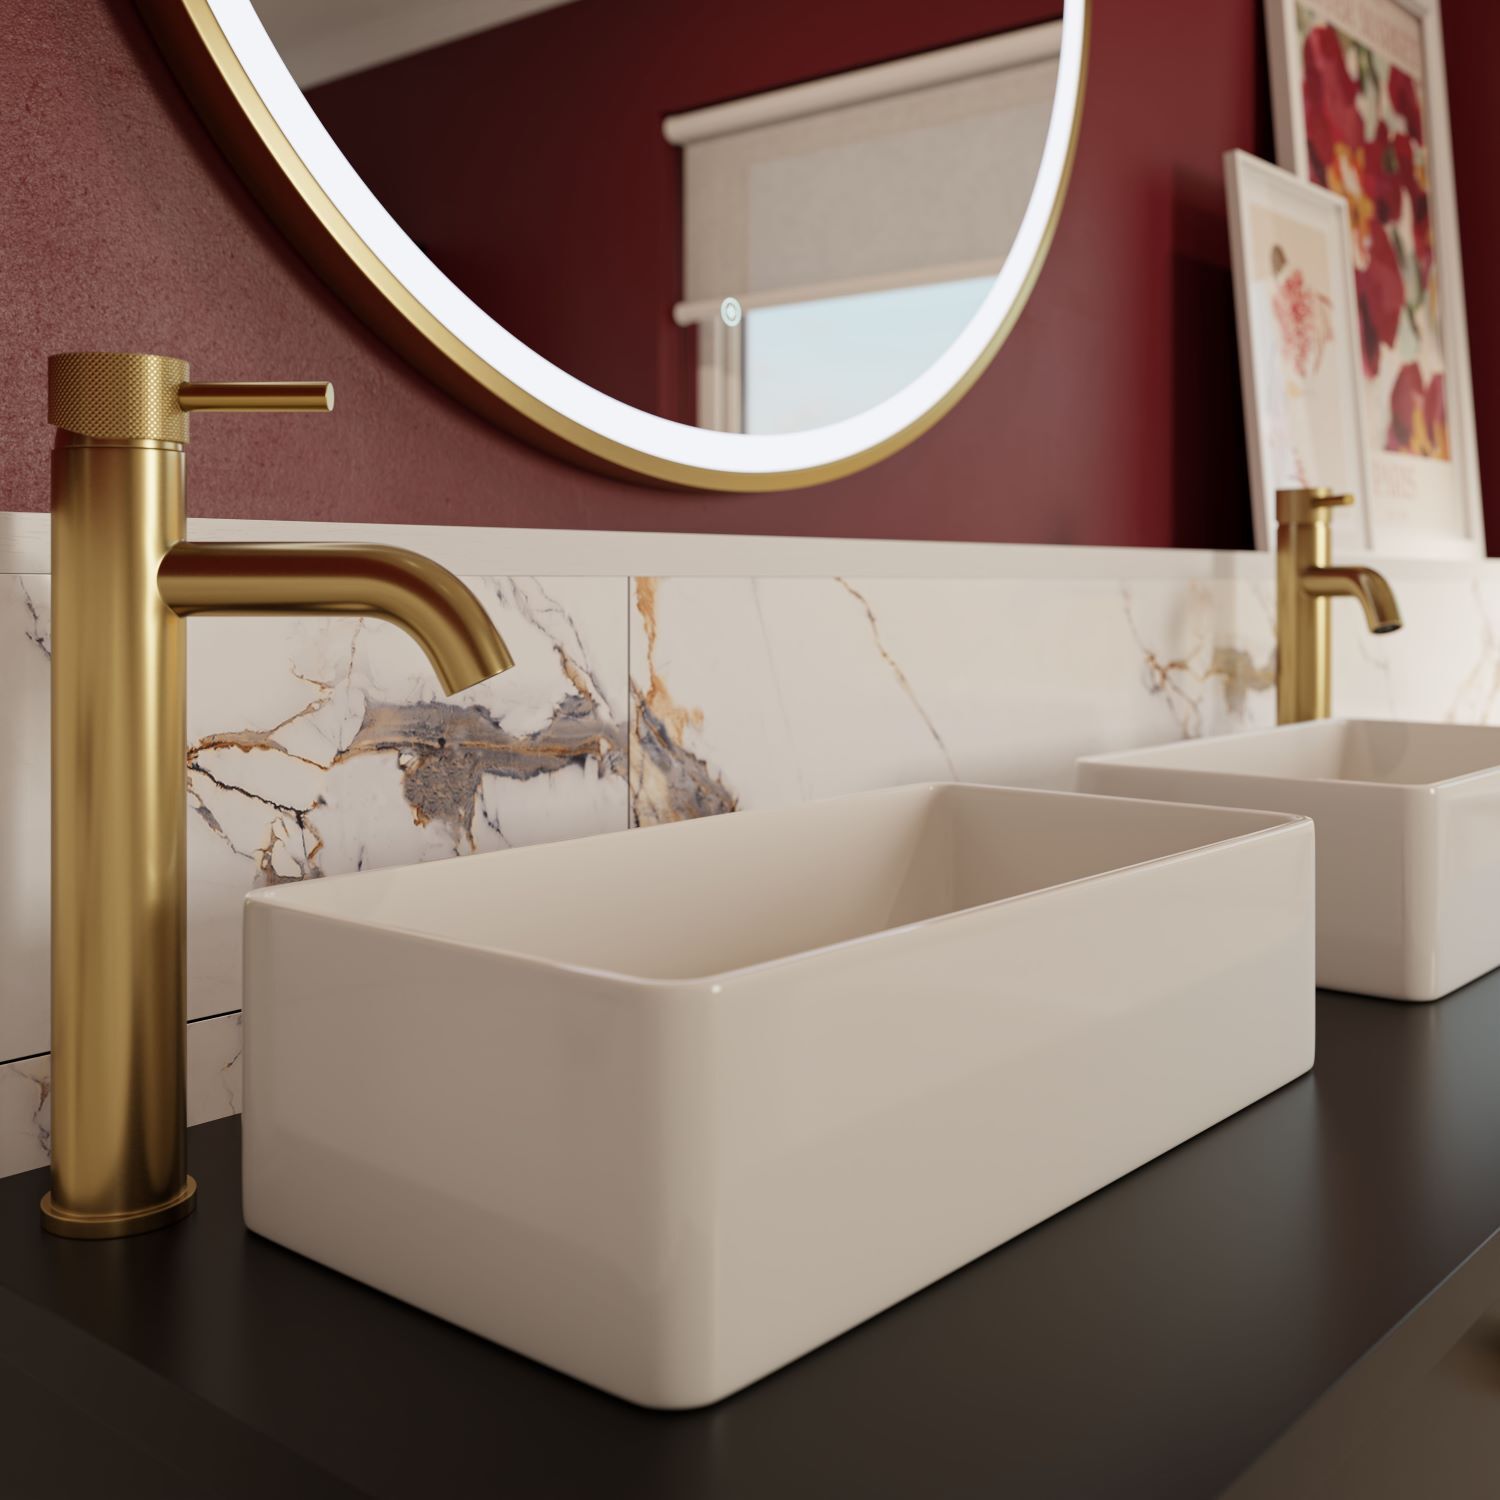
3. Use large-format slabs for a seamless look
For a luxurious finish, consider using a single, large-format porcelain or stone slab instead of multiple individual tiles. This creates a splashback with zero grout lines, offering a smooth, uninterrupted surface that looks like it belongs in a high-end spa.
"The main benefit of installing a larger slab over tiles is the hygiene factor," Brian explains. "With no grout lines for dirt or mould to settle in, they're much easier to wipe down during your regular bathroom deep clean. They also offer a minimalist look that works perfectly if you want your furniture to take centre stage."
4. Add textured tiles for a tactile splashback
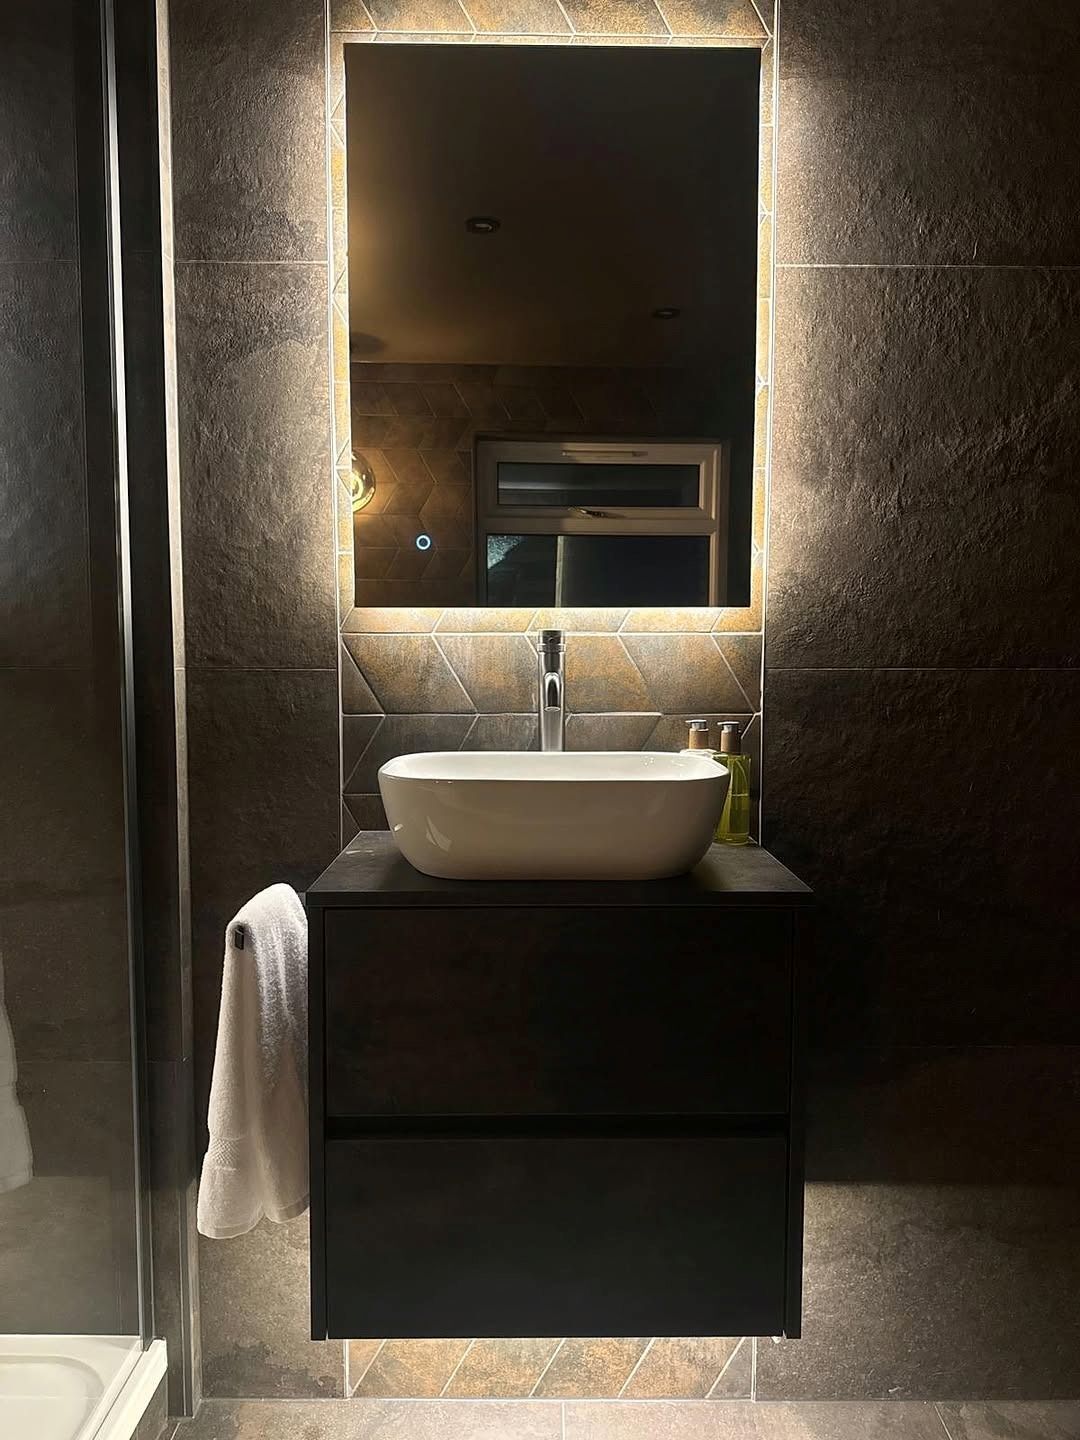
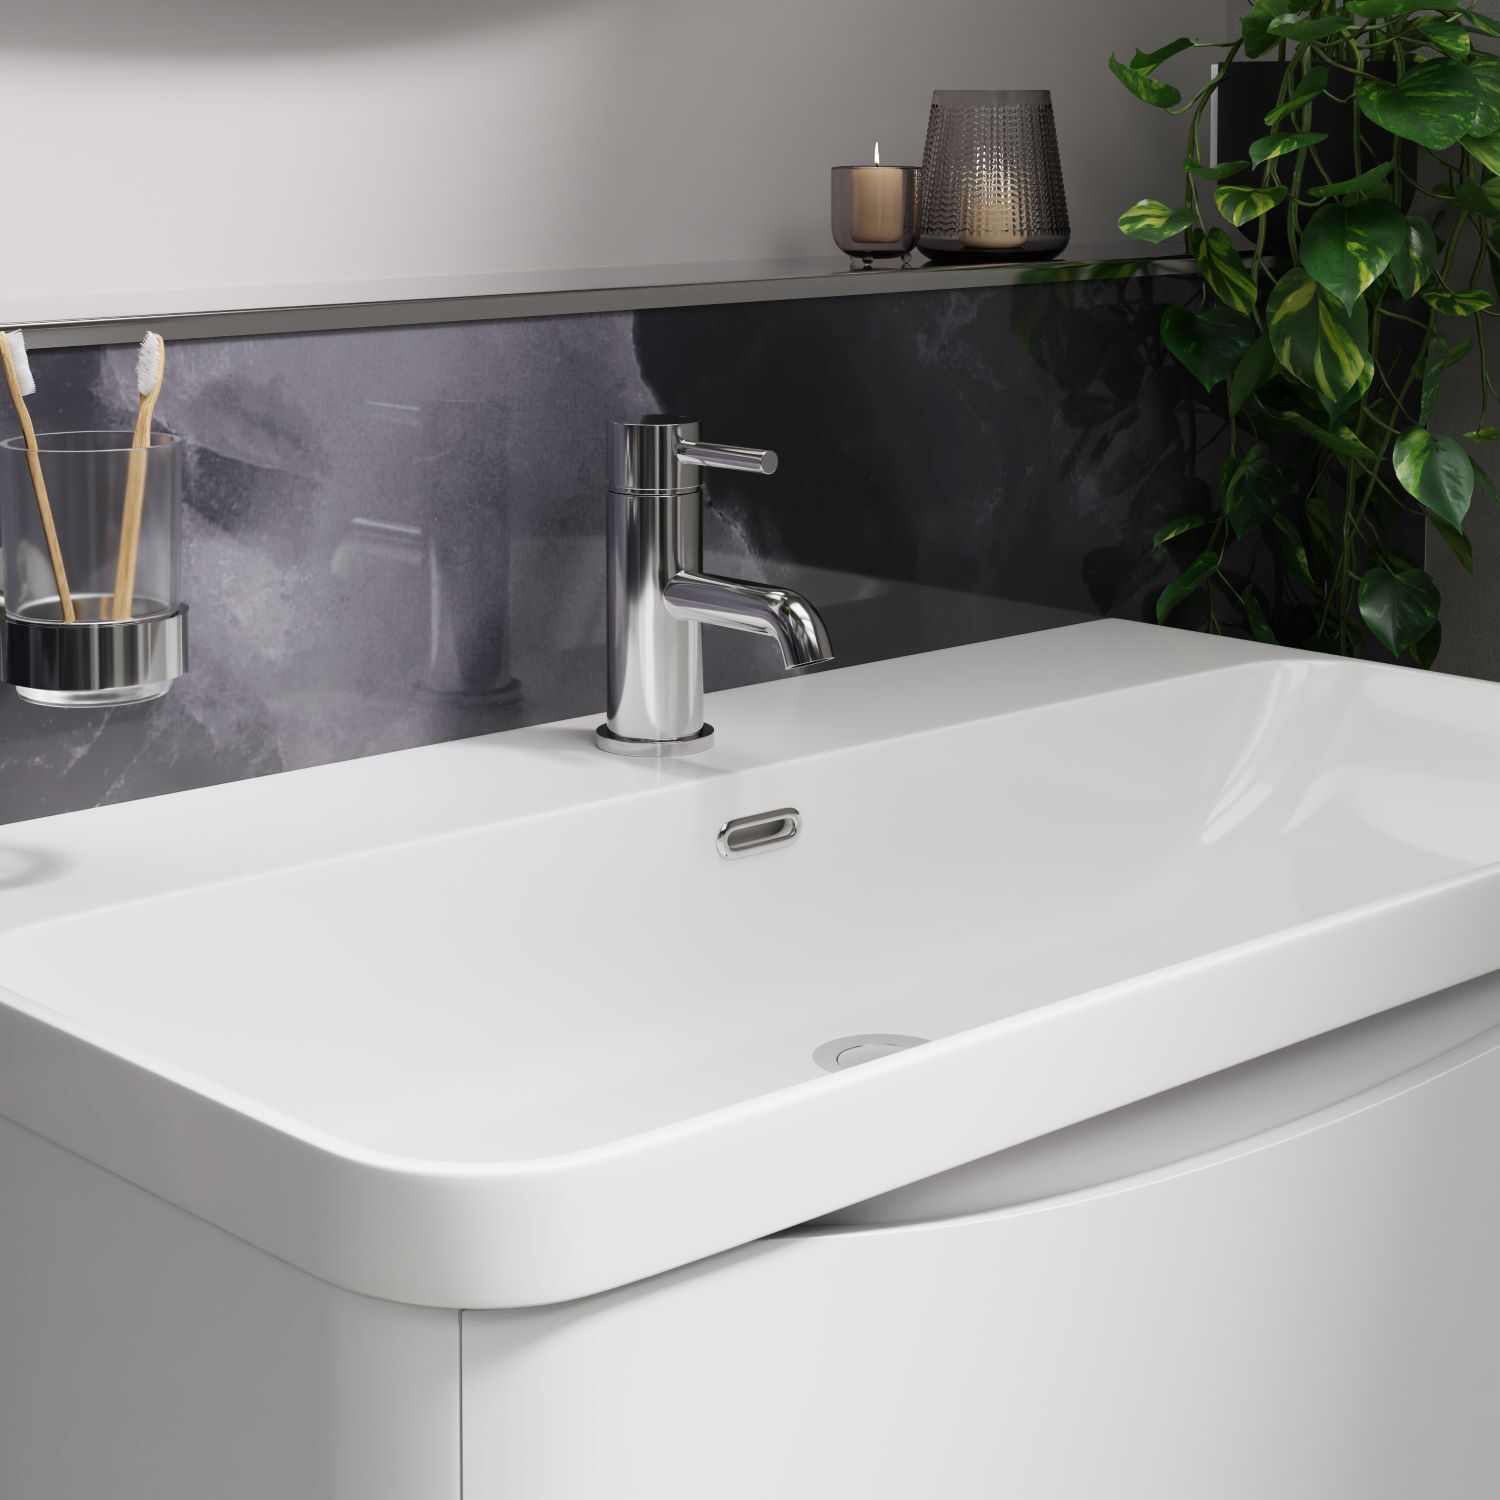
Image credit @jtfjoiner @j_h_plumbing_services
There's no rule that says splashbacks have to be flat. Relief tiles feature waves, ridges, or fluted surfaces that add more depth to your walls.
Brian adds: "Textured tiles are a great way to highlight your bathroom's lighting setup. If you have a mirror with LED backlighting or wall sconces, the light catches the ridges and creates lovely shadows. It adds an extra layer of style that flat tiles can't match, and they're surprisingly good at hiding water marks, too."
This is an excellent way to create subtle visual interest if you prefer sticking to a neutral colour palette.
5. Use patterned tiles for a vintage look
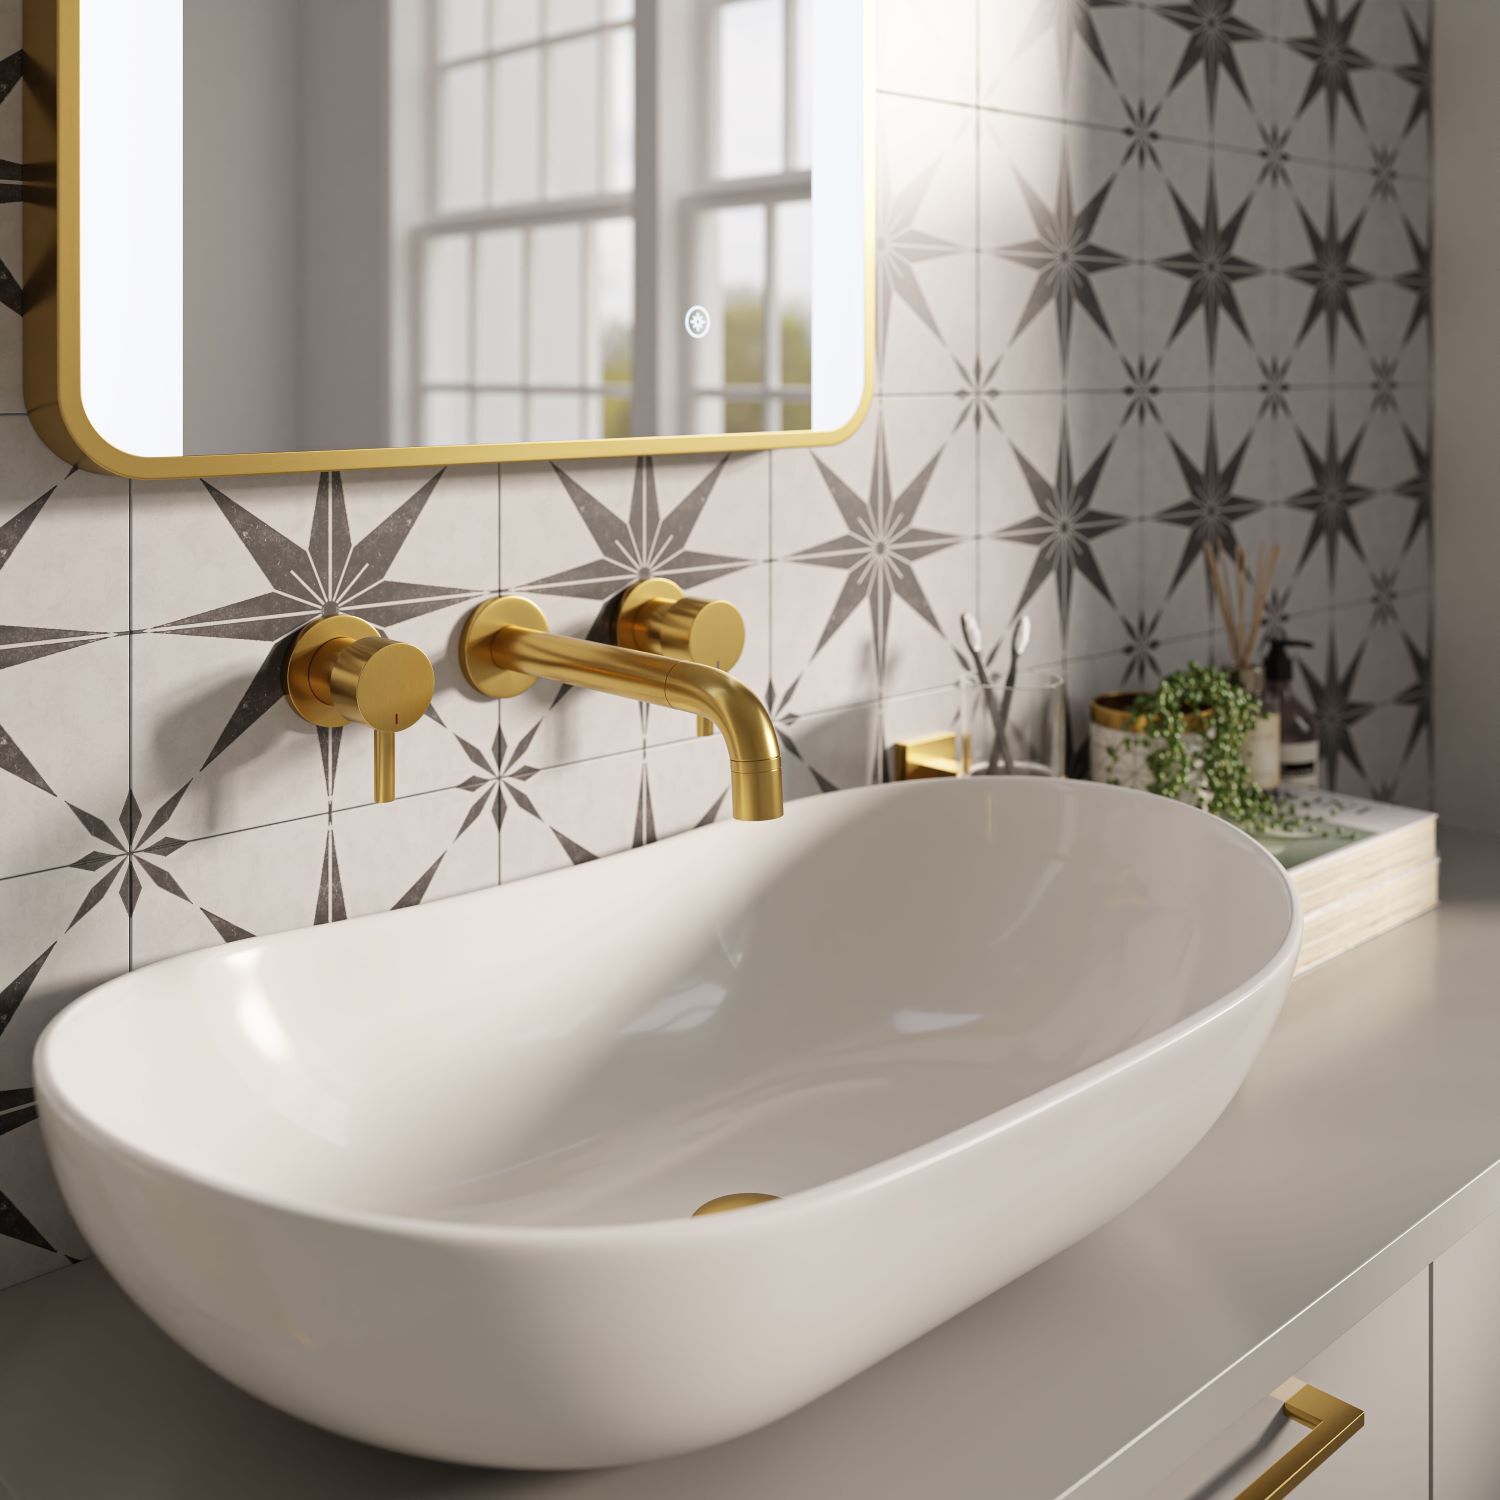
If you live in an older property or just love a vintage design, patterned tiles are a must-have for your splashback. Victorian-style or "starburst" patterns can turn the small area behind your taps into a feature piece that enhances your bathroom design.
Brian suggests using these to create a distinct zone: "I love patterned tiles for a backsplash. You can think of it like a rug, but for your wall, creating a distinct zone that surrounds your sink. They look fantastic paired with traditional pillar taps and a pedestal basin, giving you a simple way to add character to white bathroom suites."
6. Install acrylic panels for easy cleaning
For a modern alternative to tiles, acrylic wall panels are a fantastic choice. They're available in a huge range of colours and patterns, meaning you can easily match them to your towels or other accessories.
Thanks to their non-porous design, they're perfect for high-moisture areas, like the walls around your sink or shower. They're a great choice for smaller bathrooms as they have a reflective surface that helps bounce light around, brightening up your space while being easy to wipe clean. This makes it simple to remove watermarks.
7. Bring a waterproof wooden effect to your bathroom
Wood brings a natural feel to a bathroom, but real timber doesn't mix well with water. This is where wood-effect porcelain or ceramic tiles are an excellent alternative, offering a "Japandi" or spa-like aesthetic without the risks of wood rot or warping.
Brian adds: "Wood-effect tiles are perfect for softening the look of a bathroom. With all the ceramic and chrome, things can start to feel a bit cold and clinical. Adding a wood-effect splashback brings that natural texture in, but because it's porcelain or ceramic, it's completely waterproof."
8. Create a recessed splashback
If you're short on space, why not combine your splashback with storage? A recessed shelf is a slight indentation above the sink or near the bath that offers a handy spot for your soap dish and toothbrush holder while still protecting the wall.
"This is a clever solution for compact bathrooms," Brian says. "A recessed shelf is a great option for wall-hung basins without a vanity unit. By recessing the splashback, you gain some useful storage without needing extra floor or counter space. It also adds depth to the wall, and you can even install hidden LED strip lighting into the recess for a premium look."
For more tips on making the most of tight quarters, check out our guide on how to maximise space in a small bathroom.
9. Use shaped tiles

If you're looking for something more unique, why not break away from straight lines by using hexagonal or scallop-shaped tiles to bring a geometric look to your splashback?
A popular design trick is to leave the top edge "raw", where the tiles stop naturally rather than being cut to a straight line. This helps to transition between the tiles and the painted wall above, creating a playful look that works really well in modern bathrooms.
10. Mix tile textiles for contrast
You don't have to settle for just one finish. Try bordering a section of smooth ceramic tiles with brushed brass or natural stone pencil tiles to create a frame. This helps create more contrast and makes your splashback design look more thought-out, rather than fitting a single, repeated tile design across the entire section.
"Mixing materials gives the area around your bath or basin a high-end, customised look. A metallic trim can tie in with your taps and shower valves, bringing the whole scheme together, while patterned borders add more personality to your design. It breaks up large flat surfaces and creates a little bit of luxury that makes a bathroom feel special," Brian adds.
Top tips for creating a bathroom splashback
Choosing the right design is important, but there are a few other factors to keep in mind to make sure your splashback stands the test of time:
Play around with colours and patterns
Because the splashback covers a much smaller area than your floor or shower, it's the perfect place to experiment. While a neutral bathroom is timeless, a splashback offers an opportunity to add some character without taking over the whole room.
Brian suggests playing around with multiple colours or even mixing and matching patterned and plain tiles here: "You could try contrasting your splashback against your vanity unit, opting for two alternating tiles (like a classic black and white checkerboard style), or simply changing the grout colour to create a fun geometric pattern," he says.
Choose easy-to-clean tiles
Designing a splashback isn't just about looks; you also need to think about the mess. Your splashback is there to catch water droplets, rogue toothpaste, and soap suds, so it's going to get dirty.
As a result, you'll likely spend more time cleaning your splashback than standard wall tiles elsewhere in the room.
"To save yourself the hassle of scrubbing deep grooves every week, choose designs that can be wiped clean easily. For busy family bathrooms, smooth, glazed tiles are usually your best bet. Or, if you want to play around with different shapes and mosaics, try to avoid designs with tiny crevices that will be tricky to clean later on," Brian warns.
Consider using wall panels
If you're looking for a wallet-friendly alternative to traditional tiling, wall panels are a great choice. These large, waterproof sheets can mimic the look of everything from stone to wood but are much quicker to fit without the maintenance worries.
Brian explains why they're a great, cost-effective way to create a backsplash: "Because the area around your basin or along the bathtub is generally quite small, you usually only need one or two panels to cover it. This saves you money on materials and makes installing your splashback much easier, too."
Shop everything you need for bathroom splashbacks
Creating a splashback is one of the simplest yet most effective ways to update your bathroom's look while adding vital protection to your walls. Whether you opt for modern concrete-effect tiles, sleek wall panels, or bold patterned designs, the right choice can tie your whole bathroom together.
At Wholesale Domestic, we stock a huge range of bathroom tiles, wall panels, and accessories to help you bring these ideas to life.
For more bathroom inspiration and DIY how-to guides, be sure to check out our blog.