
 Track Order
 Wishlist
 Sign In

 FREE delivery over £500*
 Price Match Promise
 Finance options available*
 Rated Excellent on Trustpilot
How to Grout and Regrout Tiles: A Step-By-Step Guide
4th Aug 2026
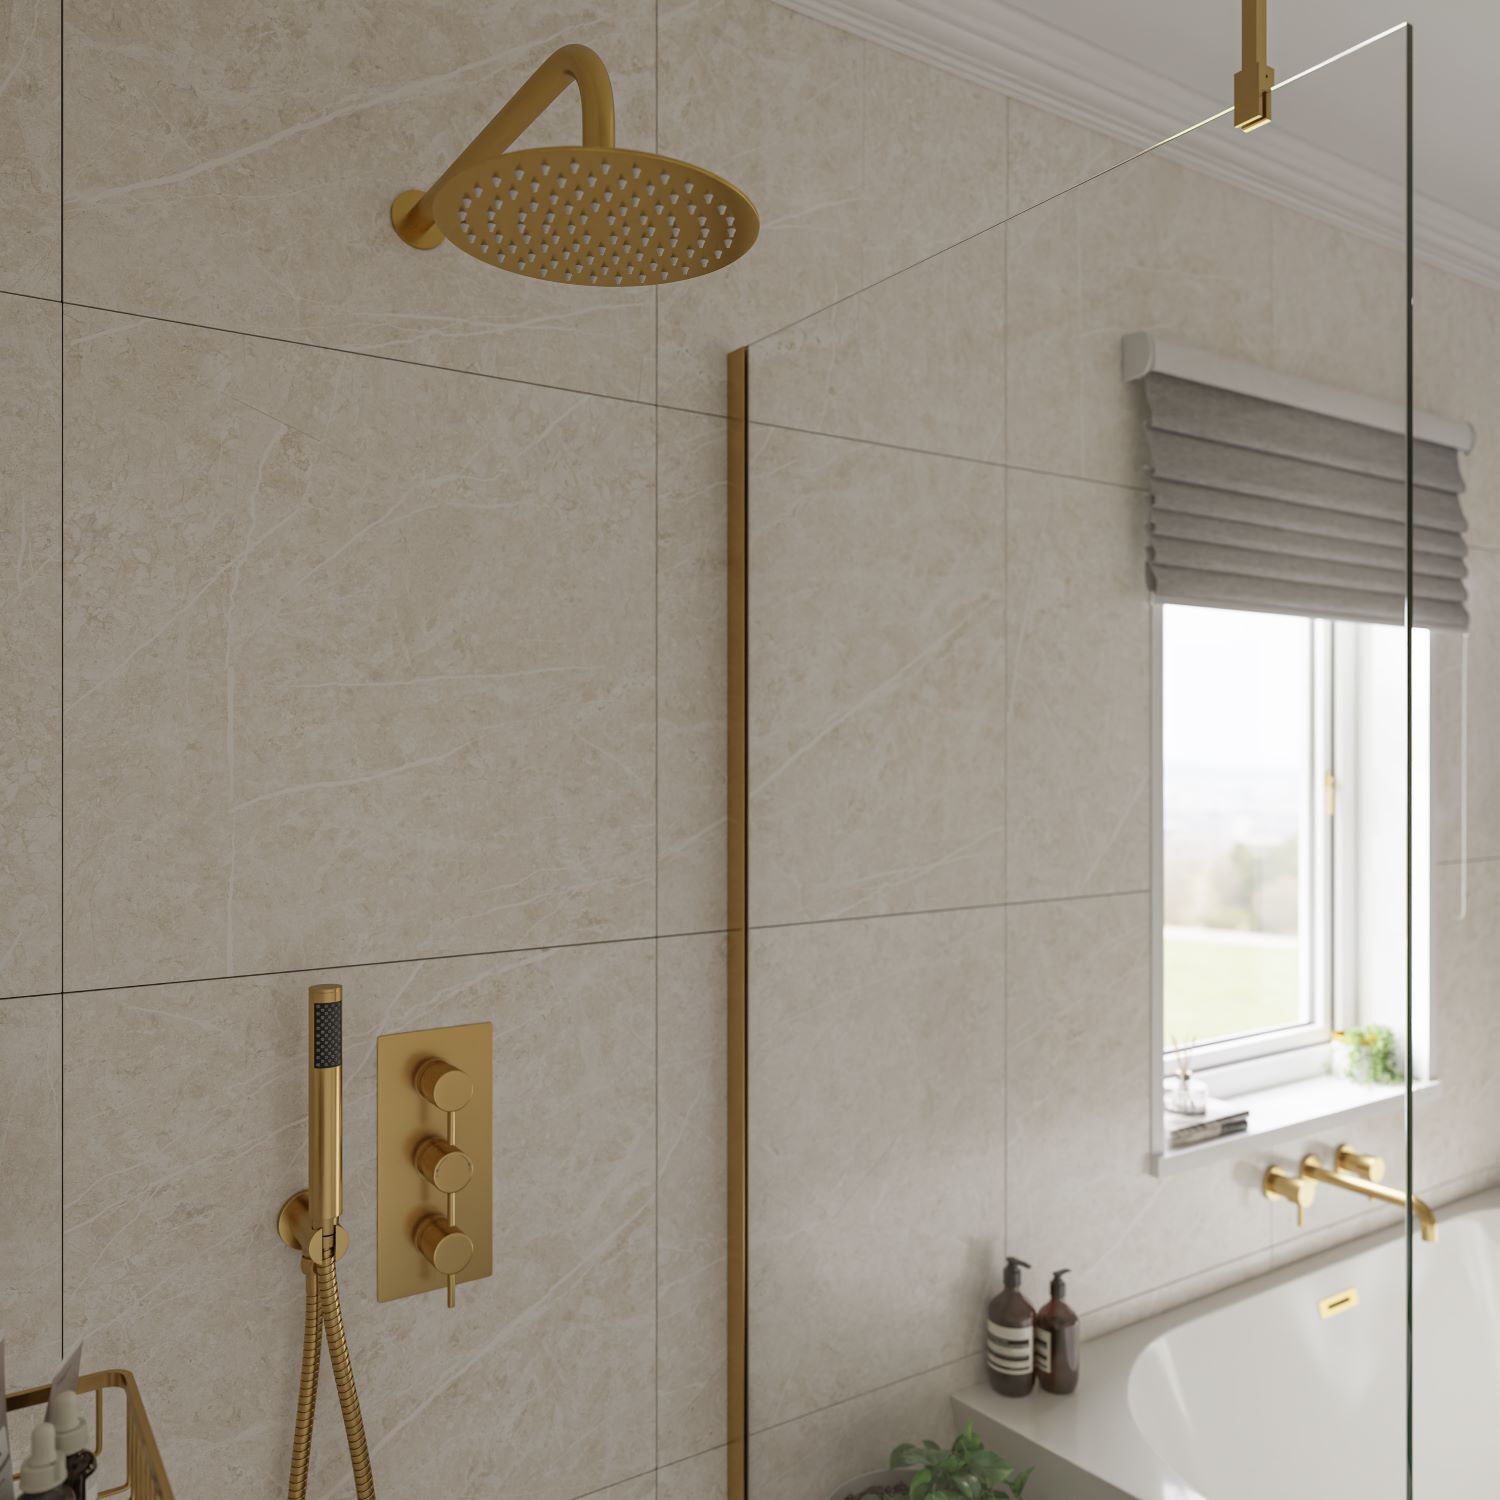
There's something incredibly satisfying about freshly grouted bathroom tiles. Those crisp, clean lines, the way the whole room suddenly looks brighter and newer, and the quiet sense of achievement that comes from knowing you did it yourself.
Whether you're grouting tiles for the first time or tackling a regrout to breathe new life into an existing bathroom, the process is essentially the same - and it's far more straightforward than most people expect. With the right tools and products, and a bit of patience, it's absolutely achievable over a weekend.
In this guide, we'll walk you through every step: from preparing the joints all the way through to the finishing silicone seal. By the time you're done, you'll have a bathroom that looks like it's just been renovated - without the renovation price tag.
Contents
- Why does grout deteriorate over time?
- Choosing the right grout for your bathroom
- What you'll need: tools and products
- Before you start: a few things to know
- Step-by-step guide: How to regrout your bathroom
- Common regrouting mistakes (and how to avoid them)
- Frequently asked questions
Why does grout deteriorate over time?
Grout works incredibly hard. It fills the joints between your tiles, keeps moisture out, and holds everything together - all in one of the dampest, most heavily used rooms in the home.
It's no surprise, then, that it doesn't stay looking pristine forever. Here's what typically causes grout to deteriorate:
- Moisture and humidity - Bathrooms are constantly exposed to steam, condensation, and splashing water. Over time, this works its way into grout, causing it to soften, stain, and eventually crack.
- Mould and mildew - Warm, humid conditions are the perfect breeding ground for mould, which shows up in grout lines as dark grey or black staining. Once it's embedded deep in the grout, cleaning alone won't always shift it. For persistent mould, take a look at our guide on how to get rid of mould in the bathroom before regrouting.
- Everyday dirt and soap scum - Shampoo, shower gel, toothpaste, and general bathroom products all leave residue that builds up in grout joints over months and years.
- General wear and age - Grout simply has a lifespan. Even well-maintained grout will eventually start to crack, crumble, or shrink away from tile edges over time.
The older the grout, the more noticeable the decline - and the more dramatically a refresh will transform the look of the room.
Choosing the right grout for your bathroom
There's more to grout than just white powder in a bag. Here's a quick overview of what to look for:
Standard set vs rapid set
Standard set grout (such as the Tilemaster Setaflex Standard Set Tile Adhesive) gives you more working time, which is useful if you're covering a large area or working at a slower pace. It's a great choice for most bathroom tiling projects.
Rapid-set grout is ideal when you need the job done quickly. It cures in a fraction of the time, so you can seal and finish sooner. The Tilemaster Setaflex Rapid Set Tile Adhesive is a solid choice here.
Flexible grout
For bathrooms, particularly around showers, baths, and areas subject to movement or vibration, a flexible grout is worth considering. Products like the Mapei Ultracolor Plus range and BAL Micromax3 Eco grouts are designed to flex slightly with the natural movement of a building, reducing the risk of cracking over time. They're also highly water-resistant, making them particularly well-suited to wet areas.
Grout colour
More on this below, but it's worth knowing that the Tilemaster 3000, Mapei Ultracolor Plus, and BAL Micromax3 Eco ranges all come in a wide variety of colours, from classic Pure White through to mid and dark greys and charcoal. You're not limited to white.
Don't forget the silicone
This step is one that's easy to overlook, but it makes a real difference to both the appearance and the longevity of your finish.
The Tilemaster 3000 Plus Silicone range is available in the same colour palette as the Tilemaster 3000 grout - Pure White, Jasmine, Light Grey, Natural Grey, Mid Grey, Dark Grey, and Charcoal - so you can achieve a perfectly coordinated, seamless finish throughout.
Use the Tileasy Caulking and Silicone Gun for a controlled, even bead, and smooth it off with a wet finger or silicone finishing tool for a professional result. If you need to remove old, discoloured silicone before reapplying, our guide on how to remove and replace old silicone sealant covers the process in full.
What you'll need: tools and products
Getting the right kit together before you start makes the whole job smoother. Here's everything you'll need, all available from our Tile Adhesive and Grout range:
Grout removal
- Tileasy Grout Rake (GR2) - The key tool for removing old grout cleanly without damaging tiles. The hardened blade gets into the joint and rakes out the old material efficiently.
Mixing
- Tileasy Grout and Adhesive Mixer Paddle (PM400) - Attaches to a standard power drill for fast, consistent mixing. Far better than hand-mixing, which can leave lumps.
- Tileasy Bucket Trowel (BTR) - Great for larger flat areas of wall or floor tiling.
Application
- Tileasy Angled Grout Float (AGF2) - The angled design makes it easier to push grout firmly and evenly into joints, particularly in corners and along edges.
- Tileasy Standard Grout Float (DF) - Great for larger flat areas of wall or floor tiling.
Cleaning and finishing
- Tileasy Professional Hydro Grouting Sponge (PHS) - A high-density grouting sponge that wipes excess grout cleanly from the tile surface without disturbing the joints.
- Everbuild Multi-Use Wonder Wipes - Handy for cleaning tools between uses and wiping up any mess as you go.
Silicone and sealant
- Tilemaster 3000 Plus Silicone - Available in seven colours to match the Tilemaster 3000 grout range, for a seamless, coordinated finish on movement joints.
- Tileasy Caulking and Silicone Gun - For clean, controlled application of silicone with no mess.
Your grout
Choose from our three excellent ranges - all available in a wide variety of colours:
- Tilemaster 3000 Tile Grout - A reliable, professional-grade grout available in seven colours from Pure White to Charcoal.
- Mapei Ultracolor Plus - A highly flexible, water-resistant grout ideal for wet areas and anywhere subject to movement. Available in twelve colours.
- BAL Micromax3 Eco - A flexible, eco-conscious grout in eight contemporary colours, excellent for both wall and floor applications.
Before you start: a few things to know
A little preparation goes a long way. Before you learn how to grout tiles, keep these points in mind:
- Clear the area - Remove any toiletries, towels, or accessories from around the area you're working on. Grout dust and splashes get everywhere.
- Check your tiles - Make sure all tiles are firmly fixed to the wall. If any are loose, they'll need re-adhering with a suitable tile adhesive before you regrout.
- Check for damp - If there's evidence of damp behind the tiles, like soft plaster or discolouration on the wall, then address this before regrouting, or you'll just be masking the problem.
- Check for mould - If there's significant mould in the existing grout joints, treat it first with a mould killer and allow to dry fully. Our guide on how to get rid of mould in the bathroom will help you tackle it properly before you start.
- Standard vs rapid set - If you're using a rapid set grout, such as the Tilemaster Setaflex Rapid Set Tile Adhesive, work in smaller sections as it cures faster. Standard set gives you more time to work.
- Ventilate the room - Open a window or run the extractor fan. Grout dust during removal can be fine and irritating, so good airflow helps.
Step-by-step guide: How to regrout your bathroom tiles
Step 1: Remove the old grout
Learning how to remove grout from tiles properly is the most time-consuming part of the job - but do it properly, and everything else becomes much easier.
Using your Tileasy Grout Rake, work firmly along each grout joint applying consistent pressure to rake out the old grout. You're aiming to remove approximately 2-3mm of depth. You don't need to go all the way to the back of the joint, just enough to give the new grout a clean surface to bond to.
Work methodically, row by row, so you don't miss any joints. Keep the rake as central in the joint as possible to avoid scratching the tile edges.
Once you've raked out all the joints, use a vacuum or a stiff brush to clear away all the dust and debris, then wipe down the tiles and joints with a damp cloth and allow to dry fully before moving to the next step.
Step 2: Clean and prepare the joints
With the old grout removed, take a look at the joints before mixing anything. Check for:
- Any remaining stubborn grout that didn't come away cleanly - go back over these spots with the rake
- Signs of mould deep in the joint - treat with a diluted mould killer and allow to dry completely
- Any loose or crumbling tile edges that need attention
Once you're happy the joints are clean and dry, you're ready to mix.
Step 3: Mix your grout
Pour your chosen grout into a clean bucket and add clean water gradually. Always add water to powder, not the other way around, following the manufacturer's guidance on the ratio. You're aiming for a thick, smooth consistency similar to peanut butter. Too runny and it won't hold in the joints; too stiff and it'll be difficult to apply.
Attach your Tileasy Mixer Paddle to a power drill and mix thoroughly until completely lump-free, then leave the mixture to stand for two minutes. This allows the material to fully hydrate. Give it one final mix before you start applying.
Top tip: Only mix what you can use in around 30-45 minutes for standard-set grout, less for rapid set. It's better to mix smaller batches and stay fresh than to rush because your grout is going off.
Step 4: Apply the grout
Scoop a generous amount of grout onto your Tileasy Grout Float and position it at a 45- degree angle to the tile surface. Press the grout firmly into the joints using diagonal sweeping motions - working at an angle prevents the float from dragging grout back out of the joints as you move across.
Work in sections of roughly one square metre at a time, pressing the grout in well to ensure there are no air gaps or voids. Once a section is filled, sweep the float diagonally across the tiles to remove the bulk of the excess from the surface. Don't worry about getting it perfect at this stage - that's what the sponge is for.
Step 5: Clean back the tiles
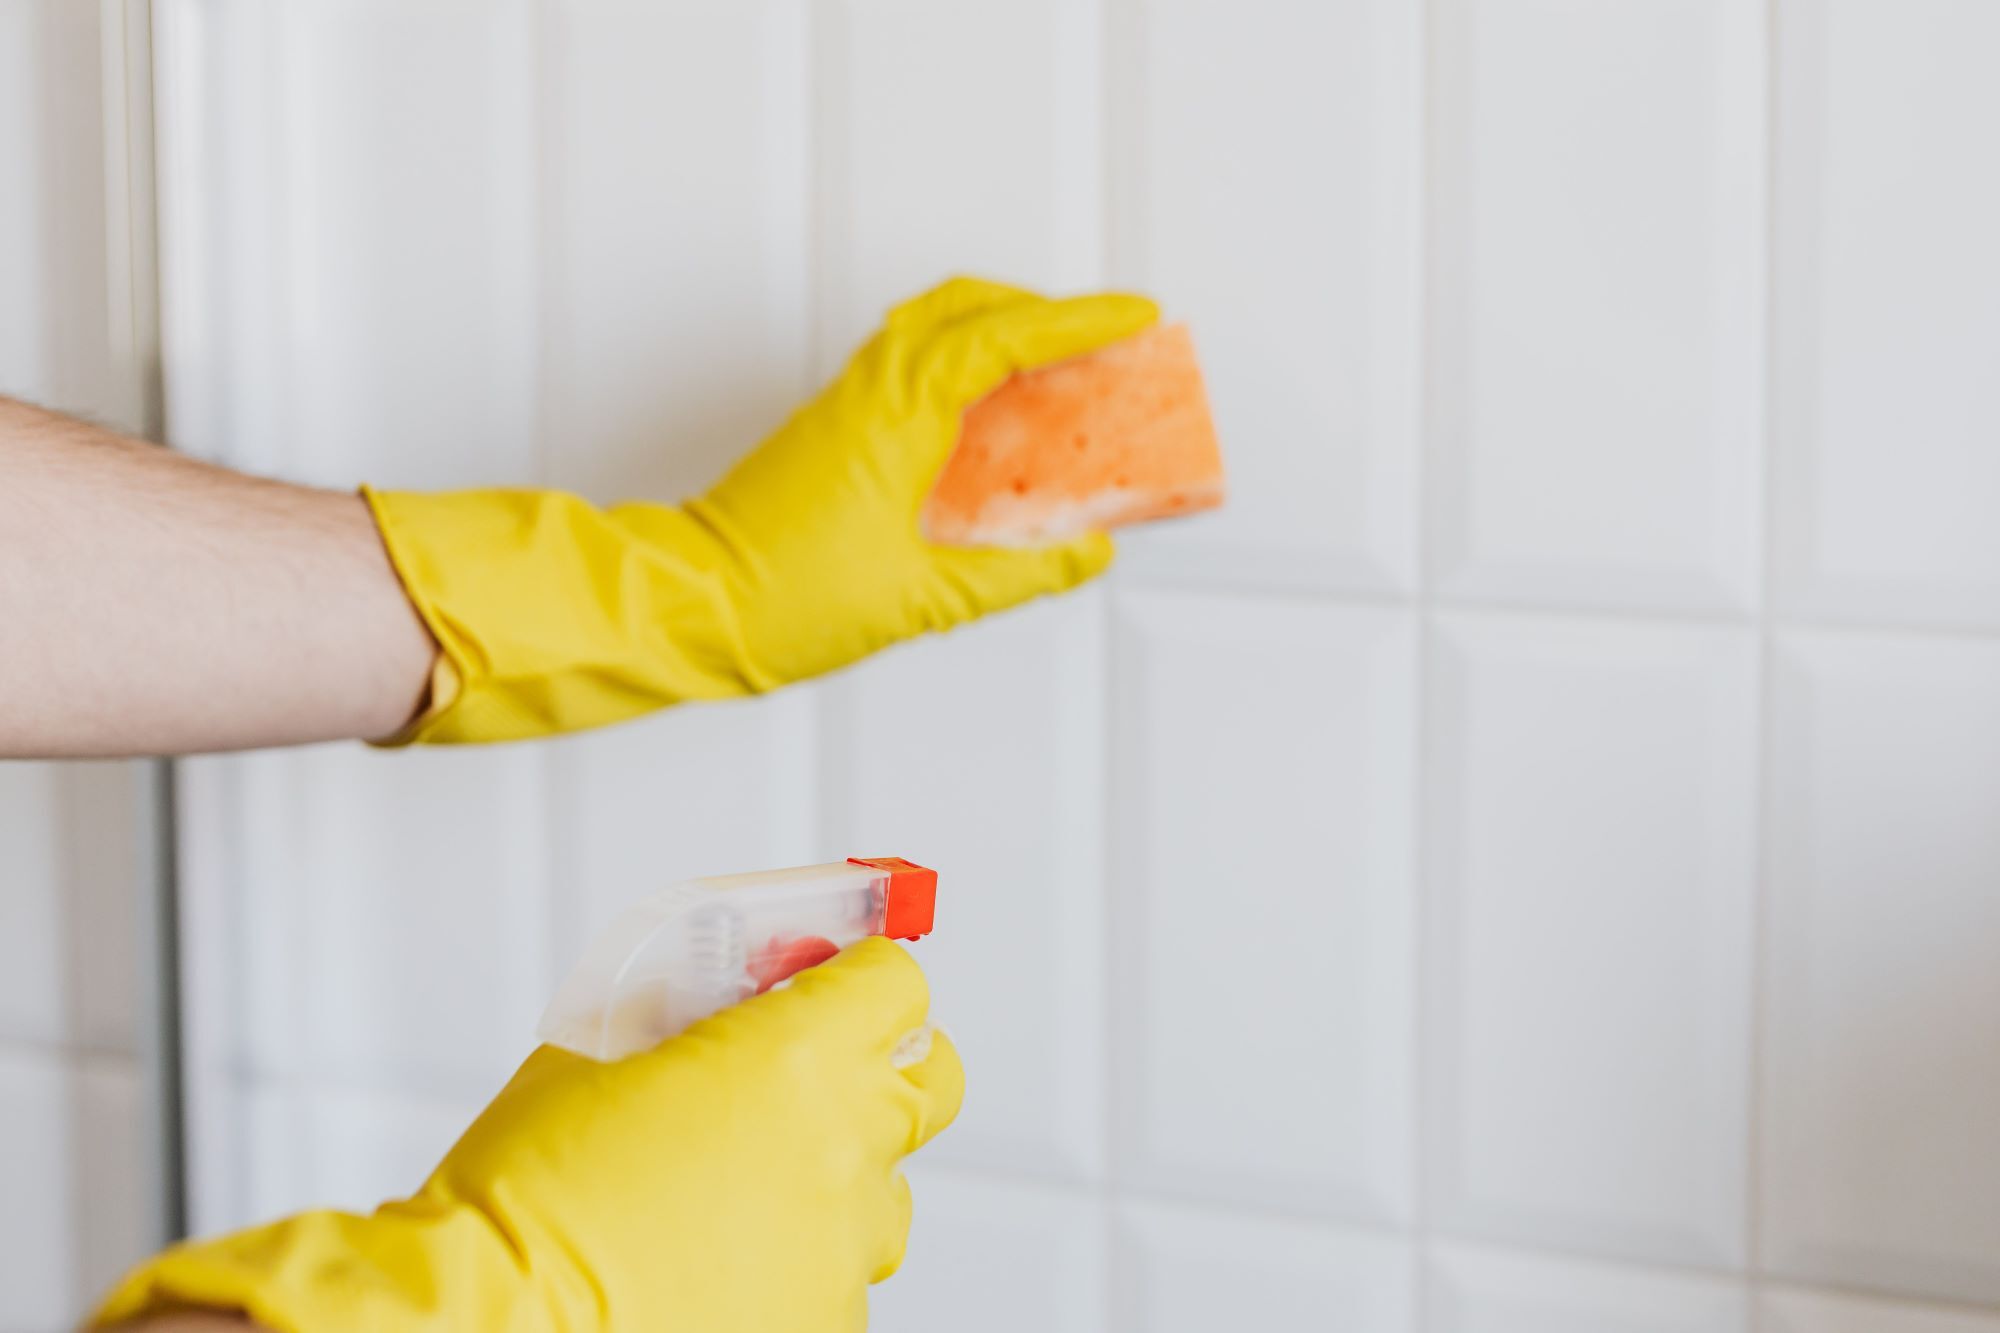
This is where a good sponge makes all the difference. Dampen your Tileasy Professional Hydro Grouting Sponge with clean water and wring it out thoroughly - it should be damp, not dripping wet.
Working in circular motions, wipe the excess grout from the tile surface, rinsing the sponge in clean water frequently. A dirty sponge just redistributes grout rather than removing it, so keep a bucket of fresh water close by and change it regularly. Work carefully around the joints; you want to clean the tile faces without dragging grout out of the lines you've just filled. A light touch and patience here will give you a much cleaner result.
Once you've cleaned back the tiles, stand back and check for any missed joints, pinholes, or uneven lines. Address these now while the grout is still workable.
Step 6: Allow to cure and polish
Step away and let the grout do its thing. Curing times vary by product:
- Standard set grout (e.g. Tilemaster 3000) - typically 24 hours before getting wet
- Rapid set grout - cures significantly faster; check the product instructions
Once the grout is fully cured, you'll likely notice a light, hazy film on the tile surface. This is completely normal. It's a thin layer of grout residue left behind after cleaning. Buff it off with a clean, dry cloth using firm circular motions, and your tiles will come up clean and bright underneath.
Step 7: Apply the silicone
The final step. Wherever tiles meet a bath panel, shower tray, basin, or an internal corner, you should use silicone rather than grout. These are movement joints, areas where the structure of the room flexes very slightly, and rigid grout will crack here over time. Silicone flexes with the movement, keeping the seal watertight for much longer.
If you have old silicone to remove first, our guide on how to remove and replace old silicone sealant walks you through the process cleanly and simply. And for a more detailed look at sealing specifically around the bath, our how to seal a bath guide is well worth a read.
Load your chosen Tilemaster 3000 Plus Silicone into the Tileasy Caulking and Silicone Gun and apply a smooth, even bead along the joint. The Tilemaster 3000 Plus range is available in the same seven colours as the Tilemaster 3000 grout - Pure White, Jasmine, Light Grey, Natural Grey, Mid Grey, Dark Grey, and Charcoal - so you can match them perfectly for a fully coordinated finish.
Smooth the silicone bead with a wet finger or silicone finishing tool and allow to cure fully before getting the area wet - usually 24 hours.
Common regrouting mistakes (and how to avoid them)
Even with the best intentions, there are a few pitfalls that catch people out. Here's what to watch for:
- Not removing enough old grout - If the joints aren't deep enough, the new grout won't bond properly and can crack or fall out. Aim for at least 2mm of depth.
- Mixing too much at once - Grout that's left to sit goes off and becomes unusable. Mix in smaller batches and stay in control.
- Letting grout dry on the tiles - The longer grout sits on the tile surface, the harder it is to remove. Clean back regularly as you work rather than leaving it all to the end.
- Using grout on movement joints - Corners and joints where tiles meet fixtures need silicone, not grout. Grout here will crack - it's not a question of if, but when.
- Getting it wet too soon - It's tempting to jump straight in the shower and admire your handiwork, but give the grout its full cure time. Getting it wet too early weakens the finish.
Frequently asked questions
Your bathroom, refreshed
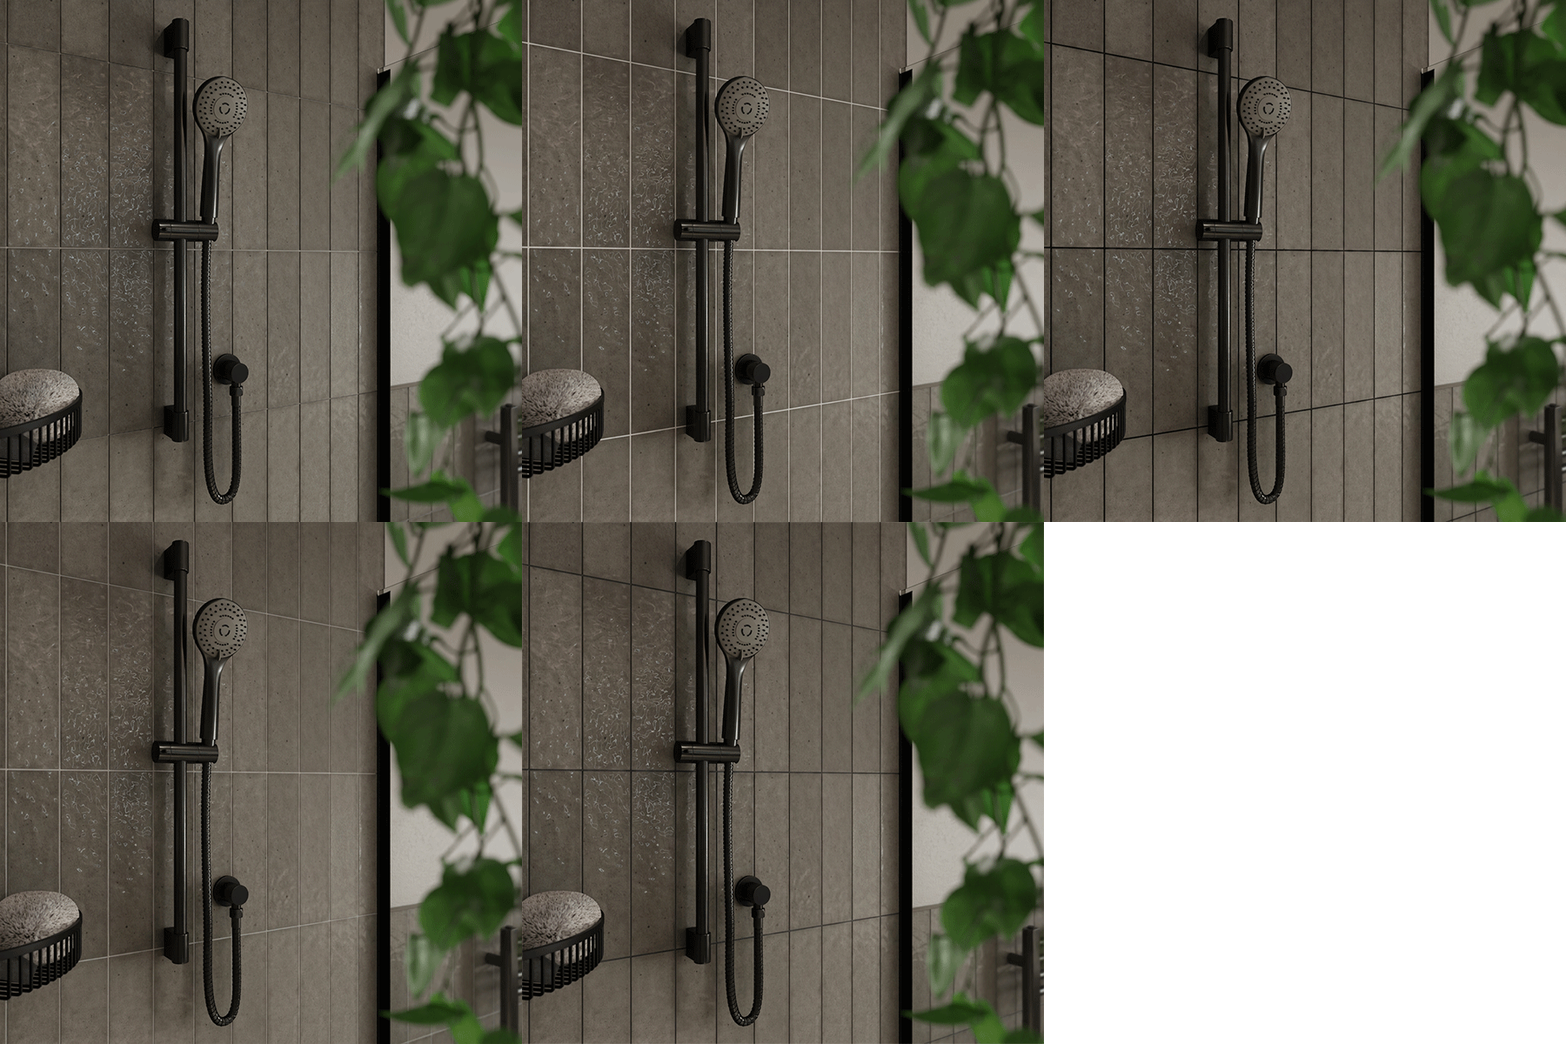
That's it, job done. It's remarkable what a difference fresh grout lines make to a bathroom, and now you know exactly how to achieve it.
Ready to get your products together? Browse our full range of tile grout, adhesives, and tiling tools at Wholesale Domestic Bathrooms - everything you need, all in one place.
And if this project has sparked a bigger idea, take a look at our bathroom tiles, shower enclosures, and bathroom suites, because once you've seen what fresh grout can do, you might just want to go a little further.